

Patio cushions take a constant beating: UV rays fade the fabric, rain soaks into the foam, and daily use flattens the padding. If the frames are still sturdy, you don’t need to replace the whole furniture set. Reupholstering lets you update color, choose better fabric, and restore comfort for much less than what quality materials cost. This guide walks you through how to reupholster patio cushions: easy DIY steps that can be finished in a weekend, even if you’ve never sewn upholstery before.
Why Reupholster Patio Cushions Instead of Buying New?
The frame is usually the most expensive part of outdoor furniture. If your aluminum, teak, or steel frames are in good shape, new cushions alone can make the whole set feel brand new. Reupholstering also gives you options that ready-made replacement cushions don’t: you can pick a thicker foam, a higher fabric grade, or a pattern that matches your outdoor space exactly. You can also read our guide on how much should you spend on a mattress expert budget guide.
There is also less waste. Tossing a cushion with a faded cover but decent foam sends a surprising amount of material to the landfill. Replacing only what is worn—cover, foam, or both—is the more thoughtful choice.
Know when to stop, though. If the frame is rusted, cracked, or rotting, or if the foam has turned to powder inside the cover, new upholstery is just dressing up a lost cause. In that case, start with new furniture instead of putting hours into a project that will not last. For more on this, see our guide on how to store patio furniture cushions.
 Check the frame and foam before committing to new covers. Image source: youtube.com
Tools and Materials: What You Actually Need
Good prep prevents most mistakes. Lay out every tool before you start so you aren’t halfway through a cover and hunting for a seam ripper.
 Use a long blade and cut in one pass for a clean foam edge. Image source: com.ar
Tools
| Tool | Why you need it |
|---|---|
| Heavy-duty sewing machine | Straight, strong seams through thick outdoor fabric |
| Sharp fabric shears | Clean cuts that reduce fraying |
| Seam ripper | Taking old covers apart without tearing the template pieces |
| Staple gun with outdoor staples | Attaching fabric directly to wooden frames |
| Measuring tape and fabric marker | Accurate pattern marking |
| Kraft paper or cardboard | Making reusable pattern pieces |
| Serrated knife or electric carving knife | Cutting foam cleanly |
| Pliers | Removing stubborn old staples |
| Iron | Pressing seams flat for a professional finish |
If you don’t own a heavy-duty machine, don’t give up. Many local alteration shops can sew the panels for you if you bring the cut fabric and a pattern. For simple square cushions, a hand-sewing needle and heavy thread will also work, just expect the project to take longer. For more on this, see our guide on how to clean patio cushions.
Materials
- Outdoor fabric: solution-dyed acrylic is the best all-around choice.
- High-resilience foam or quick-dry foam, cut to fit your cushions.
- Outdoor thread: bonded polyester or UV-resistant thread.
- Heavy-duty zipper or outdoor Velcro for removable covers.
- Waterproof liner or batting wrap if you live in a rainy climate.
- Seam sealer or waterproofing spray rated for outdoor fabric.
Buy a little extra fabric—it gives you room for pattern mistakes and lets you match stripes or repeat patterns correctly.
Choosing the Right Fabric, Foam, and Hardware
The quality of your supplies determines how long the project lasts. A cheap fabric will fade in a single season, and low-density foam will look like a pancake by midsummer. For more on this, see our guide on how to keep patio cushions from sliding.
Fabric: What Actually Holds Up Outdoors
| Fabric type | Strengths | Best for |
|---|---|---|
| Solution-dyed acrylic | Excellent color retention, mildew resistance, breathable | Most outdoor cushions |
| Outdoor polyester | Lower cost, easy to sew, softer feel | Budget makeovers |
| Olefin / polypropylene | Moisture and stain resistant | Casual, high-traffic seating |
| PVC-coated / vinyl | Fully waterproof, easy to wipe down | Poolside cushions |
| Canvas duck | Durable, structured look | Cushions that need crisp shaping |
Not every “outdoor” fabric is truly waterproof. Solution-dyed acrylic is water-resistant and breathes, which actually helps prevent mildew because moisture can escape. If you want full waterproofing, PVC-coated fabrics work, but they can get hot and sticky in direct sun.
For colorfastness and care details, it is worth checking the fabric manufacturer’s own performance and care guidance. A solution-dyed acrylic producer like Sunbrella publishes straightforward fabric care information that is useful before you buy.
Foam: The Part People Underestimate
New fabric over old, sagging foam is a waste of effort. The foam is what makes the cushion comfortable, so treat it as seriously as the fabric.
High-resilience foam returns to its original shape after you stand up. Quick-dry foam has an open-cell structure that releases water instead of holding it. If you live somewhere humid or rainy, quick-dry foam is worth the extra cost.
Think about how the cushion will be used. A decorative chair cushion can get away with softer foam, while a deep-seat sofa that gets daily use needs firmer, denser support. The same idea applies to mattresses: choose foam density and resilience to match the person using it. And just as mattress shoppers look for the right level of support, outdoor cushion foam should be matched to your body type and how long you sit.
If the cushion will carry heavier body weights, upgrade to denser, high-resilience foam even if it costs more. Cheap foam is the number one reason reupholstered cushions fail early.
Closures and Hardware
- Zippers: use heavy-duty zippers with a rust-resistant finish. A zipper that jams or corrodes will ruin an otherwise perfect cover.
- Velcro: good for no-sew or quick-swap covers, but only use UV-resistant outdoor hook-and-loop tape.
- Thread: bonded polyester or marine-grade thread. Regular cotton thread will rot outside.
- Staples: stainless steel or outdoor-rated staples. Galvanized staples can rust and bleed through the fabric.
Measure First: Make a Pattern You Can Reuse
Most reupholstering mistakes happen because people skip the pattern step. A good pattern is the difference between a smooth, tailored cushion and one that wrinkles at the corners.
- Take the old cover apart with a seam ripper, not scissors. The old panels become your templates.
- Press each piece flat with an iron so the measurements are accurate.
- Trace every piece onto kraft paper and label it: top, bottom, side band, zipper panel.
- Add a seam allowance of at least ½ inch. If your fabric is thick or frays easily, use ⅝ inch.
- Measure the actual foam in three directions: length, width, and thickness. Cushions are rarely perfectly square, so measure both length and width on each side.
For a box cushion, you need a top panel, a bottom panel, and one long side strip that wraps around the entire perimeter, plus seam allowance. For a knife-edge cushion, you simply sew two identical shaped panels together. Knowing which style you have before cutting saves a lot of frustration.
Step-by-Step: How to Reupholster Patio Cushions
Follow these steps in order. Start with one cushion rather than a whole set, especially if this is your first project.
Step 1: Remove the Old Cover Without Destroying It
Use a seam ripper to carefully open the old seams. Pull the cover away from the foam slowly, and keep every usable piece. These pieces become your pattern, so the more intact they are, the easier the next step.
Inspect the foam while it is exposed. If it is still firm and smooth, you can reuse it. If it crumbles, smells musty, or stays compressed when you press it, replace the foam now. You can also add a layer of soft batting around slightly firm foam to restore a gentle feel.
Step 2: Create a Custom Pattern
Lay the old cover pieces flat on kraft paper and trace each one. Add your seam allowance and mark the zipper location. Label every piece clearly.
Check the pattern against the foam before cutting fabric: lay the pattern over the foam and make sure it wraps around with a comfortable amount of ease. If it seems tight, add another ¼ inch to the seam allowance.
Step 3: Cut the Foam and New Fabric
Cut the foam with a serrated knife or electric carving knife. Mark the cutting line on the foam first, then cut in one smooth pass. Trying to cut thick foam in one squeeze usually creates a jagged edge.
Cut the fabric with sharp shears on a flat, clean surface. If your fabric has a pattern, decide where the pattern will sit on the cushion before you cut. Stripe and plaid fabrics need extra fabric so you can match the lines at the seams.
Step 4: Sew the New Cover
Use a heavy-duty needle and outdoor thread. If your machine has a walking foot, use it—it feeds thick layers through evenly and reduces puckering.
Sew the side band pieces together first, then attach the top panel, then the bottom. Clip curved seam allowances before turning the cover right side out. This lets the fabric lie flat around rounded corners instead of bunching.
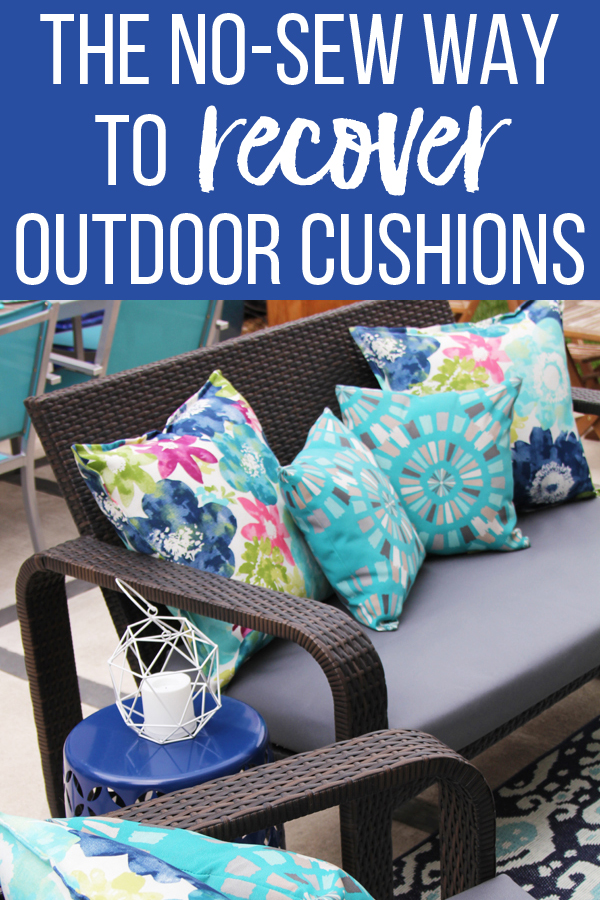 A test fit before final stitching saves a lot of seam ripping. Image source: blueistyleblog.com
A common mistake is setting the tension too tight. Outdoor fabric is thick, and a too-tight tension makes the thread snap after a week in the sun. Practise on a scrap piece first, and adjust the stitch length to around three millimeters.
Step 5: Install the Zipper or Closure
A zipper makes future cleaning much easier. Measure the opening before you choose a zipper, then pin the zipper into the side band facing the inside of the cushion. Sew it with a zipper foot, keeping the fabric flat.
If you are using Velcro instead, sew one side to the cover and the other side to the overlap flap. Make sure the opening is large enough for the foam to pass through without forcing it.
Step 6: Insert the Foam and Finish
Turn the cover right side out and insert the foam slowly. Work the foam into the corners by pushing from the center outward. Wrinkles at this stage usually mean the cover is too tight, the seam allowance was too small, or the side band is too narrow.
Close the zipper, sit on the cushion, and see how it feels. If it dips too much, add a layer of batting around the foam. If the fabric wrinkles around the sides, not much can be done except resewing with a slightly larger seam allowance—another reason to test with one cushion first.
No-Sew Option: Staple Fabric Over the Cushion
For cushions that are attached directly to a wooden frame, you can skip the sewing entirely. Cut fabric large enough to cover the foam and wrap underneath the frame, pull it tight, and staple it every two to three inches. Fold the corners neatly and staple twice at high-stress points. This works best on square or rectangular cushions and takes about thirty minutes per cushion.
Attaching Covers, Waterproofing, and Routine Maintenance
Once the new cover fits, protect your work. A few finishing steps can double the life of the cushion.
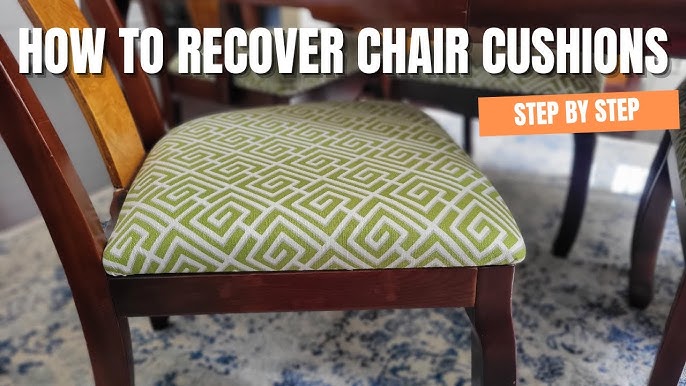 Waterproofing works best when the fabric is clean and completely dry. Image source: youtube.com
Attaching Covers to Frames
If your cushion is meant to stay on a wooden frame, pull the fabric tight around the frame and staple the underside. Avoid leaving loose spots near the front edge—they will sag over time. Double-staple the corners and check the pattern alignment before you commit to stapling the whole edge.
Waterproofing and Protection
Seam sealer is the best investment after sewing. Apply it along the stitched seams to stop water from wicking through the needle holes. Then apply a fabric waterproofing spray rated for outdoor textiles, but test it on a scrap piece first to make sure it does not darken the fabric.
Between the foam and the cover, add a breathable waterproof liner if you live in a rainy or pool-side climate. The liner protects the foam without trapping moisture inside. A non-breathable barrier can make mildew worse because condensation collects inside.
Routine Care
| Task | How often |
|---|---|
| Brush off pollen, leaves, and debris | Weekly during outdoor season |
| Spot clean with mild soap and water | As needed |
| Machine wash removable covers | Only if the fabric care label allows |
| Stand cushions on edge after rain | After heavy storms |
| Store cushions indoors or in a dry bin | Over winter or long wet spells |
Keeping cushions dry and clean isn’t just about looks. Moisture and mildew can affect anyone, and reducing mold around outdoor furniture supports allergy-friendly routines as well.
Common Mistakes and Troubleshooting
Every reupholsterer makes mistakes. Here are the most common ones and how to fix them.
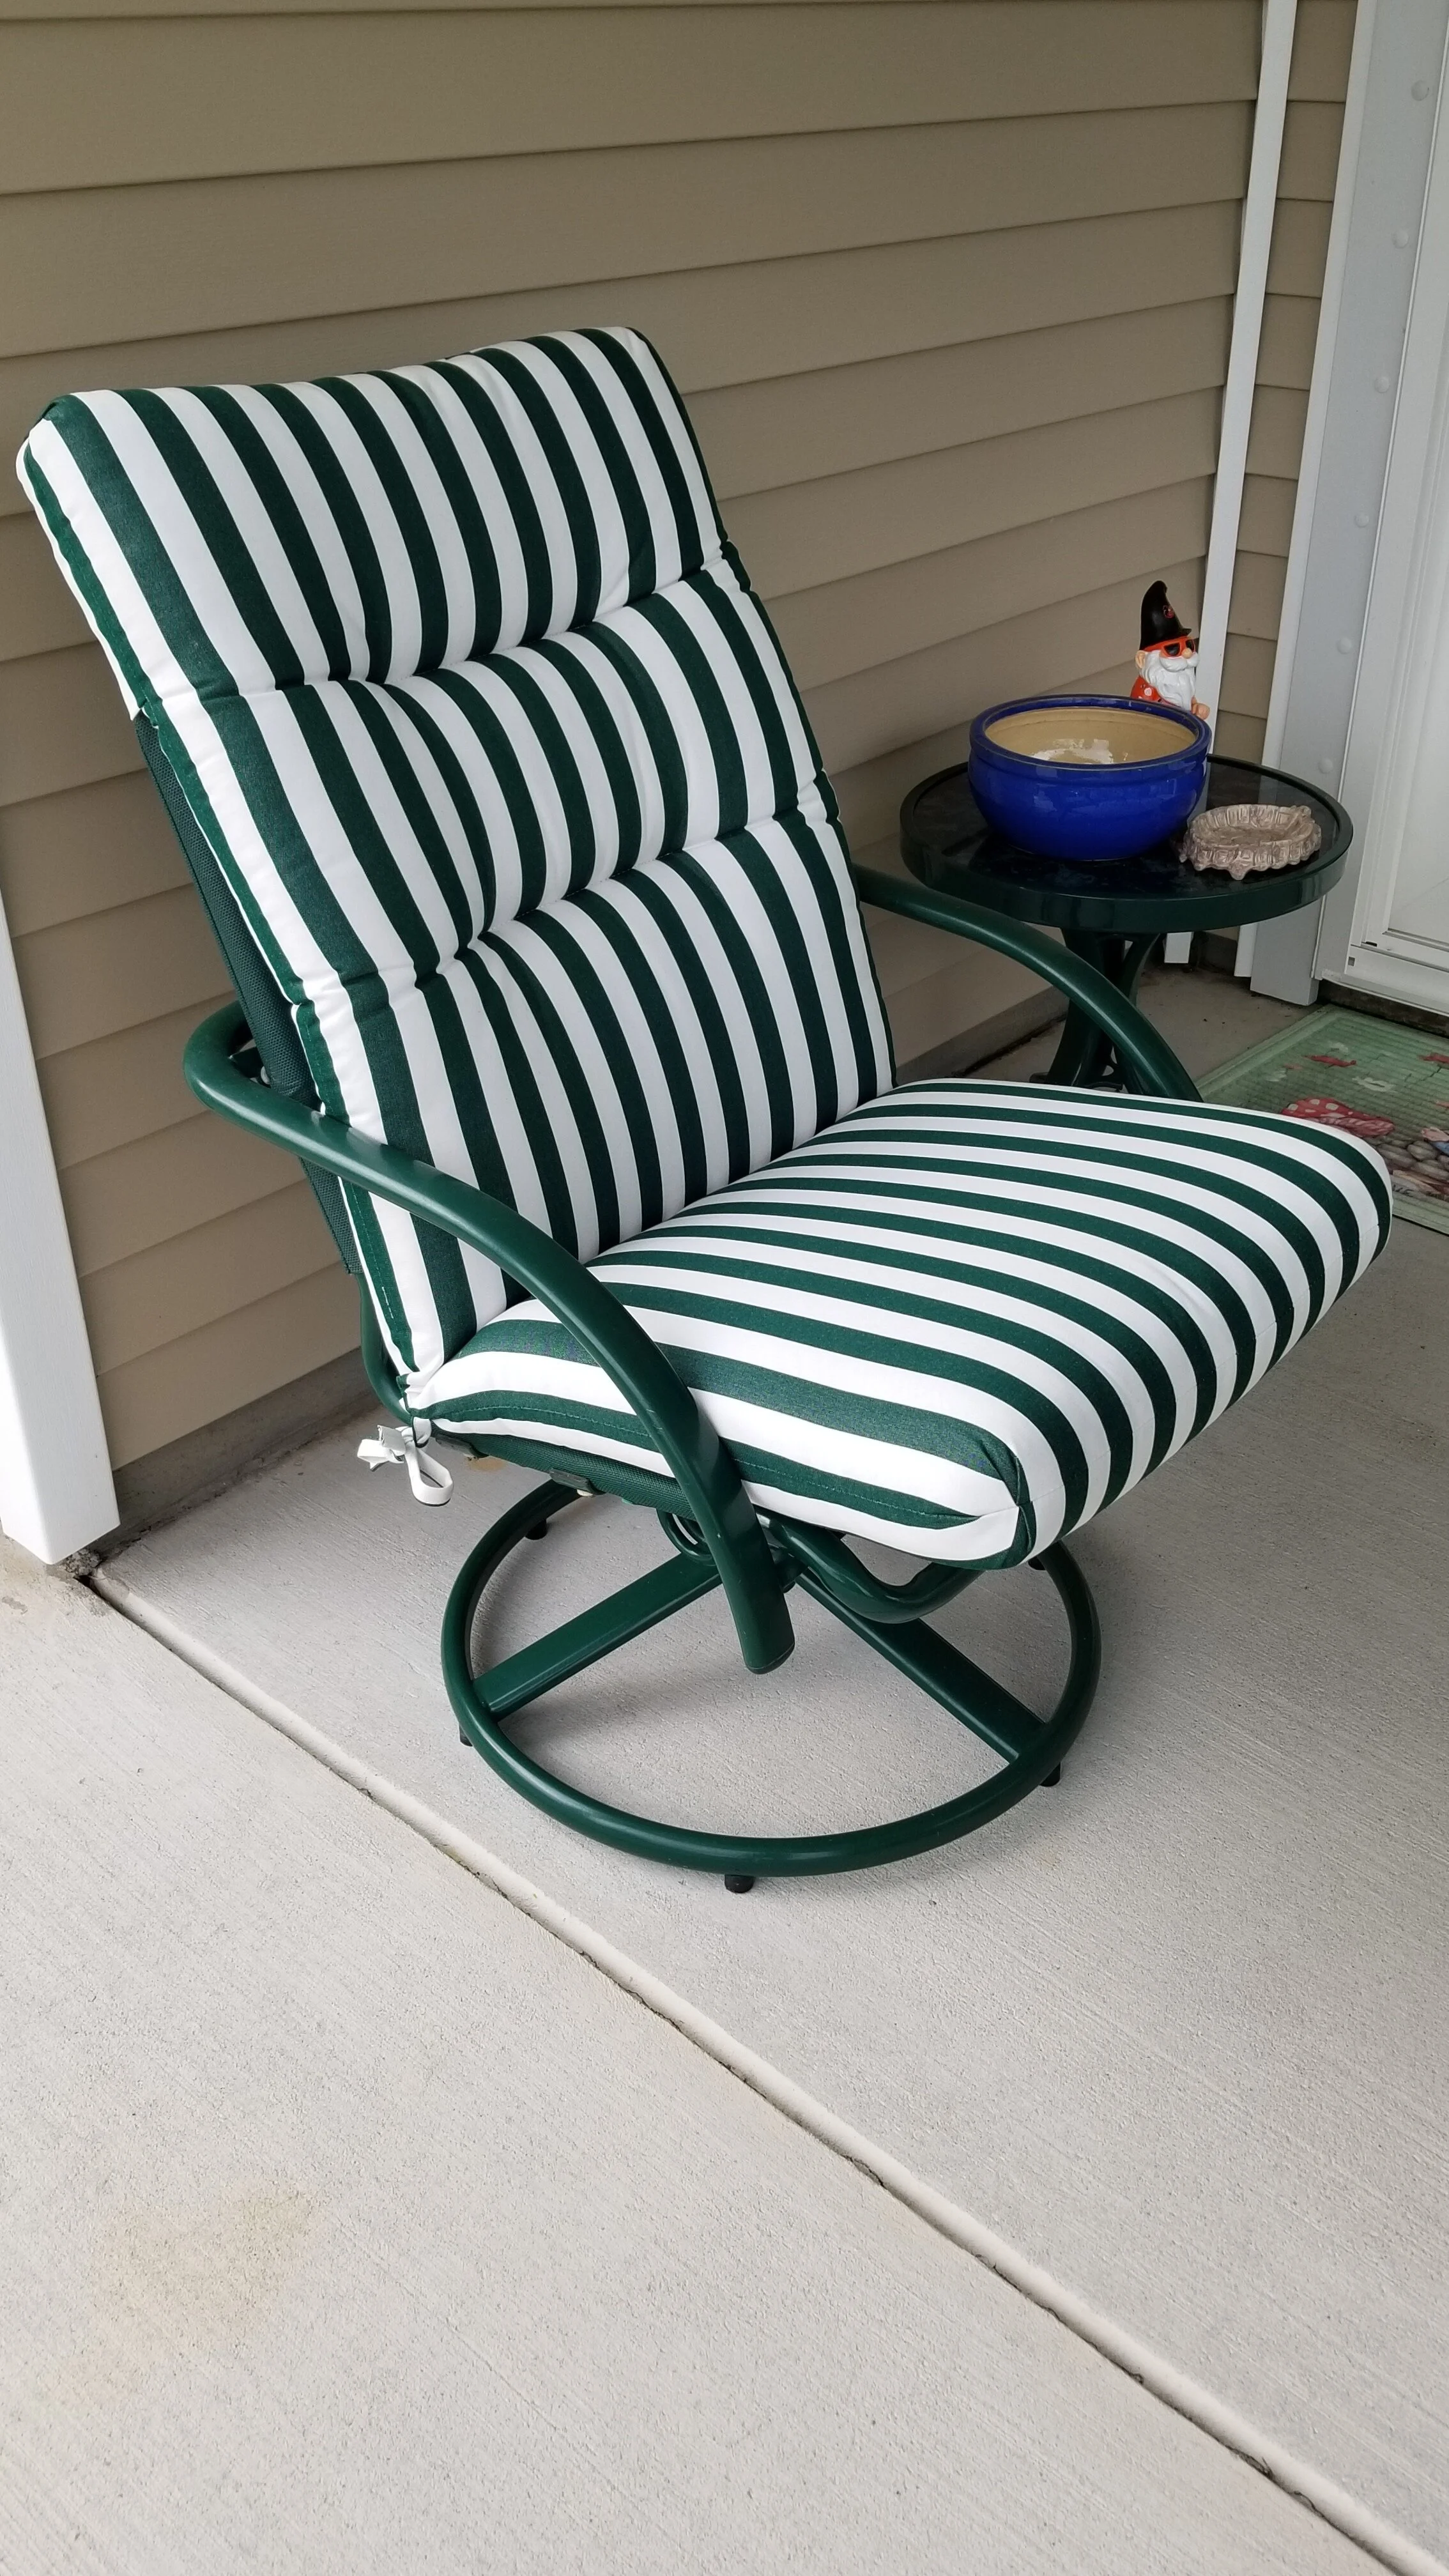 A trial fit while the cover is still inside out lets you adjust before final assembly. Image source: vicentetorns.com
| Mistake | What goes wrong | Fix |
|---|---|---|
| No seam allowance | Cover is too small | Always add at least ½ inch when tracing |
| Weak thread | Seams burst after a few weeks | Use bonded polyester or marine thread |
| Low-density foam | Cushion flattens within a season | Upgrade to high-resilience foam |
| Skipping a liner | Foam absorbs water and smells bad | Add breathable waterproof liner |
| Zipper too short | Cover gapes or fabric bunches | Measure the opening and buy a longer zipper |
| Stapling loose fabric | Wrinkles and sagging | Pull fabric taut and staple every two to three inches |
A common mistake we see is reusing a stained, flattened cover as the pattern without cleaning or pressing it. Pressing the old fabric first gives you a much more accurate template. Another is using indoor polyester thread because it is easy to find—it rots quickly outside. Spend the little extra on outdoor-rated thread.
When to Replace Instead of Reupholster
Reupholstering is not always the right move. Replace the entire cushion set if:
- The frame is rusted, cracked, or rotted beyond simple repair.
- The foam has broken down into a crumbly powder.
- The cushion has been soaked for a long time and still smells moldy even after drying.
- The old cover is too damaged or too faded to serve as a usable pattern.
- You do not have access to a sewing machine, and the cost to hire someone makes it close to the price of new cushions.
There is no shame in replacing. The goal is a comfortable, long-lasting outdoor setup, not a DIY project that spirals into frustration.
Frequently Asked Questions
 A one-cushion pilot project builds confidence before you do the full set. Image source: youtube.com
What type of fabric is best for patio cushions?
Solution-dyed acrylic is the best choice for most people. The color runs through the entire fiber, so it fades less than printed fabrics. It also resists mildew, breathes, and feels comfortable in warm weather. Outdoor polyester works on a budget but tends to fade and wear faster. Choose PVC-coated fabric only if full waterproofing matters more than breathability.
Can I reupholster patio cushions without a sewing machine?
Yes. For attached cushions, you can staple new fabric directly to the frame and skip sewing entirely. For removable cushions, you can hand-sew with a strong needle and outdoor thread, though the project will take longer. Another option is using outdoor adhesive tape or fusible bonding web for a temporary fix, but don’t expect those seams to last as long as stitched ones.
How long does it take to reupholster a patio cushion?
Plan on two to four hours for one cushion if you are a beginner. That includes removing the old cover, making the pattern, cutting fabric and foam, and sewing the new cover. A full set of four to six cushions can easily take a weekend. The second and third cushions go much faster once your pattern and machine settings are dialed in.
What foam should I use for outdoor cushions?
Use high-resilience foam or quick-dry foam. High-resilience foam holds its shape under regular use, while quick-dry foam releases moisture and reduces mildew risk. Regular indoor foam absorbs water, flattens quickly, and can develop a musty smell. If you want a softer seat, combine a firm foam core with a polyester batting wrap.
How do I keep reupholstered patio cushions from getting moldy?
Start with breathable outdoor fabric and a breathable waterproof liner around the foam. After it rains, stand the cushions on edge so water drains and air circulates. During long wet spells, store them in a dry, ventilated place. Applying seam sealer to the stitches also prevents water from soaking into the cushion through needle holes.
Conclusion
Reupholstering patio cushions gives you control over color, fabric quality, foam firmness, and fit—and it usually costs far less than replacing the whole set. The key is to work in order: choose weatherproof materials, measure carefully, make a reusable pattern, and sew one test cushion before tackling everything.
Start with one cushion this weekend. Once you see how a fresh, firm, custom-covered cushion looks next to an old one, you’ll know exactly why the project is worth it. Save this guide for your next cushion project, and take your time with the first one—the result will speak for itself.

Daniel Hart is a consumer product analyst who specializes in mattress technology, smart bedding, and home comfort innovation. Before joining Royal Comport, Daniel worked with several e-commerce research teams, testing and comparing sleep products for quality, value, and long-term performance. He brings data-driven insight and real-world testing to every review he writes.


