

Your patio cushions have seen better days—faded fabric, flattened foam, maybe a tear or two. Before you spend hundreds on replacements, know this: recovering outdoor cushions is one of the most satisfying DIY projects you can tackle. With a weekend, some quality materials, and a little patience, you can transform tired seating into something that looks professionally done. This guide walks you through every step—from assessing damage to protected finishing touches—so you can decide what to fix, what to replace, and how to do it right the first time.
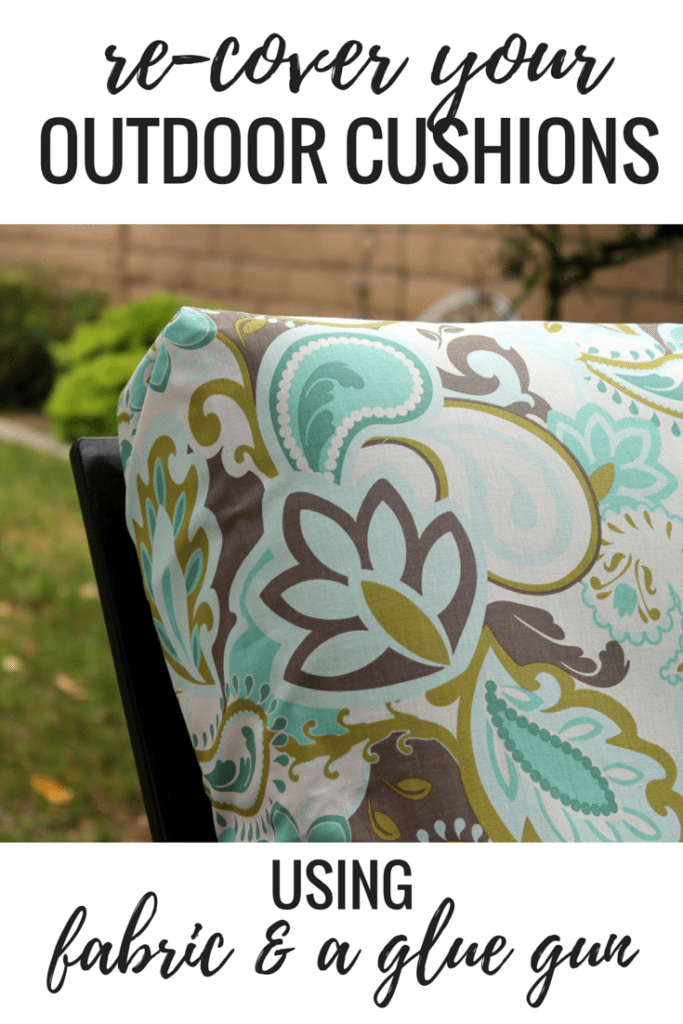
Lay out all supplies first—a smooth workflow depends on preparation.
Why Outdoor Cushions Fail (And What You Can Do About It)
Understanding why cushions deteriorate helps you prevent future damage. Three enemies cause most problems:
- UV radiation breaks down fabric fibers and fades colors, making covers brittle over time.
- Moisture seeps into foam, leading to mold, mildew, and that musty smell nobody wants near their coffee.
- Physical wear from constant sitting, rubbing against frames, and improper storage creates tears at stress points.
The good news? Each of these problems has a practical solution—many of which you can handle at home. Knowing how to recover outdoor cushions means understanding what your specific cushions need, not just applying a one-size-fits-all fix. You can also read our guide on how much should you spend on a mattress expert budget guide.
Quick Checklist: What You Need Before You Start
Preparation saves you mid-project frustration. Gather these tools and materials before you begin:
| Category | Items |
|---|---|
| Cleaning supplies | Mild detergent, white vinegar, soft brush, sponge, clean cloths |
| Repair tools | Heavy-duty needle, UV-resistant thread, fabric glue, seam ripper |
| Fabric materials | Outdoor-rated canvas or Sunbrella-style fabric, zippers, piping |
| Foam supplies | Replacement foam inserts, waterproof liner or foam wrap |
| Cutting tools | Measuring tape, straightedge, fabric scissors, chalk marker |
| Fastening tools | Staple gun, upholstery tacks, or sewing machine (depending on method) |
Pro tip: Don't skimp on the fabric. Cheap indoor fabric will fade and mildew within one season. Quality outdoor fabric is the difference between a five-year cushion and a one-year cushion. The same logic applies to the foam you choose—which we'll cover in depth later.
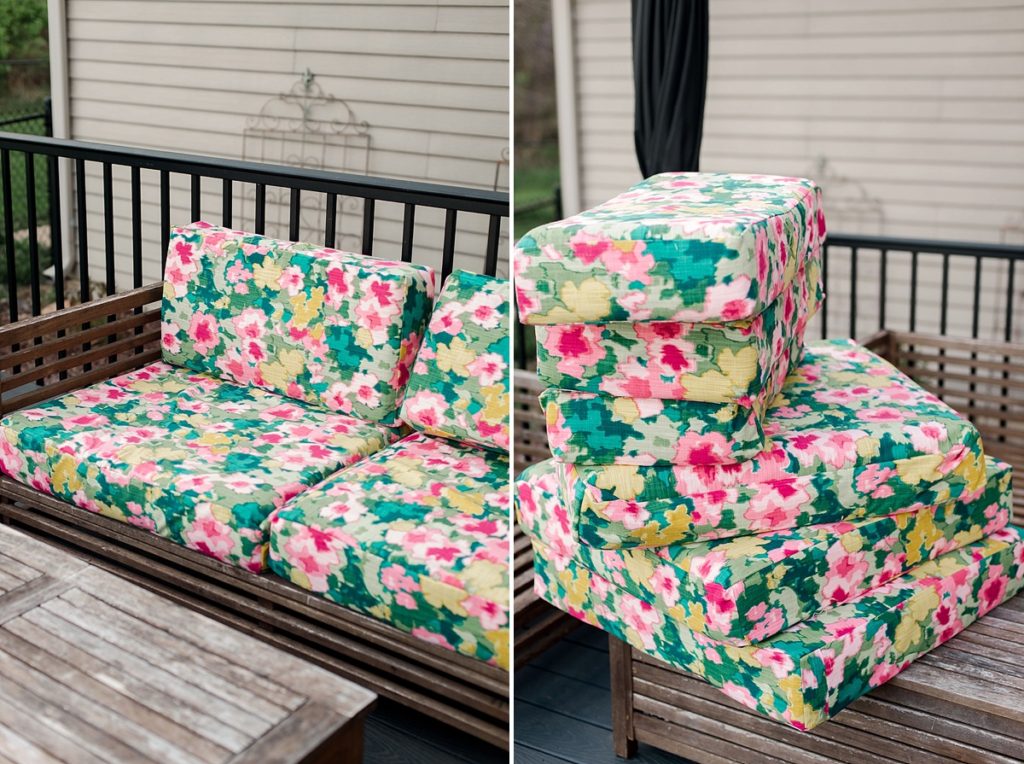
Assess Your Cushions: Repair vs. Replace
This critical first step determines your entire project. Walk through each cushion and evaluate:
Check the Cover
- Faded but intact → Recover or clean
- Small tears or holes → Patch
- Large rips or brittle fabric → Recover with new fabric
- Zippers broken → Replace zippers
Check the Foam Core
- Still bouncy and firm → Keep it
- Flattened or sagging → Replace foam
- Smells musty or shows dark spots → Replace foam immediately
- Damp inside → Replace foam and fix the waterproofing problem
Check the Structure
- Any signs of rust on ties or frames → Address before reinstalling
- Loose piping or welting → Restitch or replace
- Hooks, buttons, or ties missing → Source replacements or swap for nonslip pads
If only the cover is worn but the foam is solid, you're looking at a straightforward recovering job. If the foam is waterlogged, you'll need to replace it—and you should figure out how moisture got in before rebuilding. A common mistake is fixing the symptom without addressing the cause, and wondering why the problem returns within months. For related guidance on maintaining comfort and structure in your sleeping spaces, the same principles apply when you're choosing quality materials for long-term durability.
Cleaning and Fabric Care Before Repairs
Cleaning before repairing might seem backwards, but it's essential. Dirt hides damage and weakens fabric threads. A clean surface also lets adhesive and stitches bond properly.
For Removable Covers
- Unzip and remove covers carefully.
- Brush off loose dirt and debris.
- Machine wash on cold with mild detergent, following any fabric care tag.
- Air dry completely—never use high heat, which shrinks outdoor fabric.
For Fixed Cushions (Can't Remove the Cover)
- Vacuum or brush away loose dirt and spider webs.
- Mix a solution of mild soap and warm water.
- Scrub gently with a soft brush, working in circles.
- Rinse thoroughly with a hose or damp cloth.
- Dry fully in direct sunlight, flipping cushions periodically.
For Mildew and Stubborn Stains
Mix one cup of white vinegar with one gallon of water. Apply the solution, let it sit for 15 minutes, then scrub and rinse. For tough stains, a paste of baking soda and water works well—apply it directly and let it dry before brushing off.
In practice, vinegar-based cleaning resolves about 80% of outdoor cushion discoloration. The key is patience: let the solution work before scrubbing aggressively. For understanding how your sleep environment affects health and comfort, a clean, allergen-free space is just as important as the materials themselves—something to consider when designing a healthier bedroom.
Thorough cleaning before repairs ensures your fixes actually hold.
Choosing the Right Fabric for Outdoor Use
This decision makes or breaks your project. Not all fabric is created equal when it faces the elements.
What Makes Fabric "Outdoor-Rated"?
- UV resistance — Fabric treated with UV inhibitors resists fading and fiber degradation better.
- Water repellency — Some fabrics are coated to resist moisture, though most still need a waterproof liner underneath.
- Mildew resistance — Acrylic and solution-dyed fabrics resist the fungal growth that ruins untreated textiles.
- Colorfastness — Solution-dyed fabric has color embedded in the fiber itself, so it fades much slower than printed fabric.
Fabric Options Compared
| Fabric Type | Durability | Water Resistance | Cost | Best For |
|---|---|---|---|---|
| Sunbrella (acrylic) | Excellent | Good | High | Premium, long-term projects |
| Polyester outdoor fabric | Good | Good | Moderate | Budget-conscious recovery |
| Canvas (treated) | Good | Moderate | Moderate | Casual, rustic looks |
| Olefin | Excellent | Excellent | Moderate | High-traffic seating |
Practical advice: When ordering fabric, add 15–20% extra for mistakes and seam allowance. Measure your pattern before cutting, and account for piping or welting if you plan to add it. An extra half-yard costs less than a second order and re-cutting.
Repairing Tears, Seams, and Zippers
Small repairs are often the fastest path to like-new cushions. Let's tackle the most common issues:
Patching Small Holes
- Trim loose threads around the hole for a clean edge.
- Cut a patch of matching outdoor fabric slightly larger than the hole.
- Apply fabric glue to the patch edges and press into place from inside the cover (for a tidy outside appearance).
- Alternatively, stitch the patch in place using a zigzag stitch.
Restitching Broken Seams
- Turn the cover inside out.
- Use a heavy-duty needle and UV-resistant thread.
- Sew from the inside, matching the original stitch line.
- Reinforce with a second pass on high-stress areas (corners, near zippers).
- Tie strong knots at both ends and trim excess thread.
Replacing Zippers
- Carefully remove the old zipper using a seam ripper, following the original stitch line.
- Choose a zipper designed for outdoor use—metal or heavy-duty plastic.
- Pin the new zipper in place and stitch slowly, using a zipper foot if sewing.
- Test the zipper before closing the cover around foam.
A common mistake is attempting to replace a zipper with a hand-sewn closure. If you can't fit the foam back in through a small opening, you'll ruin the cover. Measure the opening you need against the original zipper length before buying. Recovering outdoor cushions this way means solving problems before they compound.
Replacing Foam and Inner Materials
Comfort comes from the inside. Old foam can flatten, hold water, or smell musty—and no amount of new fabric will fix that.
Selecting the Right Foam
| Foam Type | Density | Drainage | Best Use Case |
|---|---|---|---|
| Standard polyurethane | 1.8–2.5 lb | Poor | Covered porches, dry climates |
| Reticulated foam | 1.8–2.2 lb | Excellent | Rainy or humid climates |
| Quick-dry foam | 2.0–2.5 lb | Good | High-use seating, near pools |
| Memory foam (not recommended) | Variable | Poor | Avoid outdoor use—holds moisture |
Measuring and Cutting Foam
- Measure your cushion dimensions carefully—length, width, and thickness.
- Order foam slightly larger than needed (about 1/2 inch) to account for cover compression.
- Cut foam with a sharp electric knife or serrated blade for clean edges.
- Round sharp corners slightly to reduce cover stress.
Protecting New Foam
Even with drainage holes, outdoor foam benefits from a waterproof wrap. Options include:
- Waterproof cushion liners — zippered bags designed to hold foam
- Fabric wrap — muslin or moisture-wicking material that lets foam breathe
- Plastic wrap — works but feels crinkly and traps heat
In practice, investing in a quality foam wrap costs far less than replacing soaked foam every two years. Proper technique and careful planning for recovering outdoor cushions makes a substantial difference. The same attention to internal support and materials applies to a good night's rest—checking out mattress options before you buy can save you discomfort later.
Reupholstery: Step-by-Step for a Durable Finish
Now it's time for the satisfying part—assembling a finished cushion that looks professional. You have two approaches: sewing covers or using a no-sew glue method.
Step 1: Remove the Old Cover
Carefully unzip or cut the existing cover open. Preserve it—this becomes your pattern template. Cutting the cover open along a seam is often easier than trying to unzip a swollen, damaged cover.
Step 2: Create Your Pattern
Lay the old cover flat and trace around it onto the new fabric. Add 1/2 inch (1.27 cm) for seam allowance on all sides. Mark the fabric with chalk or a fabric marker.
Step 3: Cut the New Fabric
Use sharp fabric scissors for clean edges. If adding piping, cut bias strips of fabric and cover the piping cord now—you'll need them before sewing.
Step 4: Sew the Cover
- Use a heavy-duty needle (size 16–18 for outdoor fabric).
- Set your machine to a longer stitch length (3–3.5mm) for durability.
- Sew seams with a 1/2 inch allowance, double-stitching high-stress areas.
- Insert piping between the top and side panels as you sew for a professional finish.
Step 5: Insert New Foam
Place your wrapped foam inside the new cover. Work the foam in gradually, adjusting as you go. The cover should fit snugly but not bulge.
Step 6: Close the Cover
- With zipper: Close and test the fit.
- Without zipper: Pin and sew the opening closed by hand or machine.
Step 7: Test and Adjust
Place the completed cushion on your furniture. Sit on it—check seams for stress. If you see puckering, the cover is too tight. If it looks baggy, a seam needs adjusting. Fixing this now prevents frustrating results later.

Using the old cover as a pattern makes cutting new fabric fast and accurate.
No-Sew Option (Glue Method)
If you don't have a sewing machine, you can still recover cushions:
- Cut fabric with a 1-inch overhang on all sides.
- Apply heavy-duty fabric glue or adhesive spray.
- Press fabric over the foam edges and smooth out wrinkles.
- Secure edges with clothespins or clips while drying (24 hours).
- Trim excess fabric after the glue has completely cured.
This method works best for box-style cushions without curves. Loosen the fit slightly—sewn corners allow more shaping than glued corners.
Weatherproofing and Finishing Touches
A recovered cushion isn't truly finished until it's protected. Weatherproofing extends your work's lifespan significantly.
Apply a Fabric Protector
Choose a protector specifically designed for outdoor fabrics. Spray generously and let dry completely before use. Reapply every 6–12 months, depending on how much sun and rain your cushions face. Reapply after any deep cleaning.
Seal the Seams
Even quality fabric is only as strong as its seams. After sewing or gluing, apply seam sealer down the stitch lines and edges. This blocks water from wicking into the foam through thread holes. Let it dry completely before installing cushions.
Add Cushion Ties or Nonslip Pads
Cushions that slide around take more wear. Ties keep cushions anchored to chair frames, while nonslip pads prevent movement. Both reduce abrasion on the fabric and help cushions keep their shape.
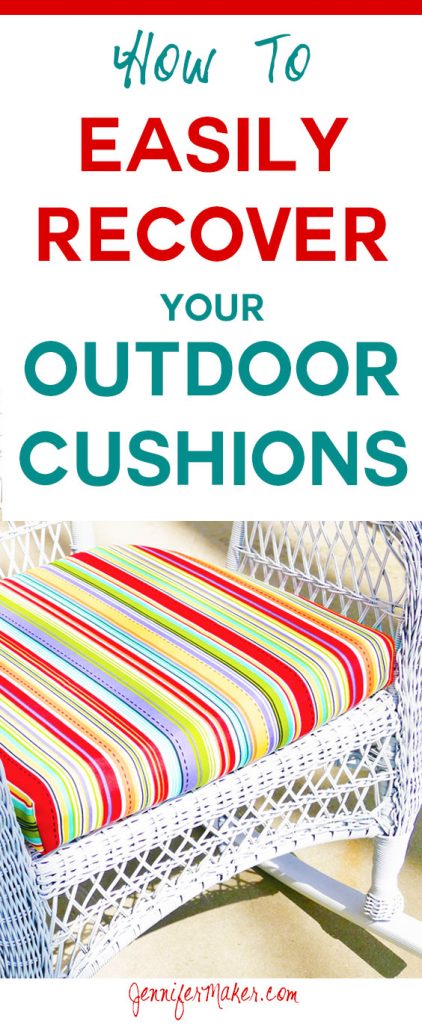
A weatherproofing spray is a small step with big long-term benefits.
Establish a Seasonal Routine
At the end of each outdoor season:
- Clean cushions thoroughly.
- Ensure they are bone-dry.
- Store them in a dry place or use weatherproof covers.
Cushions stored improperly can need recovering again sooner than you'd expect. Good storage habits make each recovery project last longer.
Cost, Time, and When to Call a Professional
Some projects are worth doing yourself; others are better hired out. Know the difference before you start.
| Project Type | DIY Cost (per cushion) | Time (per cushion) | Professional Cost |
|---|---|---|---|
| Cleaning + small patch | $5–$15 | 30–60 minutes | $30–$60 |
| Foam replacement | $20–$50 | 1–2 hours | $80–$150 |
| Fabric recovery (sewn) | $30–$80 | 3–6 hours | $150–$300 |
| Full custom reupholstery | $50–$120 | 6–8+ hours | $400–$800+ |
Call a Professional When:
- The cushion has complex curves or irregular shapes — professional sewing handles these better.
- The frame is damaged — focus on fixing the chair before the cushion.
- You need perfect pattern matching — professionals match fabric patterns across multiple cushions seamlessly.
- The value justifies the cost — heirloom or high-end pieces deserve expert attention.
That said, the DIY route is often more achievable than people expect. Start with a single cushion. If it goes well, continue. If you make a mistake, you've only invested a few dollars and some time in one test piece. And if you're looking at a full set, consider whether investing in quality materials is better than replacing furniture entirely. The habit of evaluating value versus repair cost applies beyond cushions—recovering outdoor cushions is just a concrete example of smart home maintenance.
Preventing Future Damage: Good Habits That Pay Off
Small habits prevent most cushion damage. Adopt these routines and your recovered cushions will last far longer.
- Clean spills immediately — never let liquids sit on the fabric.
- Dry cushions fully — flip them upside down after rain so water drains.
- Store during storms — waiting out severe weather extends cushion life.
- Rotate cushions regularly — this ensures even wear and sun exposure.
- Fix small problems immediately — stitch a loose seam before it becomes a tear.
- Trim nearby plants — branches and foliage rubbing against fabric accelerate wear.
- Use stainless steel fasteners — standard metal screws and staples rust outdoors.
Every restoration project I've worked on reinforces the same lesson: regular care prevents dramatic damage. Cushions cleaned, dried, and stored properly outperform neglected ones by years. If outdoor living spaces are part of your overall well-being routine, consistent maintenance helps you actually rest better at night knowing your home is well-cared for.
Frequently Asked Questions
How long does a DIY recovery take?
A simple clean and patch takes under an hour per cushion. Full reupholstery with new fabric typically takes 3–6 hours per cushion for a first-timer. Experienced DIYers can complete a cushion in 2–3 hours.
Can I use indoor fabric for outdoor cushions?
No. Indoor fabric lacks UV and moisture resistance—it will fade, weaken, and grow mildew within one season. Always choose fabric specifically rated for outdoor use.
Is reticulated foam worth the extra cost?
Yes, especially in humid or wet climates. Reticulated foam has an open-cell structure that drains and dries much faster than standard foam, which prevents mold development and extends the life of both foam and cover.
How do I remove tough mildew stains?
Use a vinegar and water solution (1 cup vinegar per gallon of water) or a specialized fabric mildew spray. Let the solution sit for 15 minutes, scrub gently, then rinse thoroughly and dry in direct sun—UV light kills remaining spores.
Can I sew outdoor fabric with a standard home sewing machine?
Many home machines handle lightweight outdoor fabric. Use a heavy-duty needle (size 16 or 18), a longer stitch length, and test on scraps first. If your machine struggles with thick seams, hand-sew with a leather needle or use the glue method instead.
How often should I reapply fabric protector?
Every 6–12 months, depending on sun exposure and use frequency. Reapply immediately after any deep cleaning—washing strips away existing protectant.
Conclusion
Recovering outdoor cushions is more than a money-saving hack—it's a way to get exactly what you want: better fabric, better foam, and a color scheme that matches your outdoor space perfectly. You now have a complete plan: assess damage honestly, clean thoroughly, make strategic repairs, choose the right materials, and finish with weatherproofing that protects your work.
Start small. Pick one cushion that needs the most attention. Follow the steps, learn what your fabric and foam need, and build confidence. Before long, you'll look at your patio and see not just comfortable outdoor seating, but proof that you can handle home improvement projects with skill. For more guidance on maintaining comfort and quality in your home, explore how sleep-friendly environments contribute to your overall well-being.

Daniel Hart is a consumer product analyst who specializes in mattress technology, smart bedding, and home comfort innovation. Before joining Royal Comport, Daniel worked with several e-commerce research teams, testing and comparing sleep products for quality, value, and long-term performance. He brings data-driven insight and real-world testing to every review he writes.


