
You can make sturdy, weatherproof outdoor cushions with basic sewing tools and durable fabrics.
I’ve made dozens of cushions for patios, porches, and balcony nooks, so I’ll walk you through exactly how to make your own outdoor cushions from start to finish. This guide blends hands-on experience, clear steps, and practical tips so you can pick fabrics, cut patterns, sew seams, add filling, and protect cushions from sun and rain. Read on to build long-lasting, stylish outdoor cushions that fit your space and budget.
What you need before you start
Making outdoor cushions starts with the right plan and supplies. Here’s a compact shopping list and why each item matters when you learn how to make your own outdoor cushions.
- Outdoor fabric rated for UV and mildew resistance. Choose acrylic, polyester, or treated canvas.
- Cushion foam or polyester fill. High-density foam keeps shape, polyester resists moisture.
- Outdoor sewing thread and heavy duty needles. Polyester thread resists sun and moisture.
- Sewing machine that can handle thick material. A jean needle helps.
- Zippers or Velcro for removable covers.
- Scissors, rotary cutter, cutting mat, ruler, chalk or fabric marker.
- Seam sealer or waterproofing spray for extra protection.
- Measuring tape and pattern paper or cardboard for templates.
I always buy slightly more fabric than the measurements suggest. It’s better to have a little extra than to run short mid-project. When you make outdoor cushions, small additions save time and frustration.
Choosing the right fabric and filling
Choosing fabric and filling is the foundation of learning how to make your own outdoor cushions. The wrong materials will fade, mildew, or sag quickly.
- Fabric durability and weight
- Look for acrylic or solution dyed polyester. These resist UV and fading.
- Medium to heavy weight fabric is easier to sew and lasts longer outdoors.
- Water resistance and breathability
- Water resistant fabrics shed light rain. For heavy exposure, choose water proof liners or add seam sealing.
- Breathable fabrics reduce trapped moisture and mildew.
- Filling options
- High density foam gives structure for seat cushions.
- Polyester fiberfill works best for loose back cushions and toss pillows.
- Quick dry foam or reticulated foam is ideal where drainage matters.
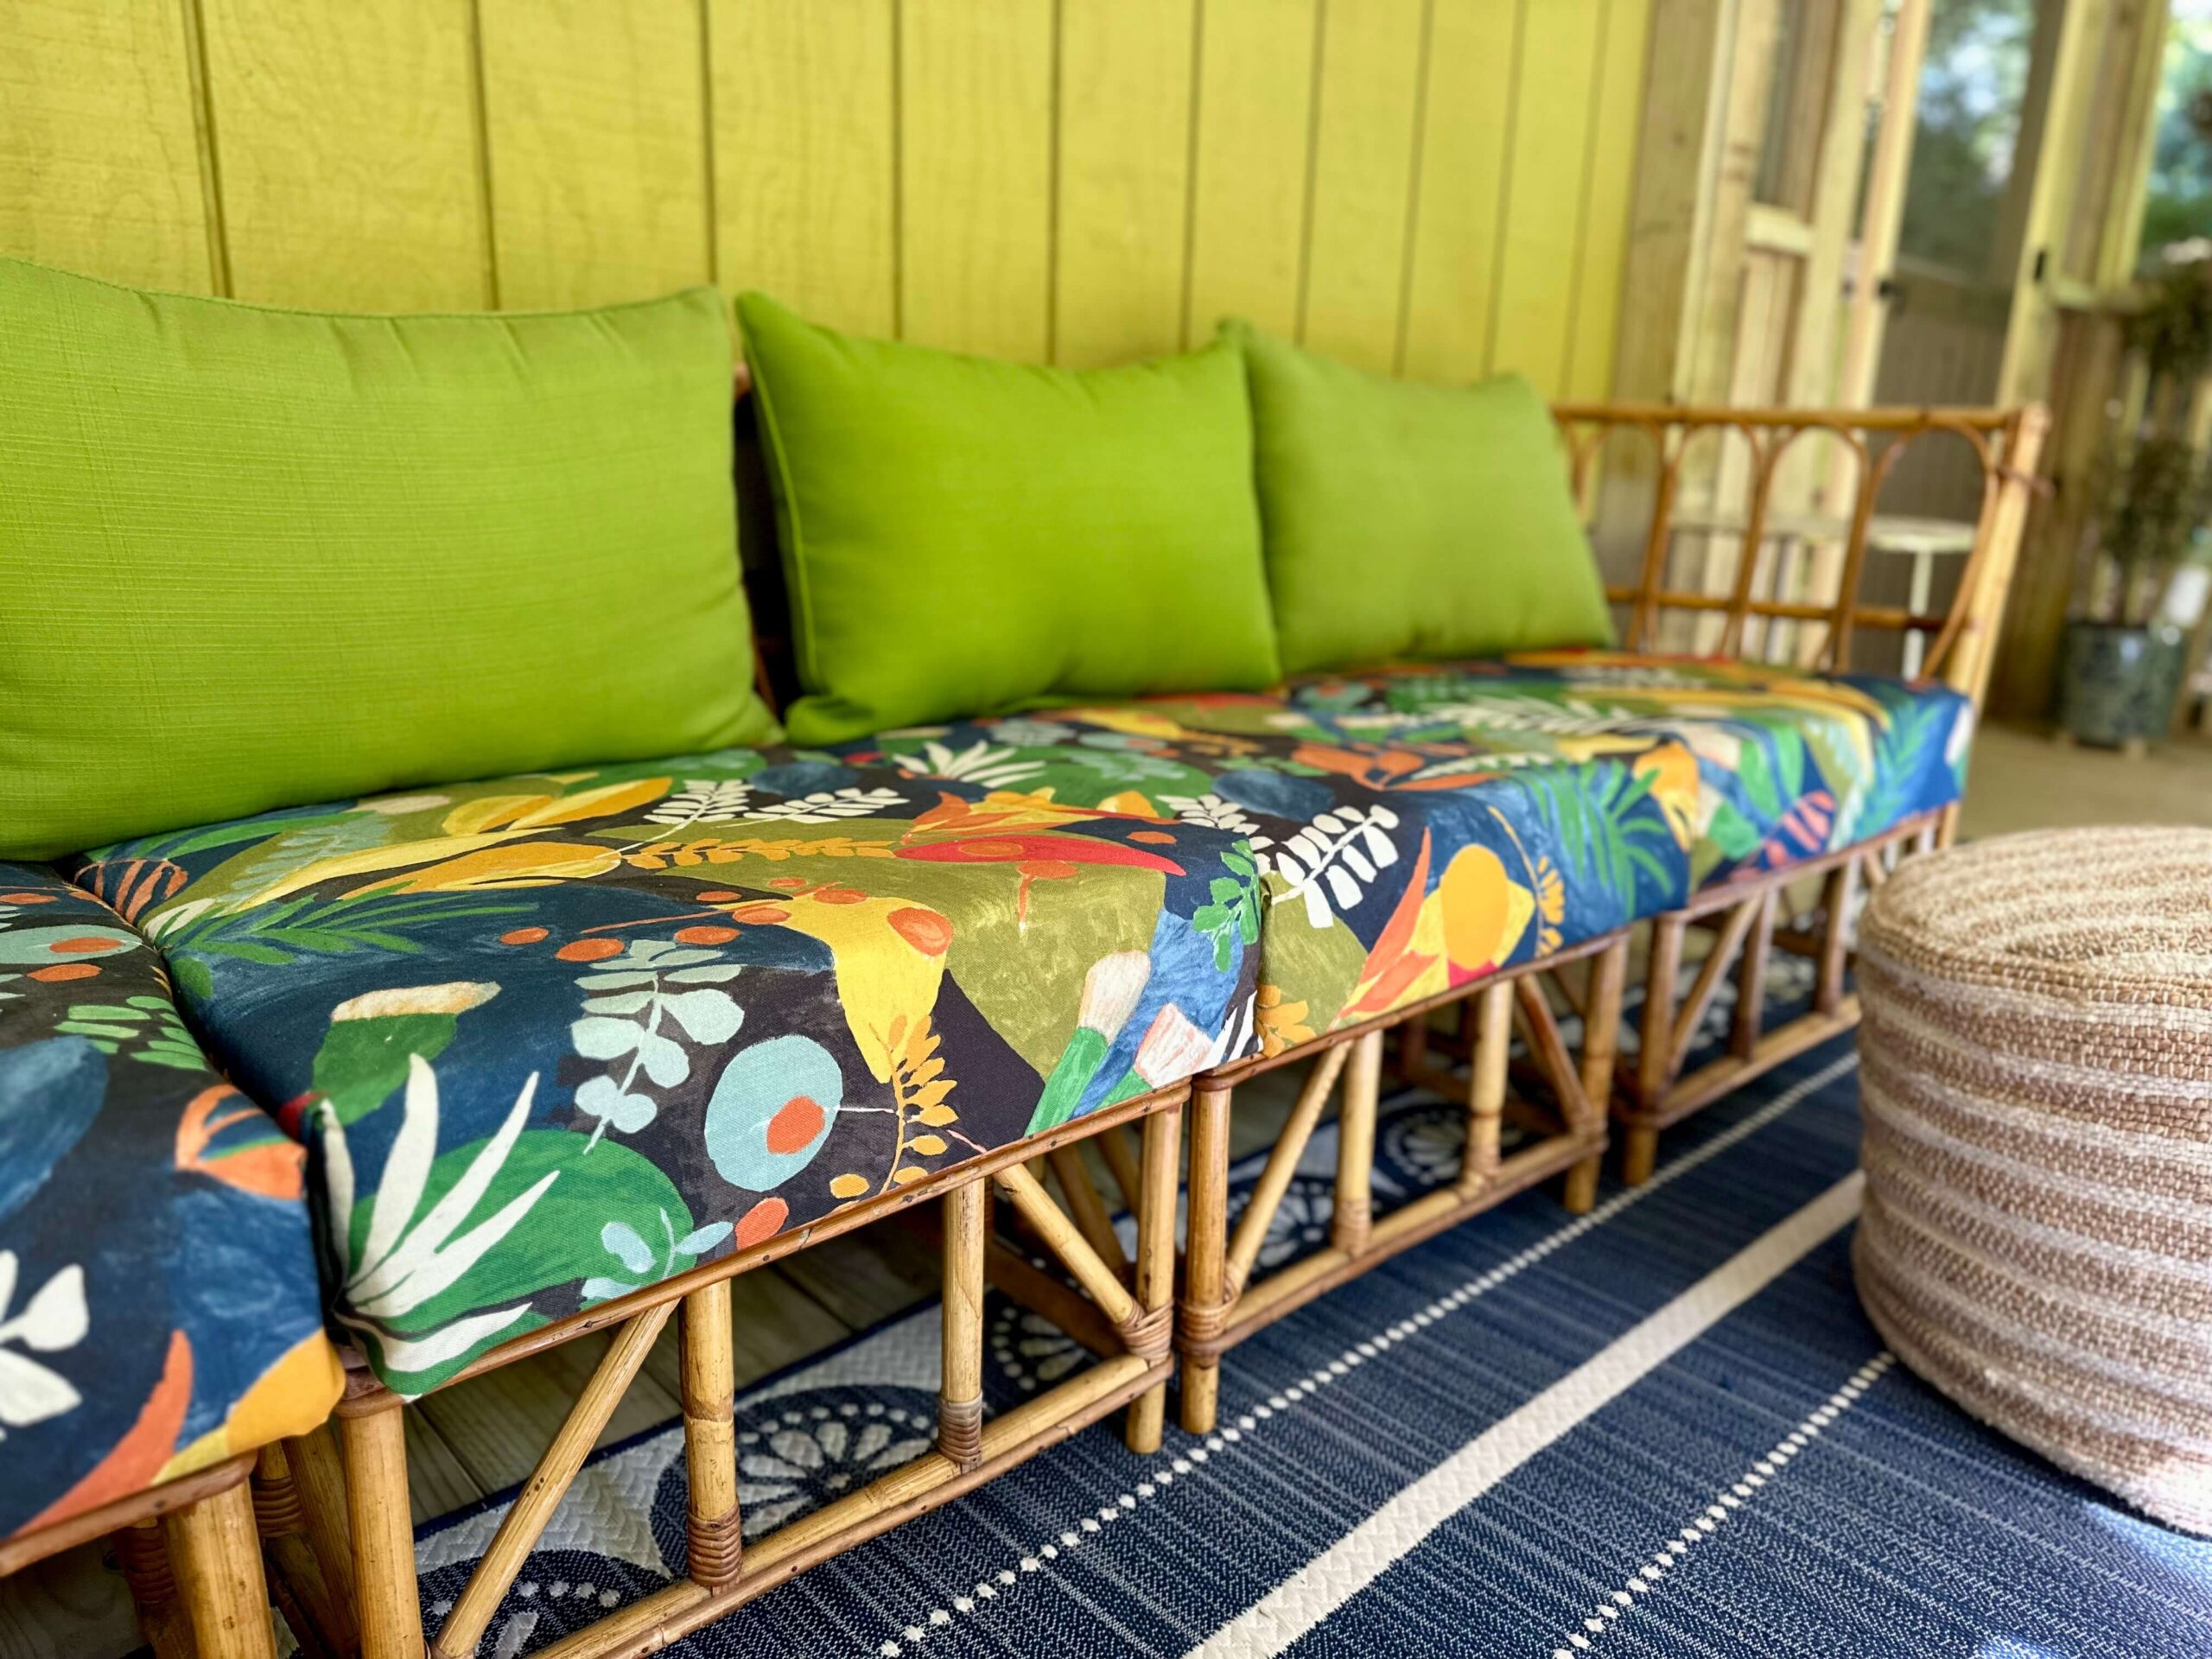
- Color and pattern
- Pick a pattern that hides dirt and fading.
- Lighter colors reflect heat; darker colors may fade faster.
From my experience, solution dyed acrylic fabrics stay brighter longest. Use quick dry foam for cushions on docks or near pools. When you plan how to make your own outdoor cushions, investing in better fabric pays off.

Measuring, pattern making, and cutting
Accurate measurement is critical when you learn how to make your own outdoor cushions. Take your time here.
- Measure furniture
- Measure width, depth, and desired thickness.
- Add 1 inch to each side for seam allowance.
- Create a pattern
- Use craft paper or cardboard to draw the top, bottom, and side panels.
- For box cushions, the side band width equals cushion thickness.
- Lay out fabric
- Place fabric right side down and pin pattern pieces.
- Align patterns to match stripes or prints.
- Cut carefully
- Use a rotary cutter for straight edges.
- Cut one piece at a time if fabric is slippery.
I once cut two identical panels off grain and had a lopsided cushion. Take a breath and check grain lines before cutting. Accurate cutting makes sewing easy and neat.
Step by step sewing guide
Sewing is the heart of how to make your own outdoor cushions. Follow these clear steps for neat, durable seams.
- Prep fabric and machine
- Use a heavy duty needle and polyester thread.
- Test stitch on scrap fabric to set tension and stitch length.
- Sew seams
- Pin right sides together and stitch with a 1 inch seam allowance.
- Double stitch stress points like corners and zipper ends.
- Add a zipper or Velcro
- Install a heavy duty zipper along one side to make the cover removable.
- For simpler cushions, use overlap closures or Velcro.
- Finish seams
- Use pinking shears or serge edges to prevent fraying.
- Optional seam sealer adds water resistance.
- Turn and press
- Turn cover right side out and push corners with a blunt tool.
- Press seams flat with a medium iron and a press cloth.
When I first made cushions, I skipped a zipper to save time and later regretted it during cleaning. Always add a removable cover for easy washing. Learning how to make your own outdoor cushions with a zipper saves future hassle.
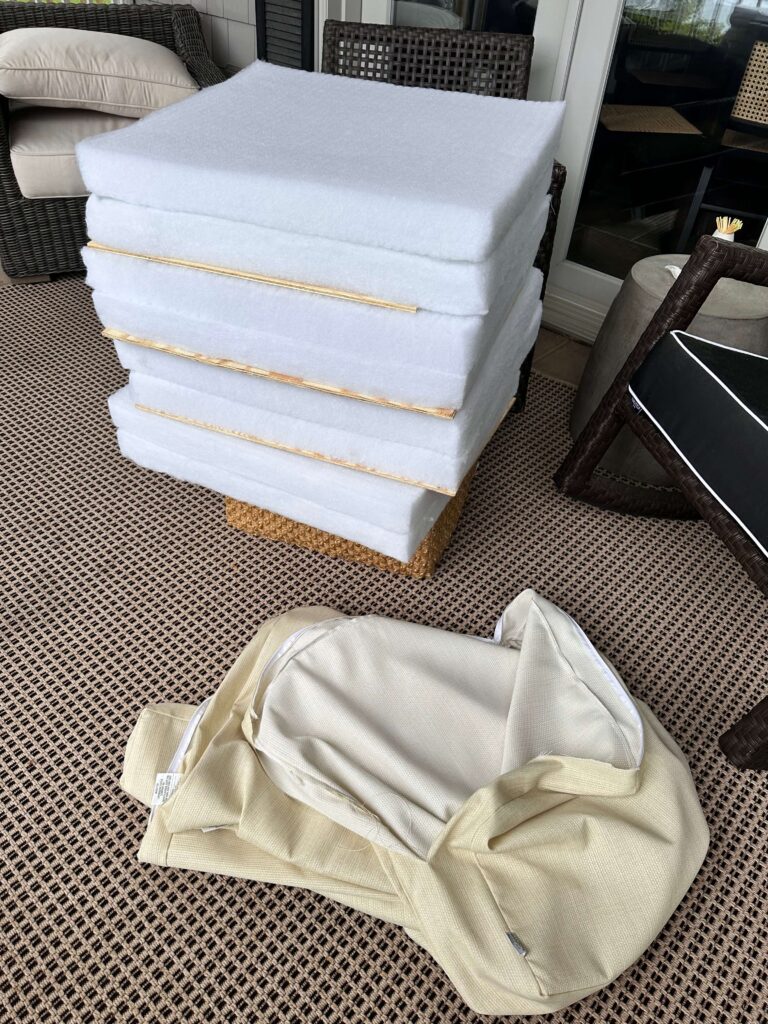
Filling, shaping, and finishing touches
How you fill cushions affects comfort and longevity. This section explains filling techniques for great results.
- Foam insertion
- Wrap foam in an inner liner or batting to smooth edges.
- Insert foam carefully and zip the cover closed.
- Fiberfill and tufting
- Stuff fiberfill evenly and pinch excess for loft.
- Use tufting buttons and ties if you want a classic tufted look.
- Edge piping and corners
- Add piping for a tailored finish and extra durability at seams.
- Reinforce corners with square stitching to prevent collapse.
- Weighing and anchoring
- Add ties or non slip backing to seat cushions to keep them in place.
I prefer wrap foam in batting before inserting it. It makes seams look cleaner and cushions feel fuller. Small finishing details make a big difference when you learn how to make your own outdoor cushions.
Weatherproofing and maintenance
To keep cushions working outdoors, treat them for weather and set a routine care plan. Here’s how to make your own outdoor cushions last longer.
- Water defense
- Use a water repellent spray on seams and fabric.
- For heavy exposure, add a water proof liner under the cover.
- Sun and fade protection
- Rotate cushions periodically to even out fading.
- Store cushions in shade when not in use.
- Cleaning
- Spot clean with mild soap and water.
- Machine wash removable covers per fabric instructions.
- Storage
- Store cushions dry in breathable bins or bags.
- Avoid plastic bags that trap moisture and encourage mildew.
I learned the hard way that stacked wet cushions mold quickly. Dry cushions fully before storage. When you know how to make your own outdoor cushions and maintain them, they look better and last years.
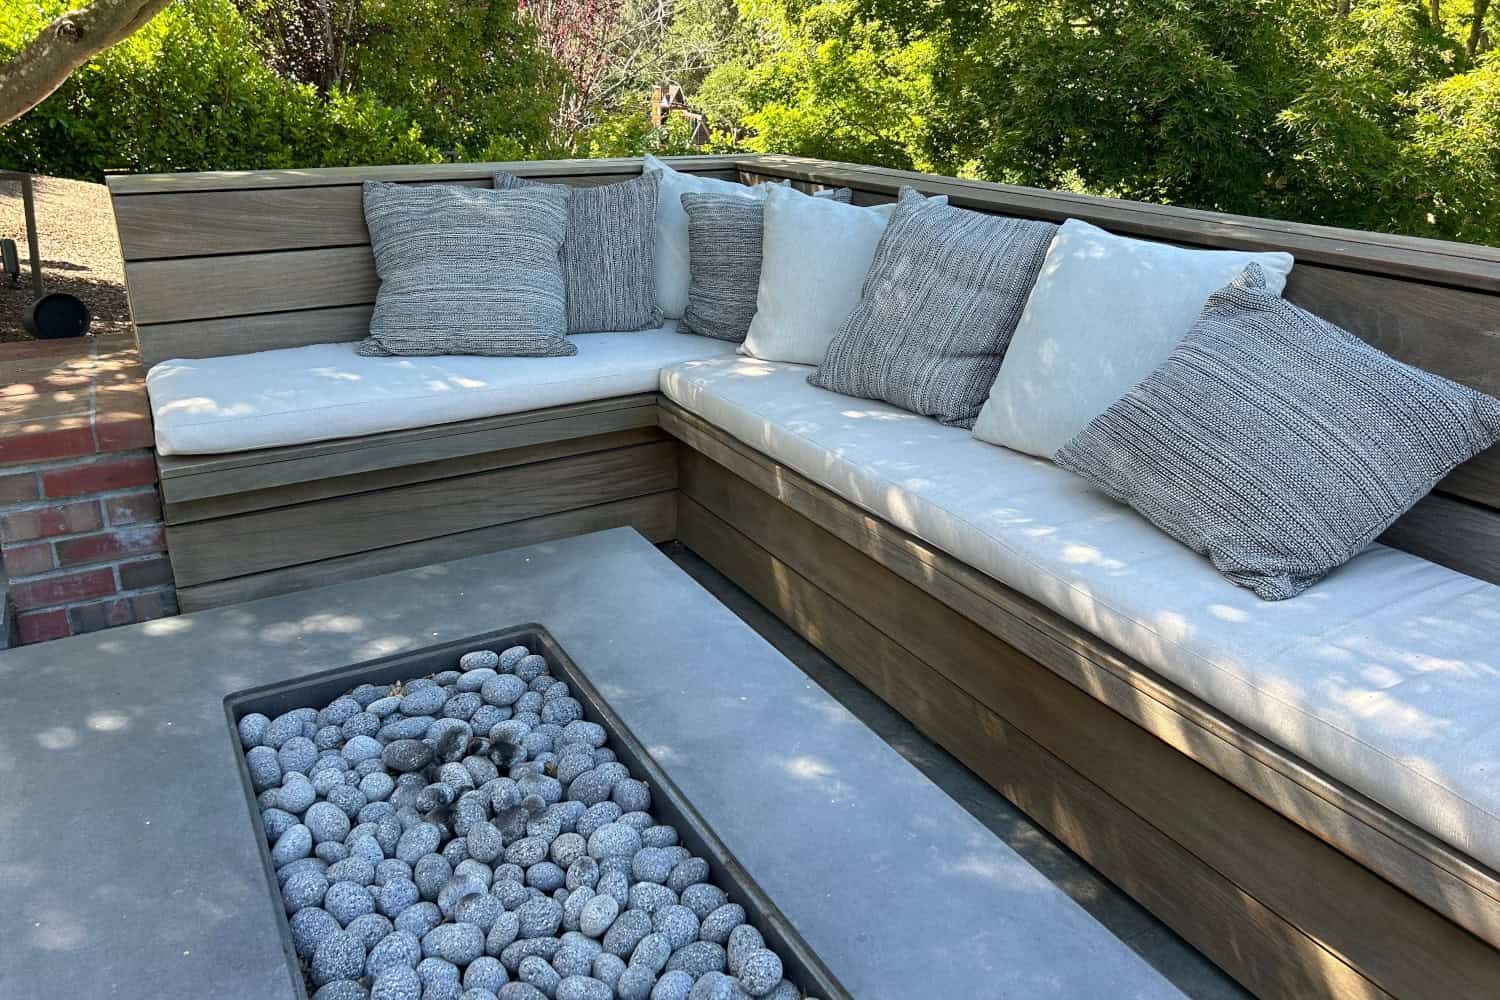
Design ideas and personalization
Making your own cushions lets you customize color, pattern, and size. Here are ideas to personalize your project.
- Mix and match sizes for a layered look.
- Add piping in a contrasting color for a bold edge.
- Use outdoor canvas for rugged, casual spaces.
- Print or stencil simple patterns for a personal touch.
- Sew toy pockets or side pockets into back cushions for outdoor games.
Personalizing cushions is fun and satisfying. I once added a small pocket for a remote control; friends loved it. Use creativity when you learn how to make your own outdoor cushions to reflect your style.
Troubleshooting common problems
When you make outdoor cushions, small problems pop up. Here are quick fixes based on my experience.
- Seams popping
- Reinforce with a second line of stitching and use stronger thread.
- Fabric puckering
- Check tension and use a longer stitch length on the machine.
- Foam sliding inside cover
- Use an inner liner or tie foam to the cover at corners.
- Mildew spots
- Clean with a diluted vinegar solution and re-treat fabric with a mildew control spray.
I once had foam slide because I omitted the liner. Now I always add a liner and a zipper. Small preventive steps avoid big headaches when you learn how to make your own outdoor cushions.
Cost and time estimates
Understanding cost and time helps set expectations for how to make your own outdoor cushions.
- Cost range
- Budget fabrics and polyester fill can keep a cushion under $20.
- Higher end fabrics and foam push cost toward $50 to $100 each.
- Time estimates
- Simple square cushion: 45 to 90 minutes.
- Box cushion with zipper and piping: 2 to 4 hours.
- Ways to save
- Buy fabric remnants or shop clearance.
- Reuse old foam or repurpose indoor cushions.
I replaced expensive store cushions with hand made ones and saved money while getting better fit. Time invested returns in comfort and customization.
Frequently Asked Questions of How to make your own outdoor cushions
What fabric is best for outdoor cushions?
Choose solution dyed acrylic or polyester designed for outdoor use. These fabrics resist UV, mildew, and stains.
Can I use indoor fabric outside?
Indoor fabric will fade and mildew faster. If exposure is limited, treat indoor fabric with UV and water repellents but expect shorter life.
What type of foam should I use for seat cushions?
High density foam or quick dry reticulated foam works best for seat cushions that need shape and drainage.
Do outdoor cushion covers need a zipper?
Removable covers with a zipper make cleaning easy and extend cushion life. Overlap closures are less convenient.
How do I prevent mold and mildew on my cushions?
Keep cushions dry, store them properly, and use breathable storage. Treat fabric with mildew resistant spray as needed.
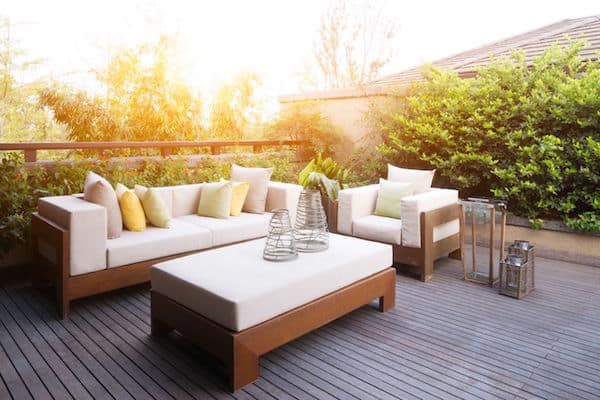
Conclusion
Making outdoor cushions is a rewarding, practical project that saves money and lets you create pieces tailored to your space. Start by choosing durable fabric, measure carefully, sew sturdy seams, and finish with weatherproofing. Small habits like removable covers and proper storage keep cushions looking fresh for years. Try one cushion to build confidence, then expand to a full set. Share your results or ask questions below to get help for your next project.

Daniel Hart is a consumer product analyst who specializes in mattress technology, smart bedding, and home comfort innovation. Before joining Royal Comport, Daniel worked with several e-commerce research teams, testing and comparing sleep products for quality, value, and long-term performance. He brings data-driven insight and real-world testing to every review he writes.


