

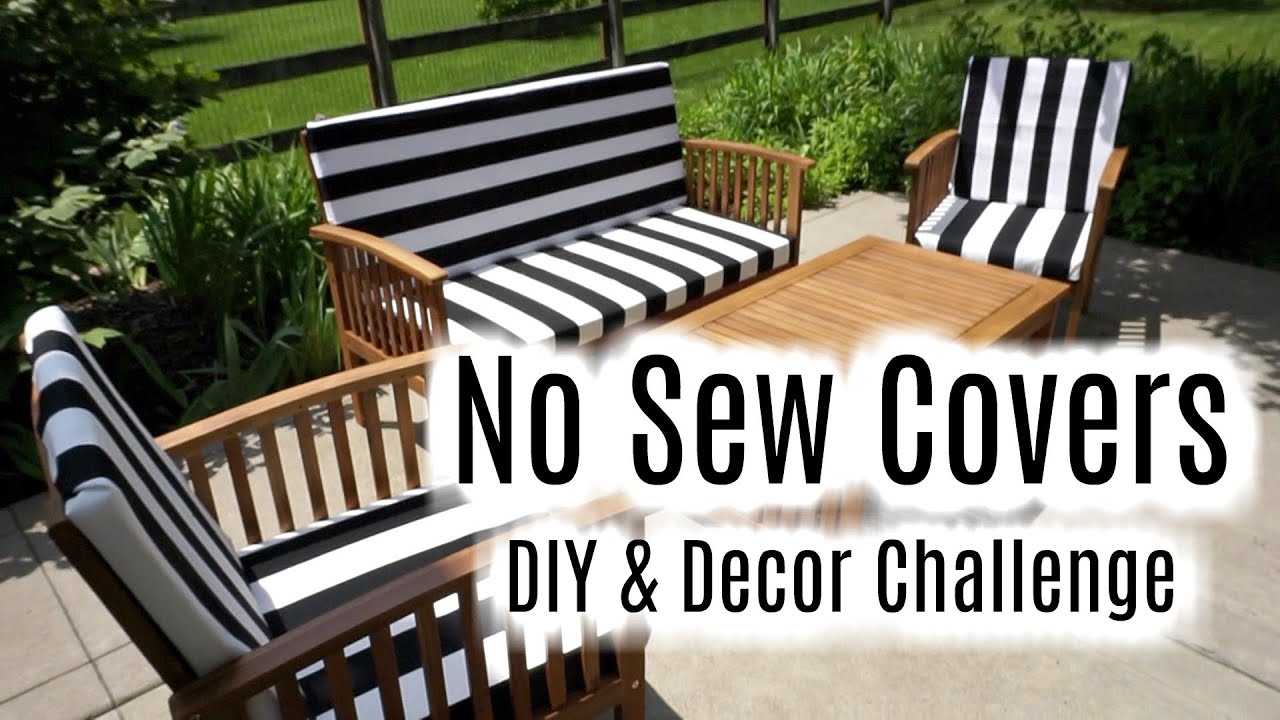
Building your own cushions for patio chairs, benches, and loungers is one of the most rewarding outdoor projects you can take on. You get a perfect fit for frames that store-bought sizes never quite match, a fabric color that actually coordinates with your deck, and a final cost that is often less than half of what a custom upholsterer would charge. This guide walks you through every stage — selecting outdoor-rated foam and fabric, measuring, cutting, sewing, weatherproofing, and caring for the finished cushions — so you can complete a professional-looking set in a weekend.
Why Make Your Own Outdoor Cushions?
The biggest advantage of DIY cushions is control. When you sew your own covers, you decide the exact dimensions, the foam density, the zipper placement, and every design detail. That matters if you have an oddly shaped antique chair, a deep sectional, or a bench with unusual corner cuts. For more on this, see our guide on how to make outdoor cushions waterproof.
Cost is another factor. A single custom cushion from a retailer can run $80 to $150 or more before shipping. Making it yourself typically costs between $25 and $70 in materials, especially when you buy foam and fabric in bulk for a full set. The savings multiply quickly: build six cushions and you could save $300 or more.
DIY also makes repair practical. When a zipper fails or a fabric panel fades two years down the road, you can sew a fresh cover instead of replacing the entire cushion. And if you want to refresh your outdoor space every few seasons, learning this skill means you only swap the covers — not the whole set. For more on this, see our guide on how to clean sunbrella outdoor furniture cushions.
What You Need: Materials and Tools
Gather everything before you start. Running to the store mid-project is the fastest way to lose momentum.
Outdoor Fabric
The fabric is your first line of defense against sun and rain. Choose one of these reliable options:
- Solution-dyed acrylic — The gold standard. The color is locked into the fiber, so it resists fading far longer than printed fabrics. Brands like Sunbrella are solution-dyed and specifically engineered for outdoor use.
- Marine vinyl — Waterproof, easy to wipe clean, and extremely durable. It feels stiffer than acrylic and can get warm against the skin on hot days, but it is unbeatable for poolside and boat applications.
- Polyester outdoor fabric — A budget-friendly middle ground. Look for UV-stabilized options and check the manufacturer's mildew resistance rating.
Avoid cotton canvas and other natural fibers. They absorb water, shrink when exposed to moisture, and mildew quickly.
Foam and Fill
The foam you choose determines both comfort and longevity. More on this in the selection section below, but for materials planning you will need:
- High-resilience or quick-dry foam cut to your seat dimensions
- Polyester batting or fiber wrap to soften the edges
- A water-resistant liner if you live in a very wet climate
Hardware and Notions
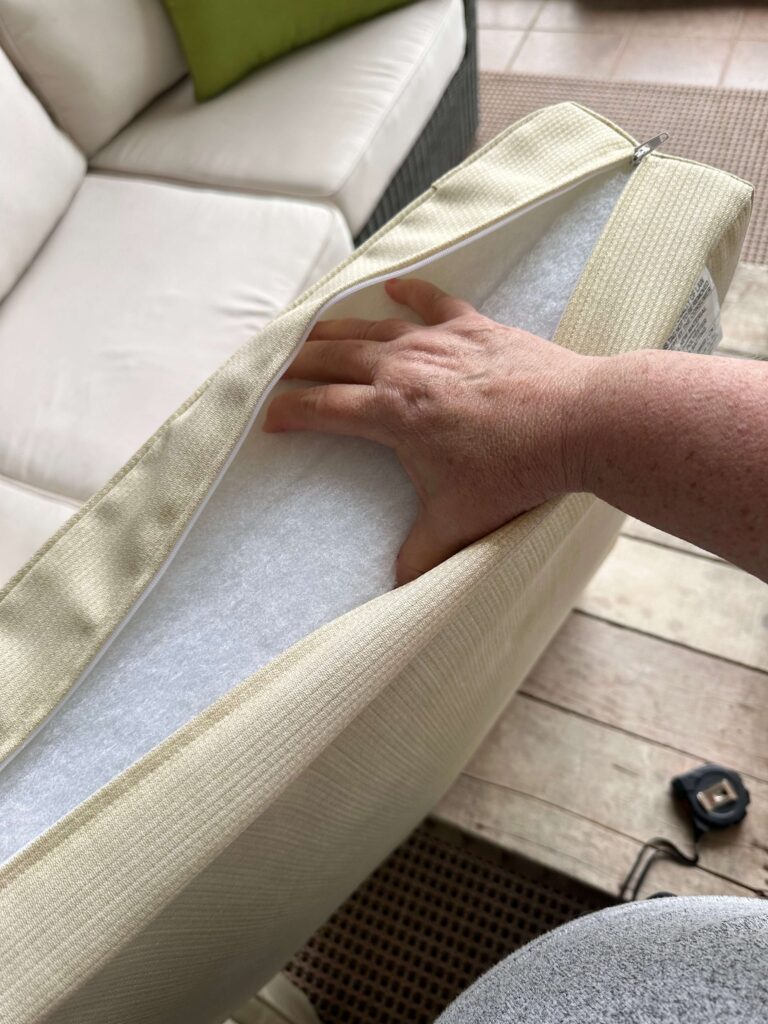
- Heavy-duty, lockable zipper (one for a toss cushion, two for a box cushion)
- Outdoor-rated thread (UV- and mildew-resistant polyester)
- Seam sealant or waterproof seam tape
- Optional: piping cord, ties, non-slip backing material
Cutting and Sewing Tools
| Tool | Purpose |
|---|---|
| Sewing machine (with a zigzag and straight stitch) | Joining panels |
| Heavy-duty needles (size 90/14 or 100/16) | Piercing thick outdoor fabric |
| Scissors or rotary cutter + cutting mat | Clean fabric cuts |
| Serrated knife or electric carving knife | Cutting foam |
| Measuring tape and tailor's chalk | Marking fabric |
| Fabric clips | Holding thick layers together |
| Iron (low heat) | Pressing seams flat |
Source: co.uk
Choosing the Right Foam and Fill
Foam is where most DIY cushions succeed or fail. Indoor-cushion foam is cheap, but it acts like a sponge: it absorbs water, holds onto mildew, and loses its shape within a season. Outdoor use demands a different approach.
High-resilience (HR) foam is the most common choice for outdoor seating. It has a density of roughly 1.8 to 2.5 pounds per cubic foot, which means it keeps its shape under repeated use. Go with the higher end of that range for seats that see daily traffic; the lower end works fine for occasional chairs and benches. For more on this, see our guide on how to keep outdoor cushions on furniture.
Quick-dry foam is engineered with open-cell construction that lets water drain through and evaporate quickly. It is the right pick for uncovered patios, pool decks, or any area that gets heavy rain. The tradeoff is a slightly less plush feel compared to HR foam.
Closed-cell foam is the most water-resistant option of all, but it is firm and does not breathe well. Use it for flat seat pads or the bottom layer of a larger build, not for the entire cushion. For more on this, see our guide on how to make lawn furniture cushions.
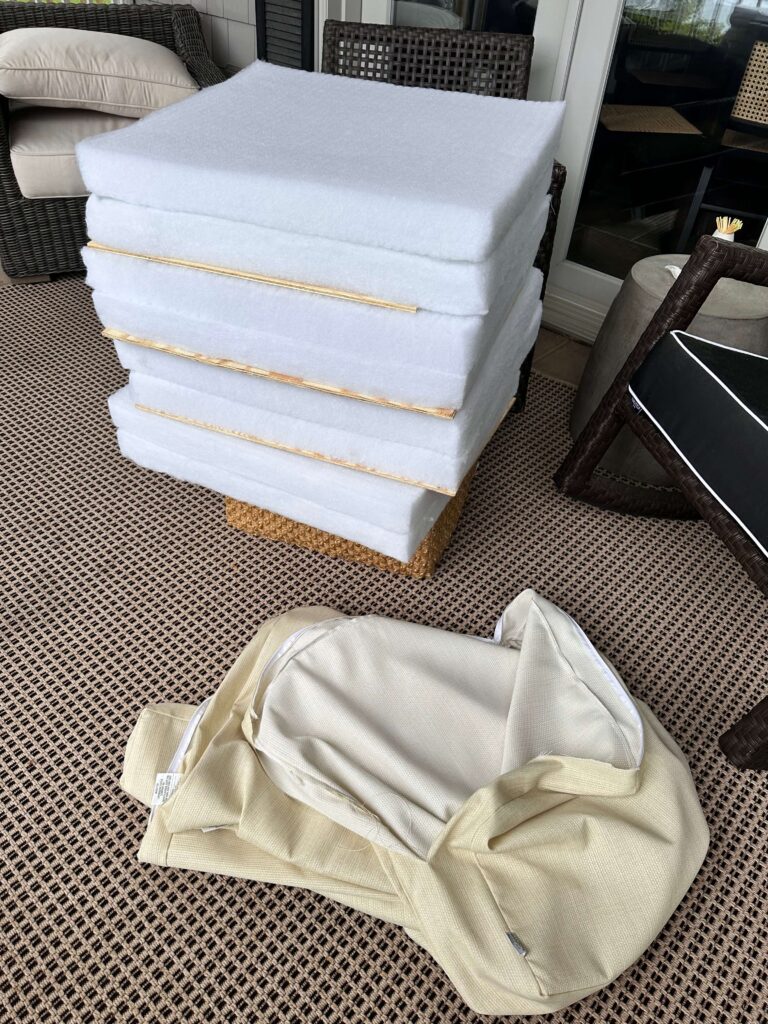
Polyester batting wraps around the foam core to soften sharp edges and fill out the cover. A layer of 1 to 2 inches is plenty — too much and the cushion feels mushy.
Source: alifeunfolding.com
Different cushion core properties behave differently under weight, just like different mattress materials do. If you are unsure how a firmer or softer feel might suit you, it is worth reviewing foam-layering concepts before committing to a density.
How to Measure and Cut
Accurate measurements make the difference between a polished cushion and a lumpy, sliding mess. Take your time here.
Measure the Frame
Measure the seat where the cushion will rest, not the outer edges of the chair frame. Record length, width, and the thickness you want (typically 2 to 5 inches for seats, 6 inches for deep lounge cushions). If the frame has arms, measure the space between them so the cushion sits flush without bunching.
Cut the Foam
Place the foam on a flat surface, mark your dimensions, and cut slowly with a serrated knife or electric carving knife. A slow, steady sawing motion produces a cleaner cut than pressing down hard. For long straight rails, a foam-cutting hot wire works beautifully but is only worth buying if you plan multiple projects.
After cutting, wrap the foam in polyester batting and hold it with a few stitches or staples. Skimping on batting is a common mistake — it is what gives outdoor cushions that full, rounded look.
Step-by-Step Sewing Guide
Once your foam is ready, turn the cover. These steps assume a basic box cushion; the same logic works for round and tapered shapes with minor pattern changes.
Step 1: Draft the Pattern
Use the wrapped foam as your pattern block. Trace the top and bottom faces, then add a side strip that measures the foam's perimeter and its thickness plus seam allowance. For a box cushion, you will need two large panels and one long strip. For a thin seat pad, a single folded piece works.
Step 2: Cut the Fabric
Lay the fabric face down, pin the pattern in place, and add 1 inch to every cutting edge for a 1/2-inch seam. If your fabric has a large print or stripe, buy extra yardage so you can match the pattern across panels.
Step 3: Sew the Cover
Pin or clip the side strip to the top panel, right sides together, and sew with a 1/2-inch seam allowance. Reinforce every corner with a backstitch. Then attach the bottom panel, but leave one edge open for the zipper.
Install the zipper along that open edge before closing the final seam — it is far easier to zip a flat panel than a stuffed cushion. Sew the zipper between the two edges of the opening, then close the remaining seams.
Step 4: Insert the Foam
Turn the cover right side out, push the foam in gently, and work it into the corners by hand. Do not yank the fabric — outdoor textiles are strong but abrasion along the seams will shorten their life. Close the zipper and do a test sit. If the cover is baggy, remove the foam, re-stitch closer to the edge, and try again.
Source: alifeunfolding.com
Sewing Tips and Finishing Touches
Small choices during sewing significantly affect durability.
- Use a walking foot. Outdoor fabric layers slip against each other, and a walking foot keeps the top and bottom layers feeding evenly.
- Backstitch all seams. A 1-inch backstitch at every stress point prevents the seam from unraveling when someone drops hard into the chair.
- Add piping. Insert piping cord wrapped in bias-cut fabric along the seams. It protects the seam itself and gives the cushion a crisp, upholstered look.
- Topstitch the edges. A line of stitching 1/8 inch from each seam flattens the fabric and reduces the amount of water that sits in the seam channel.
- Install a lockable zipper. Cheap plastic zippers corrode and fail outdoors. Look for a heavy-duty zipper with a locking pull, and rinse cushions with fresh water after exposure to salt air.
- Add ties or non-slip backing. If your chairs sit on an incline or get strong wind, sew fabric ties or attach a non-slip gripper to the bottom panel so the cushion does not slide off.
Weatherproofing and Care
A well-made outdoor cushion should last several seasons, but only if you protect it between uses.
Seal all zipper seams with a waterproof seam sealer or seam tape. This is the most common water entry point and the easiest to fix before installation. Then apply a durable water repellent (DWR) spray to non-waterproof fabrics. Reapply it every few months or after cleaning, according to the product instructions.
For routine care:
- Store cushions indoors or in a dry storage chest during the off-season.
- Use a breathable furniture cover for anything left outside between uses — plastic traps humidity and promotes mildew.
- Spot-clean with mild soap and water. Rinse thoroughly, then let the cushion dry completely before covering or stacking it.
- If mold does appear, follow the EPA's guidance for safe cleaning and removal.
An unprotected cushion in the rain is a breeding ground for mildew. If you are building a set for a frequently used space, it is also worth designing the area for comfort — a relaxing patio setting includes proper seating support, not just good looks.
Cost and Time Estimates
Here is a realistic budget for a single 20 × 20 × 3-inch box cushion:
| Item | Estimated Cost |
|---|---|
| Outdoor fabric (2 yards, solution-dyed acrylic) | $35–$90 |
| High-resilience foam, 3 inch thick | $20–$45 |
| Polyester batting (1 roll, multiple cushions) | $8–$15 |
| Heavy-duty zipper (2) | $6–$12 |
| Outdoor thread + needles | $8–$15 |
| DWR spray and seam sealer | $10–$20 |
| Total per cushion | $87–$197 |
Tools, if you do not already own them, add $50–$200 one time. A basic mechanical machine with a walking foot handles most outdoor fabrics; you do not need an industrial model.
In terms of time, plan for 1–3 hours for a simple seat pad and 3–6 hours for a box cushion with piping, ties, or custom zippers. The first one is always the slowest — the next three go much faster.
For comparison, a typical mattress budget can help you calibrate expectations: quality materials cost money at every scale, but DIY still saves you roughly 30–60% compared to custom retail.
Troubleshooting Common Issues
| Problem | Likely Cause | Fix |
|---|---|---|
| Cushion sags after a few weeks | Foam density too low | Replace with a higher-density core or add a polyester wrap for loft |
| Fabric fades unevenly | Non-solution-dyed fabric | Switch to solution-dyed acrylic; place cushions in partial shade during peak sun |
| Zipper corrodes or sticks | Non-outdoor hardware | Install a marine-grade zipper; rinse after salt exposure |
| Mold spots appear | Moisture trapped between foam and fabric | Remove foam, air-dry both, clean with mild detergent, and use a waterproof liner |
| Cover slides off the chair | Smooth bottom fabric | Add non-slip gripper pads or fabric ties |
| Seams pull apart | Wrong needle or thread | Use a 100/16 needle and outdoor polyester thread; backstitch all corners |
Before applying any cleaner to the full cover, test a small hidden scrap of fabric. Some mildew removers can bleach or stiffen certain finishes.
Advanced Options and Customization
Once you have the basics down, there are plenty of ways to upgrade:
- Zoned foam densities. Use a firmer layer in the seat center and a softer layer at the edges for a more ergonomic feel — a concept borrowed from premium mattress design. If you enjoy that kind of engineering, you might appreciate learning about different support profiles and how they apply to seating.
- Antimicrobial liners. In humid climates, a thin liner between the foam and cover blocks mildew growth before it starts.
- Modular cushions. Build sectional cushions in separate sections and attach them with Velcro or zipper panels. They are easier to store and rearrange than one massive slab.
- Contrast piping and tufting. Decorative welting in a contrasting color adds a custom upholstery look with almost no extra work.
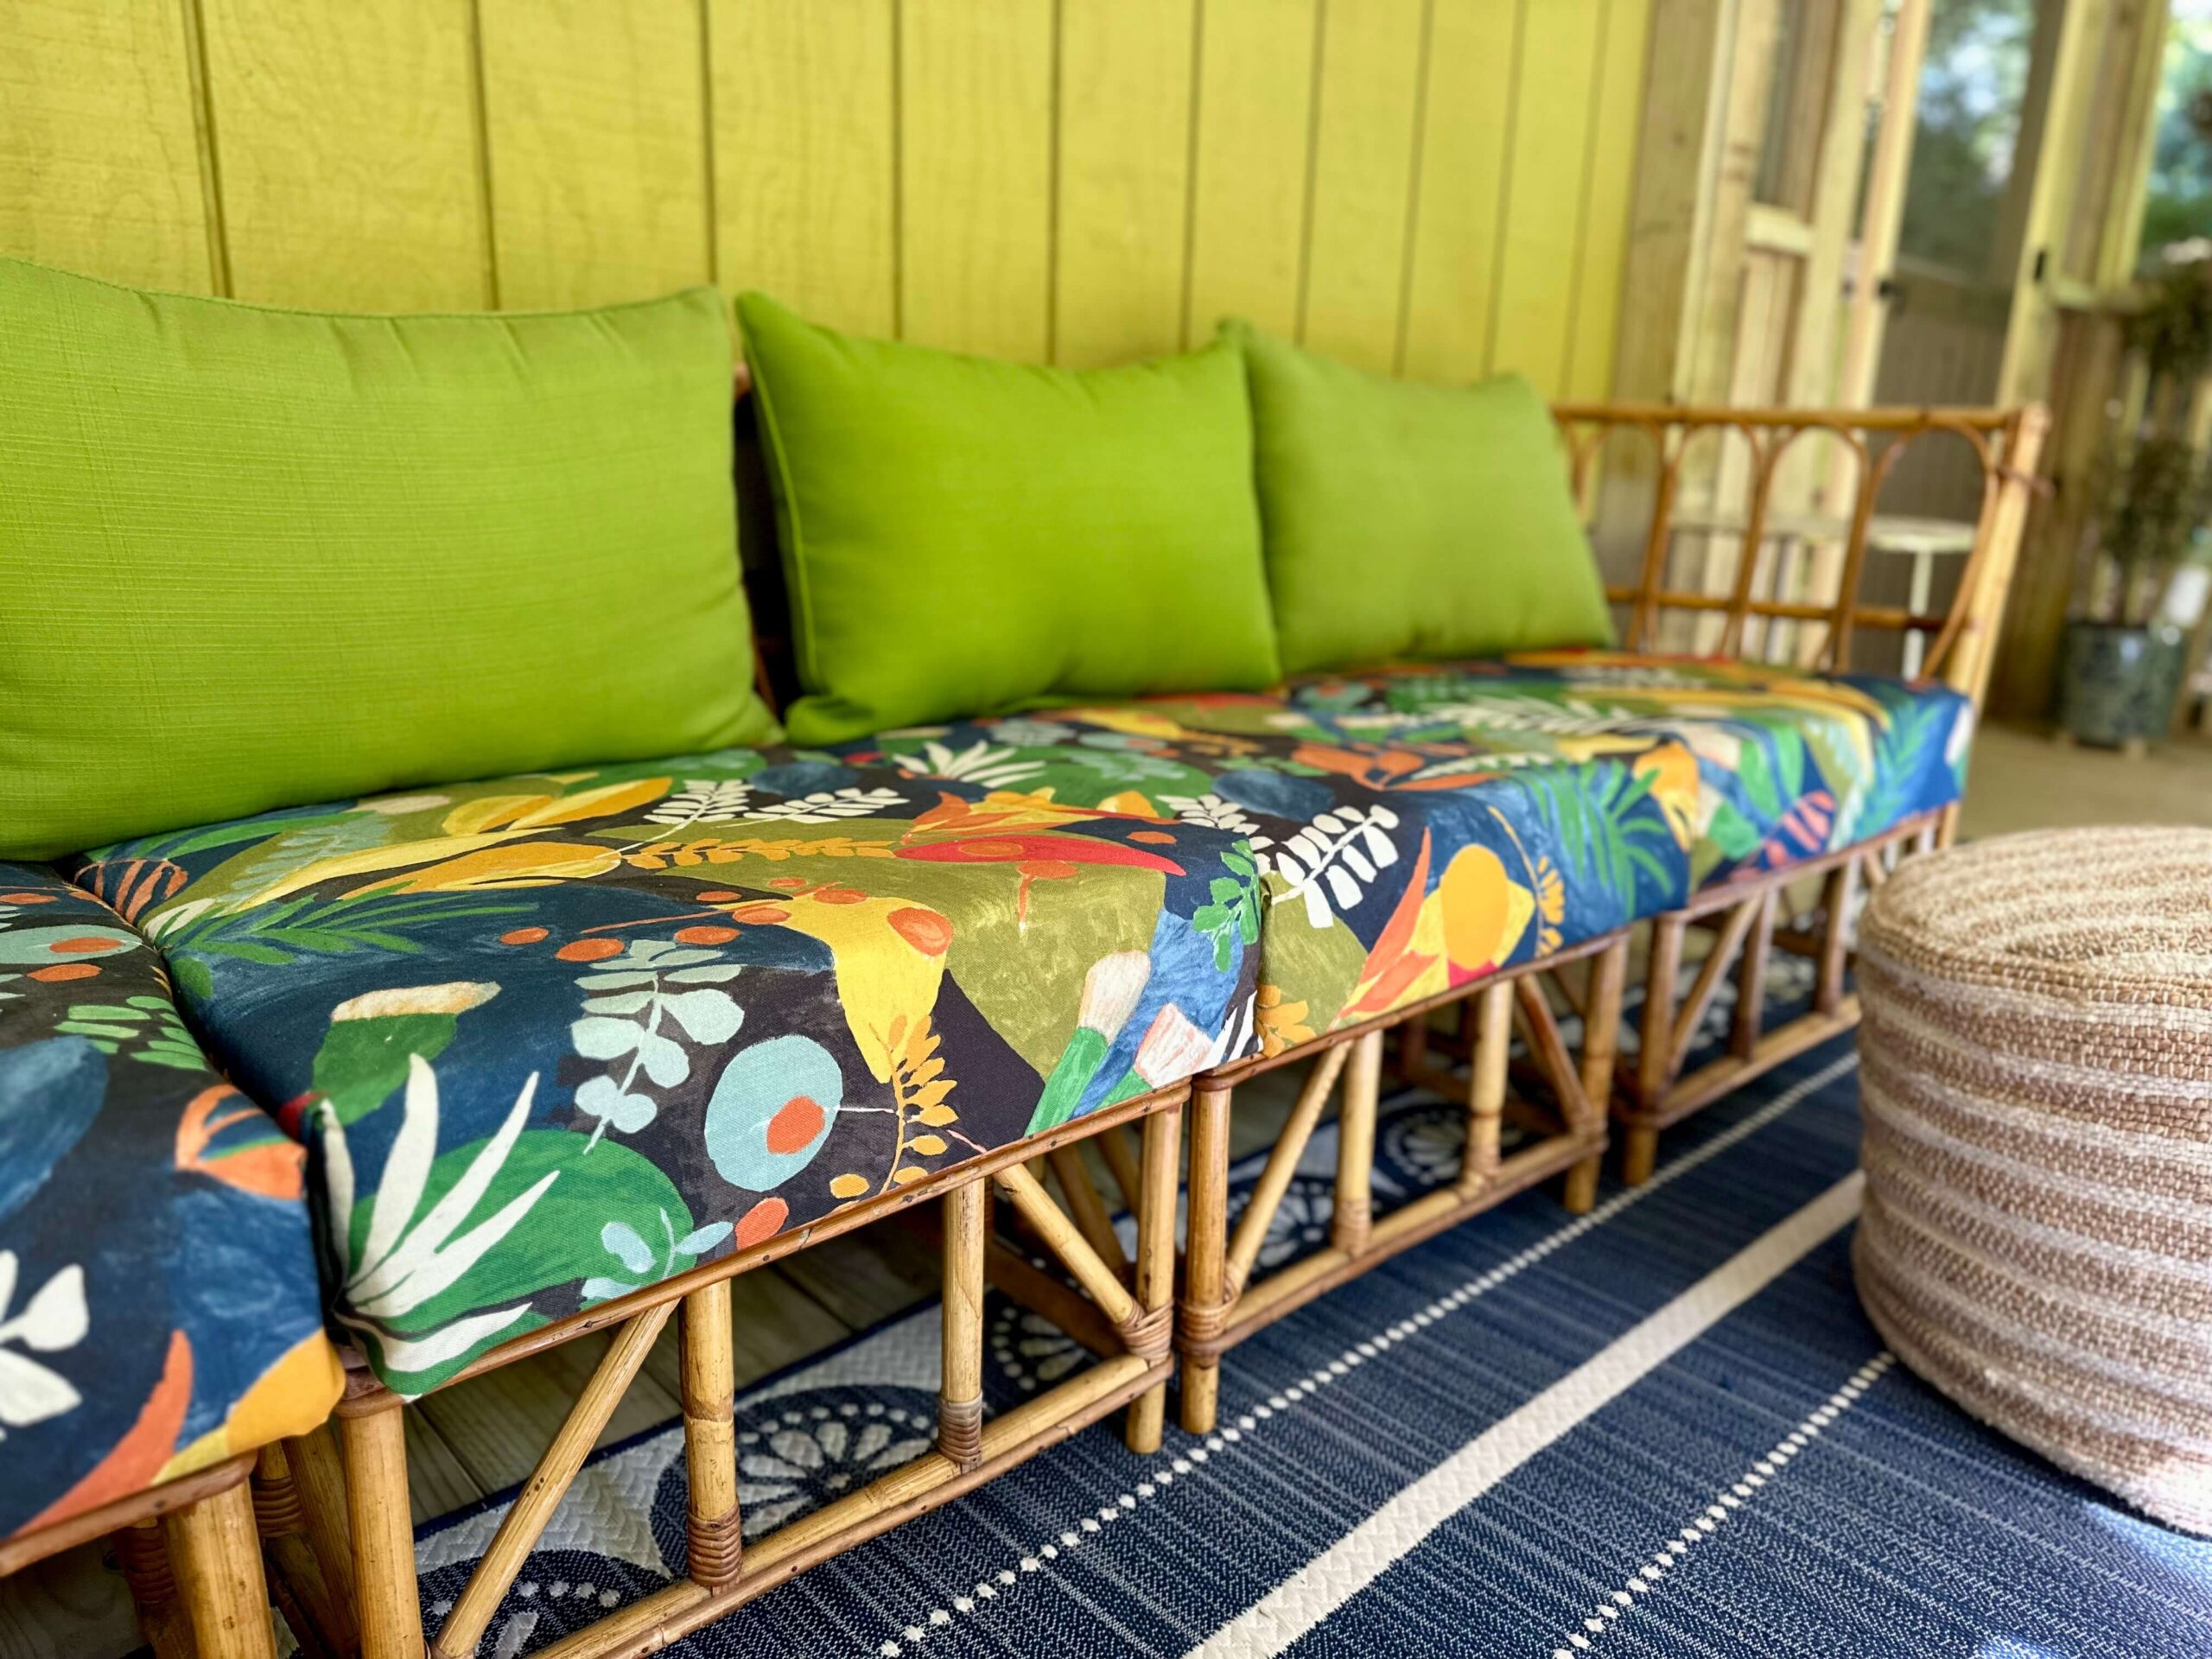
- Replaceable covers from the start. Build your cushions so the covers zip off independently — then next season's refresh is just a fabric swap away.
Source: alifeunfolding.com
Frequently Asked Questions
What fabric is best for outdoor cushions?
Solution-dyed acrylic is the most reliable choice for color retention and mildew resistance. Marine vinyl is the best waterproof option but feels firmer and less breathable. Look for fabrics explicitly labeled for outdoor use.
How thick should outdoor cushions be?
Seat cushions range from 2 to 6 inches thick. Thinner pads suit dining chairs and benches where you want less bulk; 4 to 6 inches works best for loungers and deep sofas. Deeper cushions need firmer foam to prevent bottoming out.
Can I use indoor foam outside?
Only in a pinch. Standard polyurethane foam absorbs water and hosts mildew quickly. If you must use it, wrap it in a sealed waterproof liner and store it indoors whenever it might rain.
How do I protect cushions from rain?
Bring cushions inside or cover them with a breathable furniture cover during heavy weather. Quick-dry foam is the best insurance against occasional exposure, and a DWR spray on the fabric adds another layer of protection.
Is sewing outdoor fabric hard?
Outdoor fabric is thicker and less drapey than quilting cotton, but it behaves well with a heavy-duty needle and a walking foot. Make test seams on scrap material to adjust tension and stitch length before you start the real panels.
How do I clean mold off outdoor cushions?
Wash the cover with mild soap and warm water, rinse thoroughly, and dry in direct sunlight. For stubborn mold, use a diluted bleach solution only if the fabric label permits it. Remove and air the foam separately so it dries completely before reassembly.
Conclusion
Making your own outdoor cushions is a practical skill that pays off in fit, durability, and real cost savings. Start with a single cushion: choose solution-dyed acrylic fabric, pick a high-resilience or quick-dry foam core, measure twice, and cut slowly. Sew with a walking foot, reinforce every seam, and seal the zipper. When the first one comes together, you will have the confidence to re-cover a whole patio set.
Begin with a simple toss cushion this weekend, then work up to a full box-cushion set as your sewing confidence grows. Your outdoor space will feel more comfortable, look exactly the way you want it, and hold up through years of sun and rain.

Daniel Hart is a consumer product analyst who specializes in mattress technology, smart bedding, and home comfort innovation. Before joining Royal Comport, Daniel worked with several e-commerce research teams, testing and comparing sleep products for quality, value, and long-term performance. He brings data-driven insight and real-world testing to every review he writes.


