

Sewing your own sofa cushions is one of the most practical DIY projects you can take on. I've made dozens of cushion covers over the years — for worn-out loveseats, custom patio benches, and everything in between — and the process is far more approachable than most people expect. With a few dependable tools, careful measurements, and a methodical approach, you can create durable, professional-looking cushions that fit your frame perfectly. This guide walks you through every stage, from planning and measuring to cutting, sewing, installing closures, filling, and finishing, and it includes the real-world mistakes I've learned to avoid along the way.
What You'll Need: Tools and Materials
Before you cut a single piece of fabric, gather everything in one place. Running to the store mid-project wastes time and breaks your rhythm. You can also read our guide on how to replace foam in sofa cushions.
Essential tools:
- Heavy-duty sewing machine (a standard machine works if you use the right needle)
- Upholstery needles in sizes 90/14 or 100/16
- Upholstery thread or heavy polyester thread
- Measuring tape, ruler, and tailor's chalk
- Sharp scissors or a rotary cutter with a cutting mat
- Seam ripper
- Pins or fabric clips
- Walking foot (strongly recommended for thick layers)
Materials:
- Upholstery fabric (canvas, twill, denim, or outdoor-rated fabric)
- Foam cushion inserts (high-resilience foam works best)
- Polyester batting for wrapping foam
- Zippers, hook-and-loop tape, or fabric for an envelope back
- Piping cord (optional)
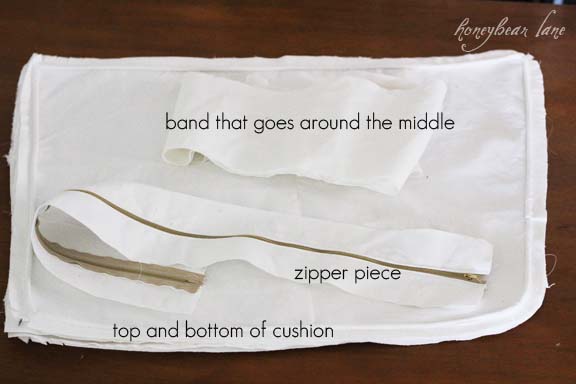
Everything you need for a cushion project, arranged before you start.
Source: honeybearlane.com
In practice, the walking foot is the difference between a smooth project and a frustrating one. It feeds the top and bottom layers evenly, preventing the puckering that plagues thick seams. If your machine accepts one, buy it before you start. The Association of Sewing and Design Professionals publishes excellent guidance on machine setup for heavy fabrics, which is worth reviewing if you're new to upholstery work.
Choosing the Right Fabric
Not all fabric is suitable for cushions. Look for a tightly woven upholstery-grade material with a rub count of at least 15,000 for regular household use. Outdoor-rated performance fabrics are a smart choice for patios and sunrooms because they resist moisture and fading. Cotton canvas, linen blends, and polyester blends all work well. Avoid loosely woven or stretchy knits, which sag and lose their shape under repeated sitting. For more on this, see our guide on how to stop sofa cushions from sliding.
The fabric's weight and weave also affect how easy it is to sew. Medium-weight twill is forgiving for beginners, while heavy canvas requires more machine power. When comparing options, think about the comfort features that matter in your home, such as breathability and stain resistance, before committing to a single roll.
How to Measure Your Cushions Correctly
Accurate measuring is the foundation of a well-fitted cushion. Measure the foam insert itself, not the old cover, because foam compresses over time and the worn cover will mislead you. For more on this, see our guide on how to remove urine from sofa cushions.
For a rectangular cushion, record three numbers:
- Width across the front
- Depth from front to back
- Height, or thickness, of the foam
Add a seam allowance of ½ inch to every edge. For a boxed cushion, you also need to account for the gusset, the strip of fabric that wraps around the sides. A simple knife-edge cushion, made from two flat panels sewn together, ignores the gusset entirely.
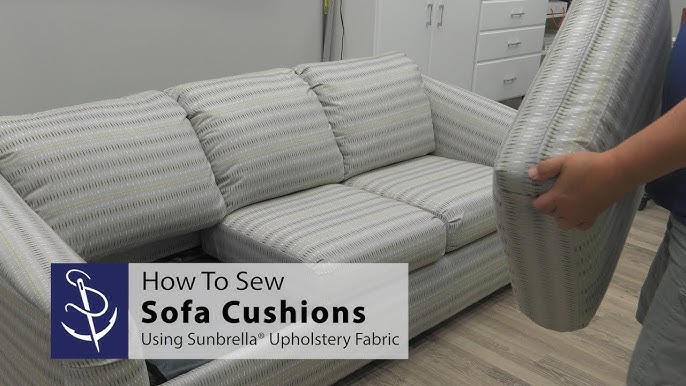
Marking measurements on the fabric before cutting prevents costly mistakes.
Source: youtube.com
Measure twice and write the numbers down. I keep a small notebook in my sewing kit for exactly this purpose. If your sofa cushions sit against a backrest, also check the angle of the seat and back — some frames are slightly angled, and a perfectly rectangular cushion will wobble. For more on this, see our guide on how to make sofa cushions firmer.
Choosing a Cushion Style
Before cutting, decide which construction style fits your project. The three most common are:
| Style | Description | Best for |
|---|---|---|
| Knife-edge | Two flat panels sewn together | Throw pillows, simple seat cushions |
| Boxed | Top, bottom, and a side gusset panel | Sofa and chair seats with thick foam |
| T-cushion | Curved front that matches an armrest | Sofas with rounded arms |
Removable covers need a closure. A zipper gives the cleanest look and easiest removal for washing. An envelope back, made from two overlapping panels, is simpler and requires no hardware. If you're new to sewing, the envelope back is nearly foolproof and still allows the cover to come off for cleaning.
Estimating Fabric Yardage
Nothing is more frustrating than running out of fabric halfway through. Here's how to estimate:
- Lay out your pattern pieces on paper to scale, or use the fabric's width to calculate how many panels fit side by side.
- For a standard 24 × 24 × 4-inch boxed cushion, you'll need roughly 1.5 yards of 54-inch-wide fabric per cushion.
- Add 10 percent for seam allowance, pattern matching, and mistakes.
- If your fabric has a large motif, buy extra to match the repeat across panels.
When in doubt, buy half a yard more than your calculation. Leftover fabric makes excellent piping or a matching throw pillow. Compared to the cost of buying a quality mattress, custom cushion covers are a remarkably affordable upgrade for your living space.
Cutting the Fabric Panels
Cutting accurately saves you from a dozen headaches later. Follow these steps:
- Lay the fabric flat on a clean, hard surface and iron out any wrinkles first.
- Smooth the fabric and hold it in place with pattern weights or heavy books.
- Mark your cutting lines with tailor's chalk, following the grain line.
- Cut with a sharp rotary cutter or scissors, keeping edges straight and true.
- Label each piece with chalk — top, bottom, gusset, and so on — so assembly is obvious.
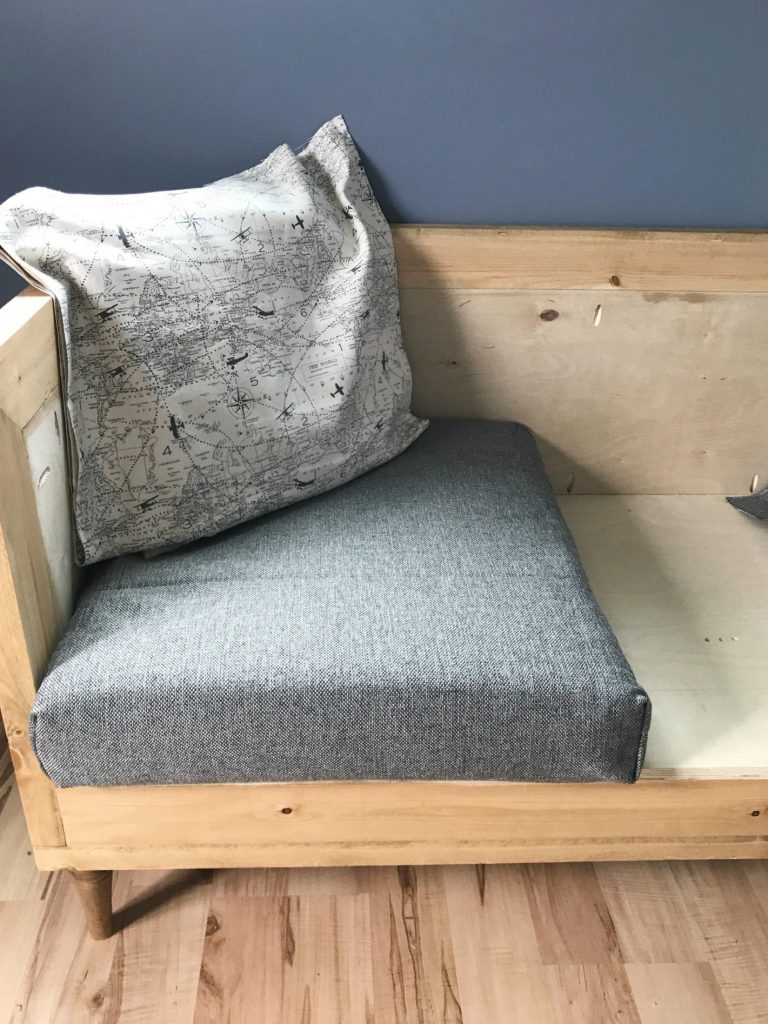
Cutting panels one at a time with labeled pieces keeps the process organized.
Source: woodshopdiaries.com
For a boxed cushion, you'll cut one top panel, one bottom panel, and four gusset panels, or a single long strip with corner seams. A common mistake is cutting all panels at once and mixing up the pieces. Label as you go — it takes ten seconds and saves a frustrating hour.
Sewing the Panels Together
Now the real work begins. Pin or clip the panels with right sides facing, and sew with a ½-inch seam allowance. Use a longer stitch length, around 3 mm, for heavy fabric. This reduces puckering and makes seams more durable under stress.
Sewing boxed corners:
- Sew the gusset panels into a loop, joining the short ends.
- Attach the gusset to the top panel, pivoting at each corner.
- Repeat for the bottom panel, leaving an opening for the closure.

Pivoting at the corner keeps the seam clean and the shape crisp.
Source: noelleodesigns.com
Backstitch at the beginning and end of every seam. If you skip this, the seam will unravel under the strain of sitting. Press seams open with a hot iron afterward — this flattens the bulk and makes the finished cushion look professionally made.
Adding a Zipper or Envelope Closure
A removable cover is worth the extra effort. The two most reliable methods are:
Zipper installation:
- Mark the zipper opening on the bottom panel, typically centered along one side.
- Baste the zipper tape to the fabric with the zipper teeth facing inward.
- Stitch with a zipper foot, then remove the basting stitches.
- Open the zipper before turning the cover right side out.
Envelope back:
- Cut the bottom panel into two overlapping pieces.
- Hem the inner edges of each piece.
- Overlap them by about 4 inches and stitch the outer edges together.

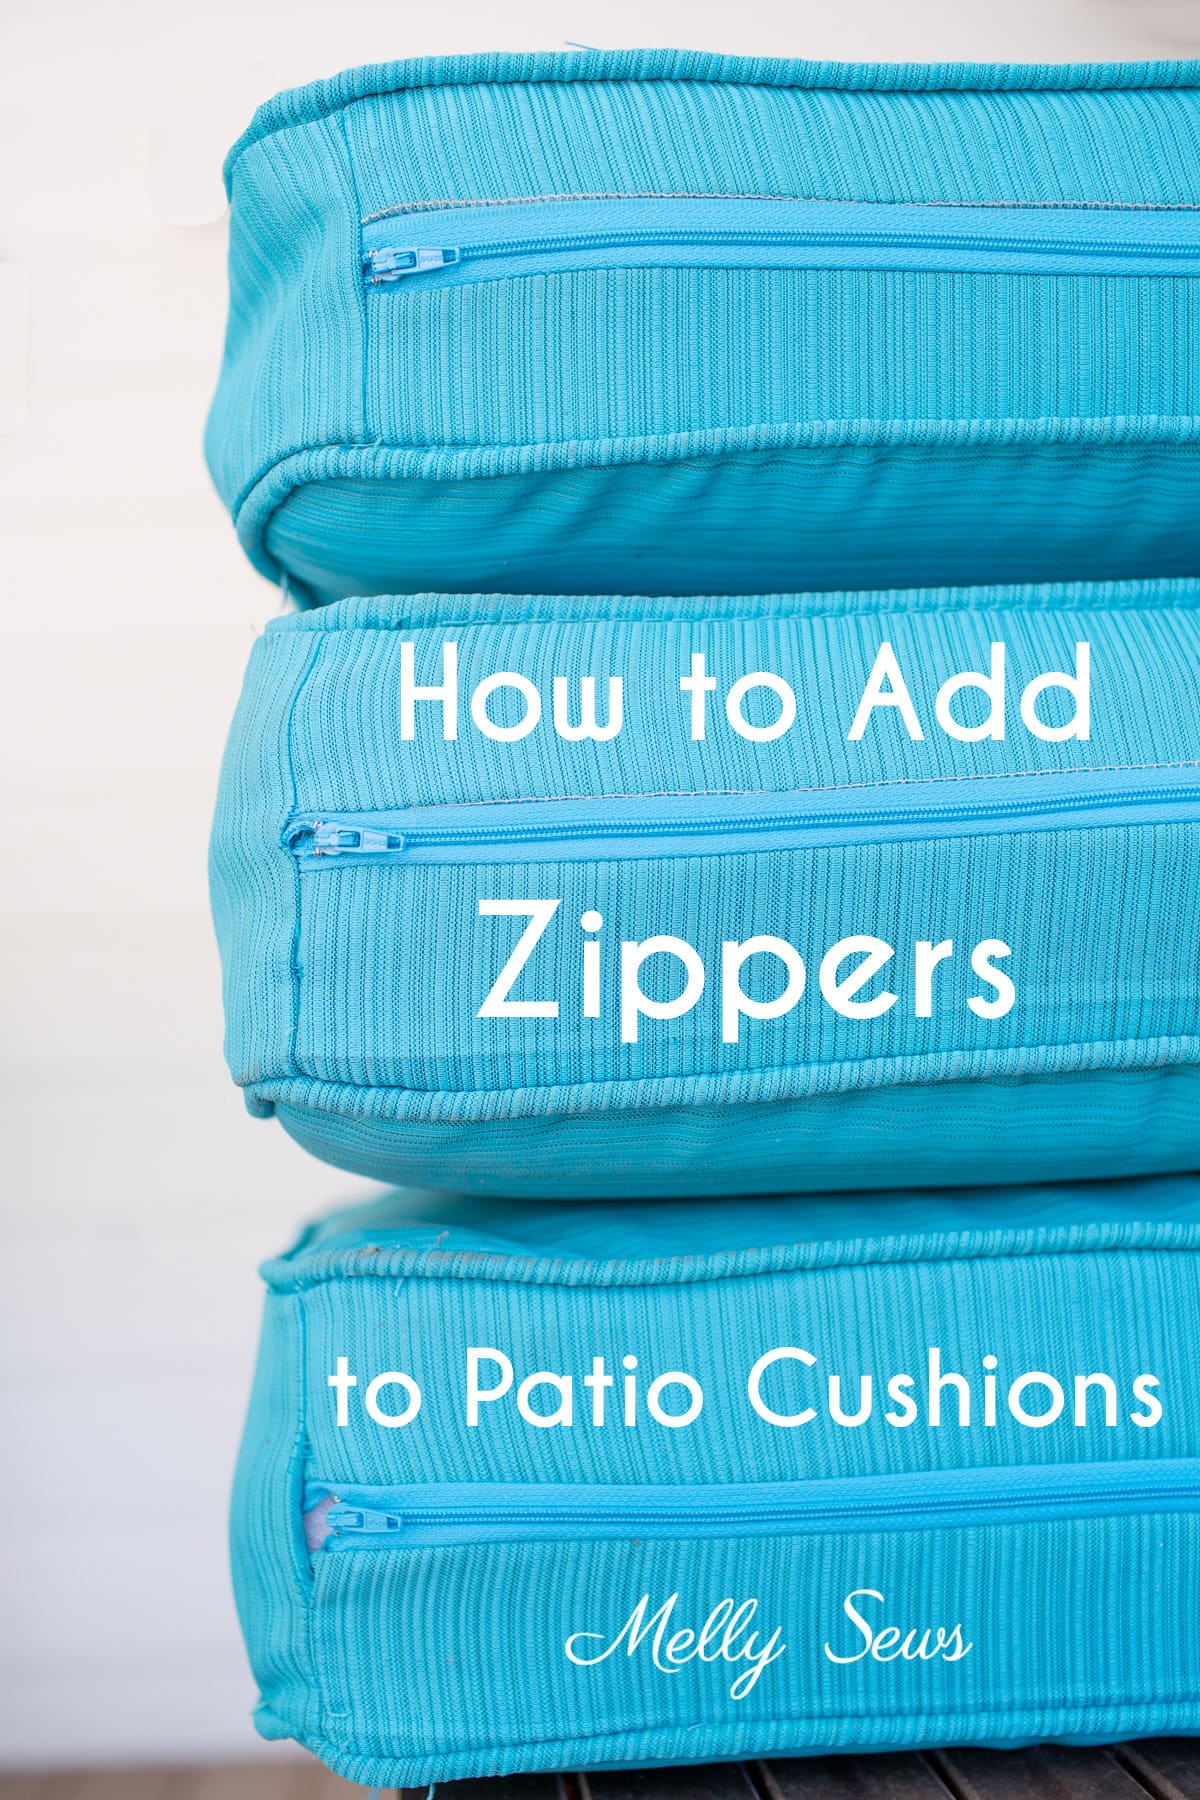
A zipper foot gets you close to the teeth for a clean, secure installation.
Source: honeybearlane.com
I prefer zippers because they lie flat and look clean. But if you're new to sewing, start with the envelope back. Either way, test the closure before inserting the foam.
Adding Piping for a Tailored Look (Optional)
Piping adds a crisp, professional edge and hides seams. To make your own:
- Cut 2-inch-wide bias strips of fabric.
- Wrap the strip around piping cord and sew close to the cord with a zipper foot.
- Sandwich the piping between the panels, aligning the cord with the seam line.
- Sew the seam as usual, using the piping's stitching as a guide.
Piping takes patience. Sew slowly and clip the seam allowance at corners to reduce bulk. If your fabric is thick, consider buying pre-made piping to save effort.
Filling and Inserting the Foam
The fill determines how the cushion feels and how long it lasts. High-resilience foam is the gold standard for sofa cushions because it bounces back from repeated compression. Cut it to size with an electric carving knife or a serrated bread knife for a clean edge. The science behind modern foam technology applies just as much to cushions as it does to mattresses, so choose a density that matches how often the seat gets used.
Wrap the foam in a layer of polyester batting before inserting it. The batting softens the edges, prevents the fabric from rubbing against the foam, and gives a smoother silhouette.
Wrapping the foam in batting prevents abrasion and smooths the final shape.
Source: vixencomposites.com
To insert:
- Turn the cover right side out.
- Open the zipper fully.
- Fold the foam in half lengthwise and work it through the opening.
- Let it unfold inside and adjust until it sits evenly.
If the foam is slightly too big, trim it rather than stretching the fabric. A snug fit is ideal, but a stretched cover will pucker and wear out quickly. Proper support here also protects your spine during long sitting sessions, just as a well-chosen mattress does at night.
Finishing Touches and Quality Checks
The last ten minutes of a project determines whether it looks homemade or professional.
- Trim all loose threads with a sharp pair of scissors.
- Reinforce stress points, especially corners, with an extra line of stitching.
- Topstitch around the zipper opening to keep the fabric flat.
- Test-fit the cushion on the sofa and check that patterns align.
- Run the removable cover through one gentle wash and dry cycle before final installation, if the fabric allows.
Checking the finished cover for even seams before inserting the foam.
Source: vixencomposites.com
Pre-washing is a step many beginners skip. It shrinks the fabric before it's installed, so the finished cover won't pucker after the first cleaning.
Troubleshooting Common Problems
Even experienced sewists hit snags. Here are the fixes I rely on:
| Problem | Likely cause | Fix |
|---|---|---|
| Fabric puckers | Tension too tight or wrong needle | Increase stitch length, use a walking foot |
| Zipper bunches | Zipper not basted | Re-baste and use a zipper foot |
| Corners look lumpy | Excess seam allowance | Trim to ⅛ inch and press before turning |
| Foam won't fit | Foam too large | Trim foam slightly, don't force it |
| Seams pull apart | No backstitching | Reinforce with a second pass |

Inspecting seam tension catches small issues before they become bigger problems.
Source: youtube.com
Most problems trace back to rushing. Slow down, test on scraps, and your finished cushion will reflect the effort.
Caring for Your Homemade Cushion Covers
A well-made cover lasts years with proper care.
- Check the care label and follow the fabric-specific instructions.
- Spot-clean spills immediately with mild detergent and cold water.
- Remove the cover and machine-wash when possible; air-dry or tumble on low.
- Rotate cushions regularly to distribute wear and sun exposure.
- Fluff foam inserts monthly to maintain their shape.
For stubborn stains, the fabric care guidance from University of Minnesota Extension is a reliable, research-backed resource. If a cushion loses its bounce, add a layer of batting or replace the foam entirely. Regular maintenance keeps both the fabric and the fill performing well, and a comfortable seating area contributes to a restful home overall.
Frequently Asked Questions
What fabric is best for sewing sofa cushions?
Upholstery-grade fabric with a rub count above 15,000. Canvas, twill, denim, and outdoor performance fabrics are all solid choices. Avoid stretchy knits and loose weaves.
How much seam allowance should I use?
½ inch for standard seams. Add extra if you plan to topstitch or install piping.
Can I use a regular sewing machine?
Yes, if it handles heavy fabric. Use a 90/14 or 100/16 needle, and add a walking foot for thick layers.
How do I make a removable cover?
Install a zipper or make an envelope back. Zippers give the cleanest look and easiest removal for washing.
How do I avoid baggy covers?
Measure the foam accurately and keep ease to a minimum. If the cover feels loose, trim the foam rather than stretching the fabric.
Conclusion
Sewing your own sofa cushions is a satisfying project that saves money and gives you complete control over fit, fabric, and style. Measure carefully, choose durable materials, and take your time with seams and closures. Use test stitches, backstitch for strength, and wrap foam in batting for a smooth finish. Start with one cushion, apply what you learn, and tackle the rest of your seating set. If you're looking for more ways to improve comfort around your home, browse our other home guides for practical, hands-on advice.

Daniel Hart is a consumer product analyst who specializes in mattress technology, smart bedding, and home comfort innovation. Before joining Royal Comport, Daniel worked with several e-commerce research teams, testing and comparing sleep products for quality, value, and long-term performance. He brings data-driven insight and real-world testing to every review he writes.


