

Most patio cushions fail for the same reason: the cover is the wrong shape. A loose cover wrinkles, a tight one strains the seams, and the foam eventually turns into a soggy lump. Sewing your own gives you a chance to fix all of that. With decent fabric, accurate measuring, and a few simple seams, you can make covers that actually fit your furniture and survive sun, rain, and everyday use.
This guide covers material choices, measuring, cutting, sewing, zipper installation, and long-term care so you can build boxed cushions and thick seat pads without guesswork. You can also read our guide on how to protect outdoor cushions.
What You Need To Sew Outdoor Cushions
Good outdoor cushion projects start on a sewing machine, not at a fabric store. Most home machines work fine as long as they can stitch through several layers of upholstery fabric.
Tools checklist
| Tool | Why you need it |
|---|---|
| Sewing machine with a zipper foot | Makes seam and zipper installation far easier |
| Heavy-duty sewing machine needles (size 90/14 or 100/16) | Pierces outdoor fabric without skipped or broken stitches |
| Upholstery or polyester thread | UV-resistant and stronger than cotton thread |
| sharp fabric shears and rotary cutter | Clean, crisp edges that match up perfectly |
| Tape measure / 60-inch | more important for calculating dimensions |
| Pattern paper, paper scissors, pencil | Good enough for planning curves and adjustments |
| fabric clips | Better than pins when you lay several layers of canvas |
| seam ripper | helps fix tension problems before they become rips |
| walking foot | for slippery fabrics or thick foam depending on your machine |
Material list
- Outdoor fabric: 1 to 2 yards for a size that often fits patio cushions, but always compute your own
- A outdoor zipper
- Outdoor polyester thread
- A foam insert or high-quality replacement foam
- Closures such as fabric hook and loop tape if you skip the zipper
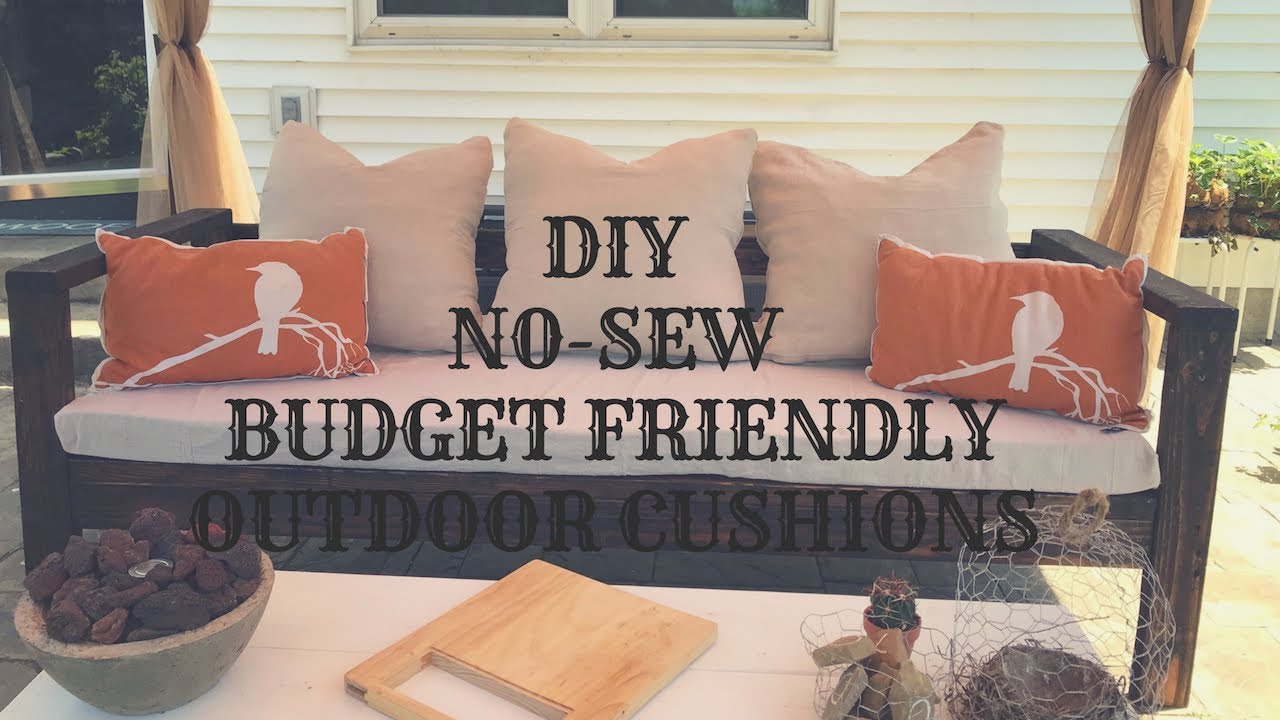
Source: youtube.com
How To Choose Outdoor Fabric, Fill, and Hardware
The fabric decision matters more than any other step. Skimp here and even perfectly straight seams won’t save the cushion. You can also read our guide on how to clean sunbrella cushions.
Best fabric for outdoor cushions
Look for fabric marketed as outdoor, porch, terrace, or marine-grade. Two kinds stand the test:
- Solution-dyed acrylic is the long-time winner. The color is part of the fiber itself, not just a surface coating, so it resists fading much longer than printed cotton or polyester.
- Coated polyester has a protective backing and feels water-resistant, but it can feel less breathable and may ding in strong heat.
- Marine vinyl is more pool covers, and upholstery work, but it keeps now makes better possible to a boat or racing.
Choose upholstery-weight fabric, not quilting cotton. If you hold a single layer up to the light and see clearly through it, it is too thin for outdoor cushion.
Foam and fill for indoor/outdoor cushions
The filling is what keeps cushions comfortable, but the right foam also determines whether the cover will grow mold.
- Open-cell quick-dry foam is the most reliable choice. It allows air and water to drain through hours and dry out quickly.
- Closed-cell foam is more water-resistant but can feel firm and maybe not drain as well if water gets around the cover.
- Standard bedding foam that is not designed for outdoor use can trap moisture and create mildew, even if the fabric is waterproof.
If you are making a cover for an existing cushion, insert foam from a trusted supplier and look for “quick-dry” or drainage features on the label. A cushion is inflected like a small foundation, and just as you consider what is comfortable for a you choose a mattress the supporting layers are what makes a seat feel soft or firm.
Zippers and other hardware
Rusty zippers are one of the fastest ways to ruin good fabric work. Use a plastic, full-coil zipper also known as a zipper with a durable polyester coil. It will not rust the way a metal zipper will, and it survives outdoor in any way they dry.
What length to use:
- For a single seat cushion, top 20–24 inches is usually enough.
- For a longer bench cushion, use a zipper that is at least half the length of the opening panel.
Also choose a thread that says UV-resistant polyester thread. Cotton or civil best walking thread becomes brittle and breaks after several months in direct sun.
How To Measure Outdoor Cushions and Make a Pattern
The exact dimensions are so important that you should measure the actual cushion insert, not just the furniture frame. Furniture curves and old foam can fool in place.
Guidelines for measuring
- Measure the length from front to back.
- Measure the width from left to right.
- Measure the thickness. After cutting the foam piece, the actual width after you sew the cover should be about the same thickness of the cushion.
Write everything down. Label the four sizes clearly: designation as LENGTH × WIDTH × THICKNESS.
Add seam allowance
For a using a 1/2-inch seam allowance, add 1 inch to each side of the physical cushion dimension. Example: you have a 22 × 22-inch seat, so the top panel will be 23 × 23 inches after seam allowance.
If you plan to use a zipper, add a little extra more width to the seam drawer. Total seam sewing areas need can be as high as 1 inch.
Make a paper pattern
Cover a piece of wrapping paper or kraft paper.
- Draw a rectangle with your calculated dimensions.
- For rounded corners or arms, trace the cushion outline and add 1/2-inch seam allowance.
- When finished, cut the paper, fold it in half, and check that left and right sides are symmetrical.
This is the single most useful step in the entire project. The paper pattern lets you spot fitting issues before you ever cut fabric.
Cutting Fabric and Preparing Panels
Before you even cut, press the fabric with a warm iron? Not always recommended for coated fabric. On heat-sensitive fabrics, use a large smooth iron and a backing pressing cloth, or in the best way, let the fabric rest at room temperatureovernight to relax wrinkles. Many outdoor fabrics contain a waterproof coating that can melt under a hot iron, so test a scrap corner first.
Lay out and cut
- Lay the fabric flat with the wrong side up.
- Place your paper pattern pieces on the fabric, aligning the grain line with the longest side.
- Use fabric weights or heavy books instead of pins if the fabric is slippery.
- Draw around the pattern with a fabric marker or chalk.
- Cut with sharp shears for curves and a rotary cutter for long straight edges.
Cut all panels before you sew
You will need:
- Top panel — cut from your pattern
- Bottom panel — same size as the top
- Side strip — length equal to the perimeter of the cushion, width equal to the thickness plus 1 inch seam allowance
For a rectangular cushion, the perimeter is 2 × (length + width). If your cushion is 24 inches by 24 inches, the perimeter is 96 inches. Cut the side strip 96 inches long, or piece it if your fabric is not wide enough.
Finish raw edges
Outdoor fabrics with a tight weave fray less, but edges still benefit from finishing. If your fabric frays:
- Use a serger if you have one.
- Or sew a simple zigzag stitch along each raw edge before assembly.
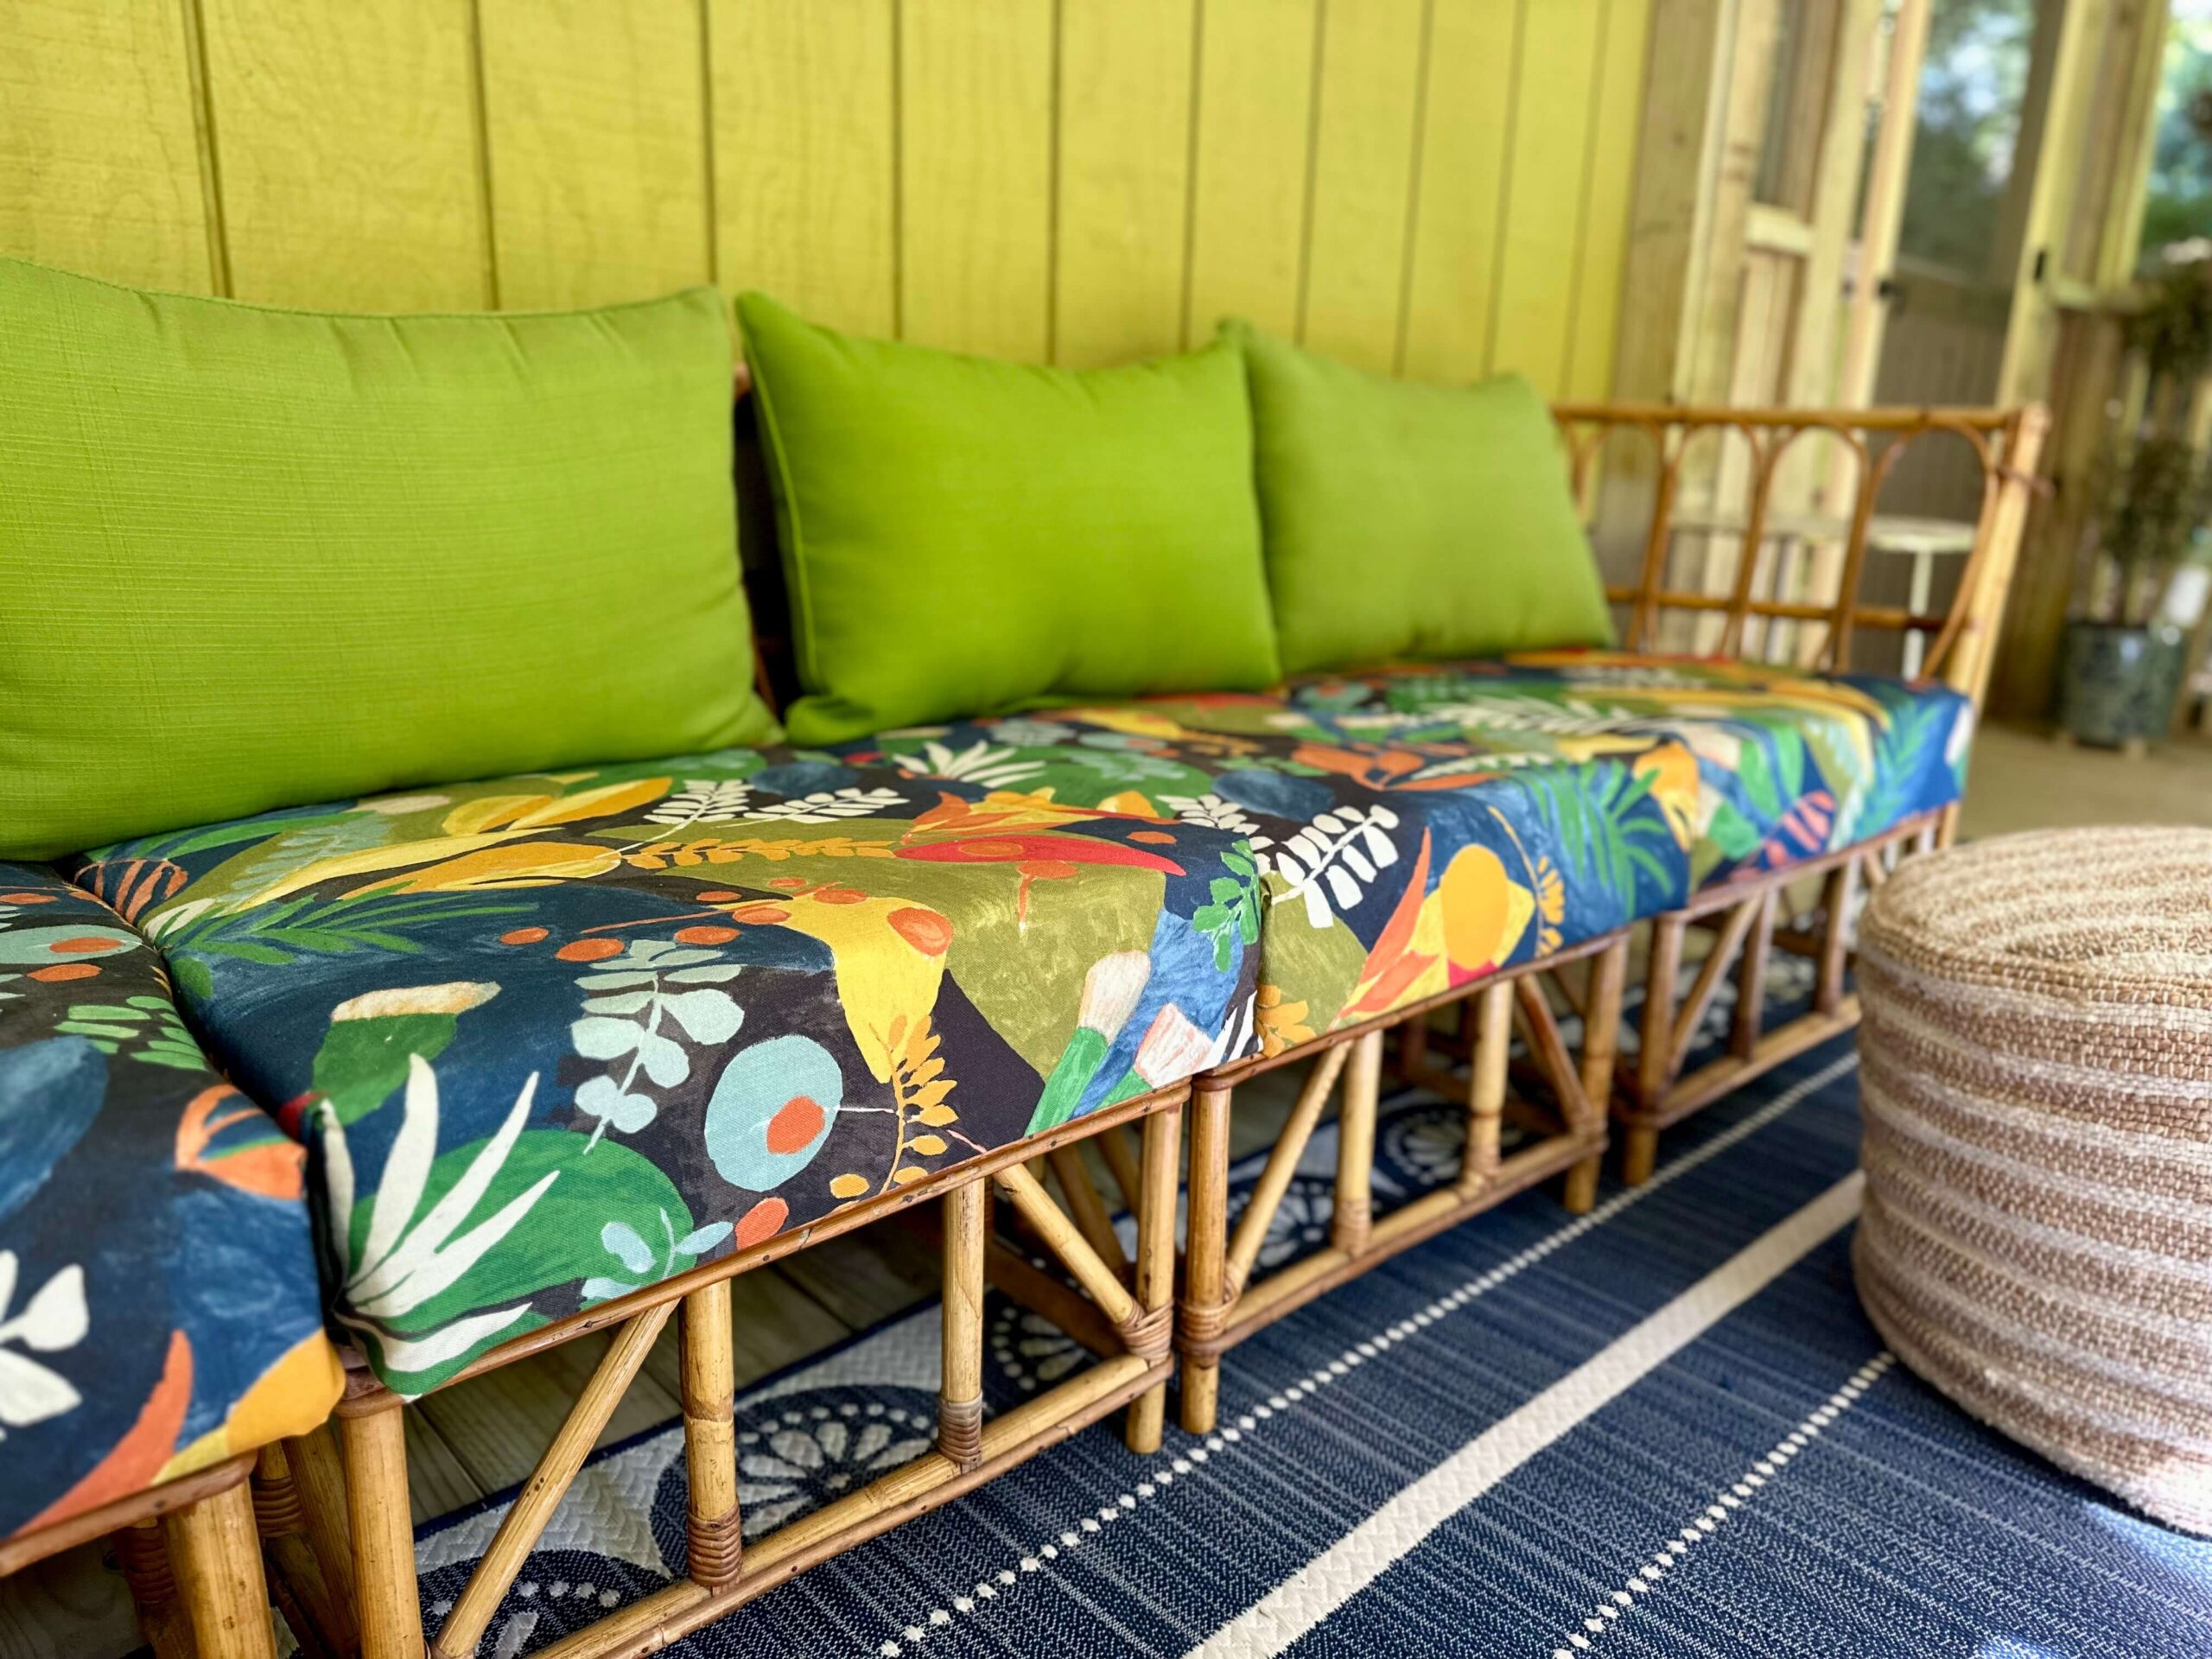
Source: alifeunfolding.com
How To Sew an Outdoor Cushion Cover: Step-by-Step
Once your panels are cut, the construction follows a predictable sequence. Work through it slowly and check each seam before moving on.
Step 1: Sew the side strip into a loop
Take the long side strip and sew its short ends together with a 1/2-inch seam allowance. This forms a ring. Press the seam open.
Step 2: Attach the zipper
This is the trickiest step, so take your time.
- Find the midpoint of the side strip loop (opposite the seam you just sewed).
- Cut the loop open along its length at that midpoint, creating two open ends.
- Place the zipper face down along one raw edge, right sides together.
- Sew close to the zipper teeth using a zipper foot.
- Repeat on the other side of the zipper with the other cut edge.
- Press the fabric away from the zipper and topstitch 1/4 inch from the zipper line for a clean finish.
The zipper now spans the entire circumference of the cushion side. When you unzip it, the cover opens flat like a clam shell, making it easy to insert or remove the foam.
Step 3: Pin the top panel
Turn the side strip inside out so the wrong sides face you. Pin the top panel to one edge of the side strip, right sides together.
- Match the corners of the panel to the corners of the strip.
- Clip or pin every 2 to 3 inches.
- If the side strip is longer than the panel perimeter (common around curved corners), ease the fabric by folding small darts at the corners.
Sew all the way around with a 1/2-inch seam allowance. Go slowly around corners and pivot with the needle down.
Step 4: Attach the bottom panel
Repeat the same process with the bottom panel. But this time, leave the zipper partially open before you sew. This opening lets you turn the cover right side out and insert the foam later.
Step 5: Turn the cover right side out
Reach through the open zipper and pull the fabric through. Use a blunt point — the back of a pen or a chopstick — to push corners out fully without tearing the seam.
Step 6: Insert the cushion and close
Slide the foam insert through the zipper opening. Smooth the fabric over the foam and shake the cover gently so the corners settle. Zip it closed and fluff by hand.

Source: youtube.com
How To Add Piping or Welted Edges
Piping gives cushions a tailored, professional profile and hides the seam line where the panels meet. It is optional but worth the extra effort.
What you need
- Pre-made piping cord (2–4 mm thick) or cotton filler cord
- Bias-cut fabric strips about 1.5 inches wide
- A zipper foot
How to attach piping
- Wrap a bias strip around the cord, right side out.
- Sew close to the cord using a zipper foot to encase it.
- Lay the piping along the edge of the top panel, aligning the raw edge of the piping with the raw edge of the panel.
- Clip the piping in place, overlapping the ends where they meet.
- Sew the piping to the panel with a zipper foot.
- Then sew the side strip onto the panel as usual, keeping the piping between the layers.
Piping adds a small amount of bulk. If your cushion foam is snug, account for this by adding an extra 1/4-inch to the seam allowance on the top and bottom panels.
Seam Types and Stitch Settings
Outdoor cushions take more stress than indoor ones. The right stitch construction matters.
Stitch length
- Use a medium-to-long stitch length, around 3.0 to 3.5 mm.
- Short stitches create more holes in waterproof fabric and can weaken it.
- Long stitches are easier to rip out if you make a mistake.
Seam types
- Plain seam with a zigzag finish: Works well for most woven outdoor fabrics.
- French seam: Hides all raw edges inside, great for lightweight coated fabrics that fray heavily, but adds bulk on thick material.
- Flat-felled seam: Strong and durable, but time-consuming and best for straight edges only.
Backstitching
Always backstitch at the beginning and end of each seam, including around the zipper opening. Forget this and the seam will unravel at the stress point where you pull the zipper.
Thread tension
Set the tension according to your machine's manual and test on a scrap sandwich the same thickness as your fabric. The stitches should look identical on both sides. If the bottom thread loops, loosen the upper tension.
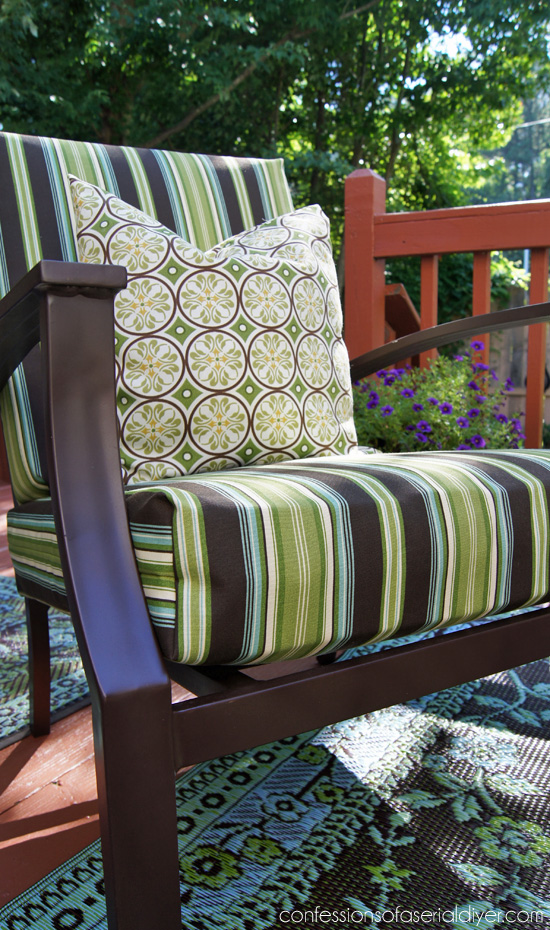
Source: confessionsofaserialdiyer.com
How To Finish Edges and Add Closures
If you skipped the zipper, you have a few alternatives. Each works best in specific situations.
Envelope closure
Cut the bottom panel in two overlapping pieces. Sew one piece to the front edge and the other to the back edge, with a 4-inch overlap in the middle. This creates a horizontal opening that receives the foam. It works well for thin cushions up to about 3 inches thick, but can feel bulky on deep foam.
Fabric hook-and-loop tape
Sew strips of hook-and-loop tape along the opening edges instead of a zipper. This is quick to use and forgiving with slightly irregular foam. The downside: it can collect lint and lose grip over time.
Which should you choose?
| Closure | Best for | Watch out for |
|---|---|---|
| Zipper | Most cushions, professional look | Takes practice, sewing time |
| Envelope | Simple thin cushions, beginners | Floppy on thick foam |
| Hook-and-loop | Quick access, covers in heavy use | Lint, reduced stickiness |
How To Care for Outdoor Cushions You Made
Even the best-made cushions last longer with consistent care. Outdoor fabric is tough but not indestructible.
Routine cleaning
- Brush off loose dirt weekly.
- Spot clean with mild soap and water using a soft brush.
- Rinse thoroughly to remove soap residue.
- Air dry completely before storing or covering.
Avoid bleach and harsh detergents. They strip water resistance and fade colors. If you live in a humid climate, drying the cushions in the sun for a few hours after rain prevents mildew growth at the seams.
Storage
If your climate has freezing winters or heavy rains, store cushions indoors. Even water-resistant fabric will eventually wick water through the zipper seam. A dry garage, shed, or storage bin works well. If you cannot store them flat, stack them with the zipper side down so water runs off the smooth surface.
When to reapply fabric protector
Most outdoor fabrics have a permanent or durable water repellent coating from the factory. Over time, dirt and UV exposure break it down. If water starts beading less, apply a spray-on fabric protector designed for outdoor use. Test on a hidden spot first and follow the can's instructions.
Reapplying once a season prevents staining and keeps the fabric from absorbing moisture. To support healthy sleep habits and outdoor relaxation, a dry, comfortable cushion is a surprisingly simple part of a comfortable sleep environment.
Common Sewing Mistakes and How To Fix Them
Even experienced sewists run into these issues. Here is how to solve the most common ones quickly.
Puckered zippers
If the zipper tape puckers after sewing, the fabric tension is uneven. Loosen the upper thread tension slightly and lengthen the stitch. Press the zipper tape flat before sewing — this alone solves most puckering.
Skipped stitches
Skipped stitches almost always mean the needle is too small or dull for the fabric layers. Switch to a size 100/16 needle and replace it if you have sewn for more than a few hours. Use a walking foot for slippery or thick fabric to prevent the layers from shifting.
Seams that split after a few weeks
This happens when you use cotton thread or skip backstitching. Switch to polyester thread and reinforce stress points — corners, zipper ends, and the seam where the side strip meets — with a second row of stitching.
Corners that look flat and sad
When you turn the cover right side out, foam tends to settle into the center, leaving hollow corners. Fix this by:
- Clipping curved corners at 1/4-inch intervals before turning.
- Pushing a dowel or chopstick into the corners after inserting foam.
- Choosing foam that is slightly larger than the cover by an inch or two, so it fills the space completely.
How Long Does It Take and How Much Does It Cost?
Time and materials vary based on cushion size, your experience, and the fabric you choose. Here is what to plan for.
Time estimate
- Beginner: 3 to 4 hours per cushion including cutting and pattern making.
- Intermediate: 1.5 to 2 hours per cushion.
- Experienced sewist: Under 1 hour for a simple rectangular cover.
Material costs
| Item | Estimated cost |
|---|---|
| Outdoor fabric (approx 1.5–2 yd) | $15–$35 |
| Quick-dry foam insert | $15–$50 |
| Outdoor zipper | $4–$10 |
| Thread, needles | $5 |
| Total per cushion | $40–$100 |
Buying a pre-made cushion cover of similar quality often costs more, and you have the added benefit of a perfect custom fit. If you are sewing covers for an existing cushion, the savings are even greater.
Frequently Asked Questions
What fabric is best for outdoor cushions?
Solution-dyed acrylic is the top choice. It resists UV fading, mildew, and water stains better than printed polyester. Marine-grade fabric with a waterproof backing is even more durable but heavier to work with.
Can I use a regular sewing machine?
Yes, for most outdoor fabrics. A standard home machine handles solution-dyed acrylic and coated polyester well if you use a heavy-duty needle and longer stitches. For marine vinyl or very stiff fabrics, a machine with a metal internal frame (often called a "heavy-duty" model) performs better.
How do I prevent mold on outdoor cushions?
Use quick-dry foam, breathable fabric, and allow cushions to air-dry completely after rain. Store them in a dry place during prolonged wet spells. Avoid fully waterproof vinyl covers in humid climates — they trap moisture inside.
Can I sew a cover for an existing cushion?
Yes. Measure the existing cushion's length, width, and thickness. Add the seam allowance to each dimension and use the old cover as a pattern reference if it still fits. Removing the old cover first gives you the most accurate measurements.
How do I sew piping without a piping foot?
Use a zipper foot instead. It has a narrow profile that rides close to the cord. Wrap the fabric around the cord, then sew as close to the cord as you can without catching it.
Should I pre-wash outdoor fabric?
Usually no. Pre-washing can strip the water-repellent finish. Most outdoor fabrics are designed to be cleaned after sewing, not before. If you are concerned about shrinkage, check the fabric label — most solution-dyed acrylic does not shrink significantly.
What stitch length should I use?
Set the machine to about 3.0–3.5 mm. This reduces unnecessary needle holes in waterproof fabric and creates stronger seams on heavy material.
Do I have to use a zipper?
No. Use an envelope closure or fabric hook-and-loop tape instead. Zippers give the most professional result and are easiest to open and close repeatedly, but for a simple first project, a folded-over bottom panel works fine.
How long will my sewn cushions last?
With good fabric, proper construction, and basic care, expect several seasons of regular use. Sun exposure and harsh winters shorten lifespan. Storing cushions indoors during the off-season adds years to their life.
Conclusion
Sewing outdoor cushions is a satisfying weekend project that saves money and gives you exactly the right fit. The formula is straightforward: choose UV-resistant fabric, measure the foam accurately, add a 1/2-inch seam allowance, cut clean panels, and sew with a longer stitch and a heavy-duty needle.
Start with a single cushion rather than a full set. Use it for a few weeks and note how it handles rain, sun, and leaning. Then refine your pattern for the rest of the set — small tweaks like tighter corners, a wider zipper, or extra piping will make the final batch feel truly custom.
You can also pair your newly comfortable outdoor seating with better rest indoors — browse the full range of bedroom tips and learn how your mattress choice affects sleep quality. A comfortable home, inside and out, is the foundation of good rest.

Daniel Hart is a consumer product analyst who specializes in mattress technology, smart bedding, and home comfort innovation. Before joining Royal Comport, Daniel worked with several e-commerce research teams, testing and comparing sleep products for quality, value, and long-term performance. He brings data-driven insight and real-world testing to every review he writes.


