

If you have a porch chair with a sagging cushion—or a bare wood frame that needs a soft spot—this project is easier than it looks. Making patio furniture cushions starts with three choices: foam that holds its shape, outdoor fabric that survives sun and rain, and a removable cover you can clean. In this guide, I’ll walk you through every step, from measuring the seat to stitching the final seam, including the common mistakes that can ruin a build.
The same principle that makes a mattress comfortable applies to an outdoor cushion: the harder you sit, the more the support surface beneath you matters. Start with the right base, and everything else gets easier. You can also read our guide on how to protect outdoor cushions.
Why DIY cushions are worth the effort
Store-bought patio cushions are either too generic or surprisingly expensive. Making your own solves both problems.
- Custom fit. Odd-shaped chairs, curved benches, and deep sofa frames are hard to match with standard sizes.
- Fabric control. You choose the color, pattern, and texture instead of settling for whatever is in stock.
- Long-term value. When the cover wears out, you can sew a new one without replacing the foam.
- Repairability. A torn seam is a fixing project, not a reason to throw the cushion away.
You do not need a professional sewing setup. A reliable home machine, a heavy-duty needle, and patience will get the job done.
Materials and tools you'll need
Gather everything before you start. It saves trips to the store and keeps the project moving.
| Item | What to look for |
|---|---|
| Outdoor fabric | Solution-dyed acrylic or marine vinyl; 1–3 yards depending on cushion size |
| Foam insert | High-density polyurethane, 2–4 inches thick; reticulated foam for wet areas |
| Batting | 1–2 inch polyester wrap to soften foam edges |
| Thread | UV-resistant polyester thread, not ordinary cotton |
| Sewing needle | 90/14 or 100/16 universal or denim needle |
| Zipper | Heavy-duty molded plastic zipper, at least two-thirds of the opening side |
| Cutting tools | Measuring tape, fabric scissors, rotary cutter, cutting mat |
| Marking tools | Tailor’s chalk, disappearing ink pen, straight pins, clips |
| Optional supplies | Piping cord, seam sealer, spray adhesive, tie strapping |

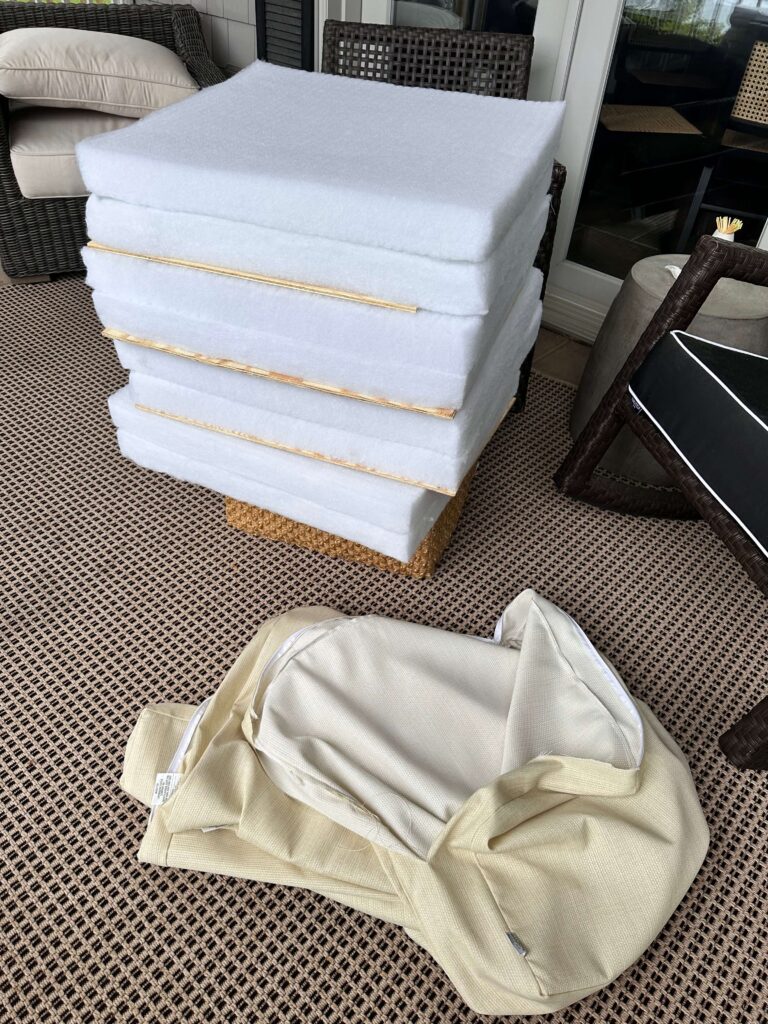
Every project starts with fabric, foam, batting, and a few cutting tools. Image source: abutterflyhouse.com
Use clips instead of pins when you can. Outdoor fabric is thick, and pins can create visible holes or make the layers shift.
Measure, plan, and make a pattern
Accurate measurements are the difference between a crisp, professional cushion and one that looks like it was made for a different chair.
How to measure a seat cushion
- Measure the width and depth of the frame from outside edge to outside edge.
- Measure the thickness of the foam you plan to use. For existing cushions, measure the foam, not the sagging cover.
- For curved or rounded seats, trace the shape onto kraft paper or cardboard to make a template.
- Record every dimension. Write them down before cutting anything.
Choose your cushion style
- Box cushion. Has a side panel (the welt) that gives it a tall, structured look. Best for deep seats.
- Knife-edge cushion. Top meets bottom directly with no side panel. Easier to sew but less defined shape.
- T-cushion. Wider at the front than the back, often found on deep-seat sofas. Needs careful pattern work.
Allow for seam allowance
Most outdoor cushion covers use a ½-inch seam allowance. If you are new to sewing, use ¾ inch so you have room to fix mistakes, then trim it down after sewing. If you add piping, add an extra ½ inch to the pattern to accommodate the cord.
Trace the seating area on paper before touching fabric. Image source: alifeunfolding.com
A common mistake is measuring the old cushion while it is slouched and worn. Measure the chair frame instead, then add the foam thickness you want.
Choose foam that will last
The foam determines both comfort and lifespan. Cheap foam might feel fine for a month, then flatten into a pancake.
Foam types compared
| Foam type | Best for | Trade-off |
|---|---|---|
| High-density polyurethane | Seat cushions in regular use | Firm and supportive, but can hold heat |
| Reticulated foam | Poolside and rainy climates | Water drains through and dries fast; slightly less springy |
| Polyester fiber fill | Toss pillows and light backrests | Soft and cheap, but loses shape over time |
| Bonded foam | Budget projects | Lower cost, but less durable than high-density |
For most patio seat cushions, 2 to 4 inches is the right range. A 3-inch high-density base is the sweet spot for standard dining and lounge chairs. Deep-seat sofas usually need 4 inches so you do not feel the frame underneath.
Some cushions combine a firm 2-inch base with a 1-inch soft top layer. This gives you structure on the bottom and plushness on top.
Comfort is personal. Some people want a firm seat; others want to sink in. This is why matching support to your body is just as important outdoors as it is in a bed.
Foam that is too soft will also create pressure points. In my experience, the same is true in a bedroom—if you wake up stiff or feel a frame edge through your mattress, pressure-point comfort is the first thing to fix. Outdoor foam works the same way.

Firm foam for the base and soft foam for the top gives the best balance. Image source: makeit-loveit.com
If you use reticulated foam, do not glue it to a solid base that blocks water flow. Let the water pass through the entire cushion.
Pick outdoor fabric that can take the weather
Not all fabric is outdoor fabric. Regular cotton or linen will fade, absorb moisture, and grow mold within a season.
Best outdoor fabric options
| Fabric | Durability | Feel | Best for |
|---|---|---|---|
| Solution-dyed acrylic | Excellent UV and mildew resistance | Crisp, breathable | Most patio furniture |
| Marine vinyl | Very high moisture resistance | Hot and less breathable | Boats, damp climates |
| Outdoor polyester | Good for the price | Softer, less structured | Light-duty cushions |
| Olefin | Strong and colorfast | Dry, slightly rough | High-traffic outdoor seating |
Solution-dyed acrylic is the category most upholstery shops recommend. The color goes through the fiber, not just on the surface, so it resists fading. Brands like Sunbrella publish detailed care and testing information for this type of fabric, which is a useful benchmark when comparing materials.
For cushions that sit in constant rain or near a pool, marine vinyl is easier to wipe down. The trade-off is that it gets sticky and hot in direct sun.
Before you buy, test a small scrap:
- Rub it with a damp white cloth to check colorfastness.
- Leave it in direct sun for a few days to see if it fades.
- Sprinkle water on it to see whether it beads or soaks in.
Solution-dyed acrylic and marine vinyl handle sun and rain differently. Image source: alifeunfolding.com
If you live in a rainy climate, add a water-repellent spray after sewing. Reapply it after each wash or at the start of every season.
Step-by-step: How to make patio furniture cushions
This method produces a classic box cushion with a zippered cover. It works for chairs, benches, and most outdoor sofas.
1. Cut the foam
- Place the foam on a flat surface.
- Mark the dimensions directly on the foam with a marker.
- Use an electric carving knife or a long serrated bread knife.
- Cut in one slow, continuous motion. Short choppy cuts leave jagged edges.
If the foam is thicker than 3 inches, cut halfway through on one side, flip it over, and finish from the other side.
2. Wrap the foam in batting
Batting is optional, but it softens the corners and prevents hard foam edges from wearing through the fabric.
- Cut a piece of batting large enough to cover the foam with extra overlap.
- Lay the foam in the center.
- Pull the batting over each side.
- Secure it with spray adhesive or a few stitches along the underside.
Keep the batting smooth. Wrinkles will show through the cover.
3. Cut the fabric
- Cut the top panel to the seat width plus seam allowances.
- Cut the bottom panel the same size.
- For a box cushion, cut a side strip. The length is the perimeter of the cushion plus 2 inches. The width is the foam thickness plus 1 inch for seam allowances.
If your fabric has a pattern, buy extra material and match the pattern before cutting.
4. Add piping (optional)
Piping gives the cushion a finished, professional edge.
- Cut fabric strips on the bias, about 2 inches wide.
- Wrap each strip around piping cord.
- Sew close to the cord with a zipper foot.
- Pin the piping to the right side of the top panel before sewing the cover together.
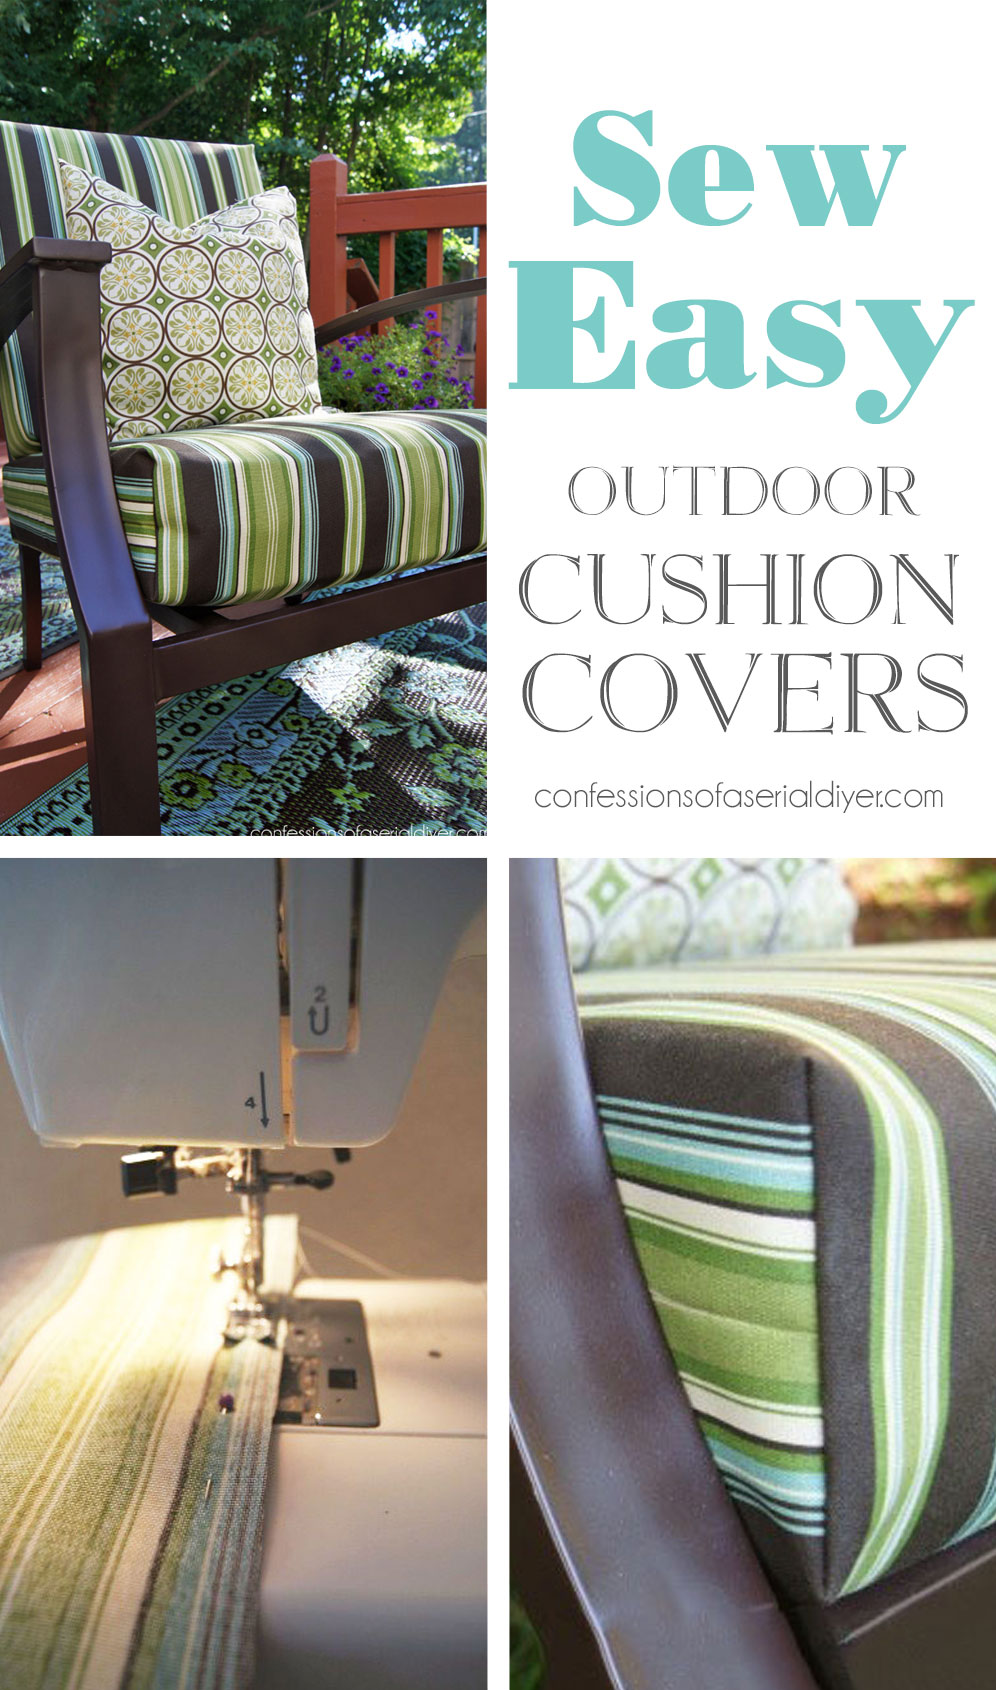
A zipper in the bottom panel is the easiest closure for beginners. Image source: confessionsofaserialdiyer.com
5. Sew the cover and insert the zipper
The easiest way to add a zipper is to put it in the bottom panel.
- Cut the bottom panel into two pieces.
- Insert the zipper between the two pieces, right sides together, and sew it in place.
- Open the zipper halfway before assembling the rest of the cover.
- Sew the side strip to the top panel, then to the bottom panel, with right sides together.
- Sew slowly around corners. Stop with the needle down, lift the presser foot, pivot, and continue.
Use a stitch length of about 3 mm. Larger stitches handle thick fabric better and are easier to remove if you make a mistake.
6. Turn, fit, and finish
- Turn the cover right side out through the open zipper.
- Press the seams gently if the fabric allows.
- Insert the wrapped foam through the zipper opening.
- Zip it closed and check the fit.
If the cover is too tight, the seam allowance may be too small or the batting too thick. If the fabric puckers, the side panels are probably slightly too long for the top and bottom panels.
Closures, piping, and tie straps
Small details make cushions look custom-made and last longer.
Zipper vs. hook-and-loop
- Zippers are more secure and last longer for daily-use cushions.
- Hook-and-loop tape is quicker to install but can collect lint and weaken in direct heat.
Use a heavy-duty molded plastic zipper designed for outdoor upholstery. Standard dress zippers will fail quickly under the weight of thick foam and fabric.
Add tie straps
Windy porches and open decks call for tie straps.
- Cut 1½-inch straps from outdoor webbing or the same fabric.
- Position each strap where the cushion meets a chair frame joint.
- Sew them into the side seam before you close the cover.
- Reinforce each strap with a few back-and-forth bar tacks.
Tie straps and piping make the cushion look finished and keep it in place. Image source: alifeunfolding.com
Piping also helps the cover slide on and off. Without it, the seam can catch on the foam when you insert it.
Care, maintenance, and storage
The best outdoor cushion still needs regular care to survive several seasons.
- Brush off dirt and debris once a week.
- Spot clean with mild soap and warm water.
- Machine wash only if the fabric care label says it is safe.
- Air dry completely before putting cushions back on furniture.
- Store cushions in a dry shed, bin, or covered cart during heavy rain and winter.
Moisture is the main enemy. The path to preventing mold is simple: control moisture, dry wet materials quickly, and keep air moving around stored cushions.
The same thinking applies indoors. Damp fabric in a closed storage bin creates mildew just as easily as a damp bedroom affects rest. Keep cushions in the space where you sleep dry and ventilated if you bring them inside.
Protecting cushions from dirt and weather is also about protecting what sits on them—and what you rest on. A clean, ventilated outdoor seating area supports the same kind of restful recovery that a well-maintained bedroom does.
Troubleshooting and common mistakes to avoid
Most cushion problems come from a handful of repeatable mistakes. Here is what to watch for.
Foam bottoms out too quickly
If you sit down and feel the chair frame through the cushion, the foam is too soft or too thin. High-density polyurethane foam should spring back within a few seconds of standing up. If it stays compressed, it is not dense enough for daily use.
Seams pull or pop open
This usually means the seam allowance was too small or the thread was not strong enough. Use a ¾-inch allowance for thick fabric and always backstitch at the start and end of every seam. UV-resistant polyester thread is not optional—cotton thread degrades in sunlight.
Fabric puckers around the corners
Puckering happens when the side panel is slightly longer than the top and bottom panels. Ease the fabric evenly as you sew, and clip the seam allowance at the corners before turning the cover right side out.
Zipper gets stuck or breaks
Standard zippers are not built for the weight of foam and outdoor fabric. Use a heavy-duty molded zipper, and open it fully before inserting the foam. Forcing thick foam through a half-open zipper is the fastest way to break it.
Cushions slide around on the chair
Tie straps fix this completely. If you already finished the cushions, sew webbing straps onto the underside seam or attach hook-and-loop squares between the cushion and the chair frame.
Fabric fades unevenly
Not all outdoor fabric is equal. Solution-dyed acrylic resists fading far better than printed polyester. If you buy printed fabric, expect some fading in direct sun and choose a pattern where this is less noticeable.
Frequently Asked Questions
What fabric is best for outdoor cushions?
Solution-dyed acrylic is the top choice for UV resistance and mildew protection. Marine vinyl is better for damp environments but gets hot in direct sunlight and is less breathable.
How thick should patio cushion foam be?
Seat cushions typically range from 2 to 4 inches. Three inches of high-density foam is the most common balance of comfort and support. Thicker foam feels plusher but costs more and adds weight.
Can I wash outdoor cushion covers in a machine?
Many outdoor fabrics tolerate a gentle machine wash, but always check the care label first. Zip the cover closed, use a gentle cycle with mild detergent, and air dry completely before putting it back on the foam.
How do I prevent cushions from getting moldy?
Choose mold-resistant fabric and reticulated foam for wet climates. Dry cushions fully before storing, and use breathable storage instead of sealed plastic bags. Keeping moisture under control is the single most effective thing you can do.
Do I need special thread or needles for outdoor fabric?
Yes. Use UV-resistant polyester thread and a heavy-duty needle (90/14 or 100/16) to handle thick fabric and multiple layers. This prevents skipped stitches and broken thread.
Conclusion
Making your own patio furniture cushions is a weekend project that saves you money and gives you a perfect fit. Measure the frame carefully, choose high-density foam and solution-dyed acrylic fabric, and take your time with the seams and zipper. The result is a set of cushions that looks custom-made, survives the weather, and is easy to clean.
Start with a single chair cushion to build confidence, then scale up to a full sofa set. If you are also improving your outdoor comfort, explore how a similar approach to support can help with indoor seating, or compare top-rated mattress options when you are ready to upgrade your sleep setup.

Daniel Hart is a consumer product analyst who specializes in mattress technology, smart bedding, and home comfort innovation. Before joining Royal Comport, Daniel worked with several e-commerce research teams, testing and comparing sleep products for quality, value, and long-term performance. He brings data-driven insight and real-world testing to every review he writes.


