

Sewing your own outdoor cushions is one of the most rewarding DIY projects for your patio or deck. Not only do you save money compared to buying custom-made cushions, but you also get the exact size, color, and firmness that fits your furniture perfectly. Whether you're reupholstering a tired bench or creating a cozy reading nook on your porch, this guide walks you through the entire process—from selecting materials to final waterproofing.
The key to success is simple: use the right fabric, measure carefully, and invest time in sturdy seams. Skip these fundamentals and even the prettiest cushion will fail within one season. In this comprehensive tutorial, you'll learn everything from choosing quick-dry foam to installing a weatherproof zipper. I'll also share practical mistakes I've made over years of sewing, so you can avoid them entirely. You can also read our guide on how to protect outdoor cushions.

Finished cushions ready to transform a patio seating area.
Source: abutterflyhouse.com
Why DIY Outdoor Cushions Are Worth The Effort
Before we dive into the sewing techniques, let's talk about why making your own cushions is a smart investment. Store-bought cushions often come in standard sizes that rarely fit vintage furniture or uniquely shaped benches perfectly. When you sew your own, you gain complete control over dimensions, thickness, and fabric choice.
The cost factor is also significant. A single custom cushion from a professional upholsterer can cost $100–$200. By doing it yourself, the materials for a standard chair cushion typically run $30–$60. When you're outfitting an entire patio set with six or eight chairs, that saving adds up quickly. You can also read our guide on how to clean sunbrella cushions.
There's also the satisfaction factor. A hand-sewn cushion fits like a glove, reflects your personal style, and lasts longer because you've chosen every component for durability. Plus, when the cover eventually wears out, you can simply unzip it and sew a replacement—no need to discard the perfectly good foam inside.
Essential Materials and Tools For The Job
Gathering the right supplies before you start is half the battle. Outdoor cushions face harsh conditions—UV rays, rain, humidity, and constant use. Your materials need to handle all of it. For more on this, see our guide on how to clean sunbrella outdoor furniture cushions.
Choosing Outdoor Fabric That Actually Lasts
Not all fabrics are created equal. For outdoor use, you need materials specifically engineered to resist fading, mildew, and water damage. Here are your best options:
- Solution-dyed acrylic (like Sunbrella): This is the gold standard. The color runs through the entire fiber, so it won't fade easily. It's breathable, mildew-resistant, and holds up beautifully in direct sun. Expect to pay $25–$50 per yard.
- Coated polyester: A budget-friendly option at $10–$20 per yard. It's water-resistant and durable, but less breathable than acrylic. In humid climates, it can trap moisture against the foam.
- Marine vinyl: Extremely durable and completely waterproof. It gets hot in direct sun and can feel sticky on bare skin. Best reserved for boat seating or heavy-use commercial areas.
My recommendation: For most home patio settings, solution-dyed acrylic is worth the extra cost. It feels more comfortable than vinyl and lasts years longer than standard polyester. The initial investment pays off in longevity.
Selecting The Right Foam For Your Cushions
Your choice of foam directly affects comfort and longevity. Here's a breakdown of the main options:
| Foam Type | Best For | Pros | Cons |
|---|---|---|---|
| Standard polyurethane (1.5–2.0 lb density) | Budget projects | Affordable, firm support | Retains water if not covered well |
| Quick-dry foam | Humid climates | Perforated for drainage, resists mildew | Slightly more expensive |
| High-resilience foam | Daily heavy use | Bounces back quickly, durable | Pricier, heavier |
For seat cushions, 2–3 inches of foam works well for most chairs. Deeper seating—like a chaise lounge—benefits from 3–4 inches. If your furniture sits uncovered in rain, choose quick-dry foam. The perforations let water drain through instead of pooling Inside. For more on this, see our guide on how to keep outdoor cushions on furniture.
Gathering Your Sewing Tools
You don't need industrial equipment, but a few specific tools make the job dramatically easier:
- Heavy-duty sewing machine (a midweight machine with a strong motor works if you use the right needle)
- Size 90/14 or 100/16 heavy-duty needles
- UV-resistant polyester or nylon thread
- Rotary cutter, cutting mat, and metal ruler
- Measuring tape and fabric chalk
- Quality clips (not pins—they can damage coated fabrics)
- Zipper foot and piping foot attachments
- Kraft paper for pattern-making
One thing I learned early: cheap thread breaks under stress. Spend a few extra dollars on quality upholstery thread. When you sew cushions for outdoor furniture, the thread is what holds everything together through sun, rain, and repeated sitting.
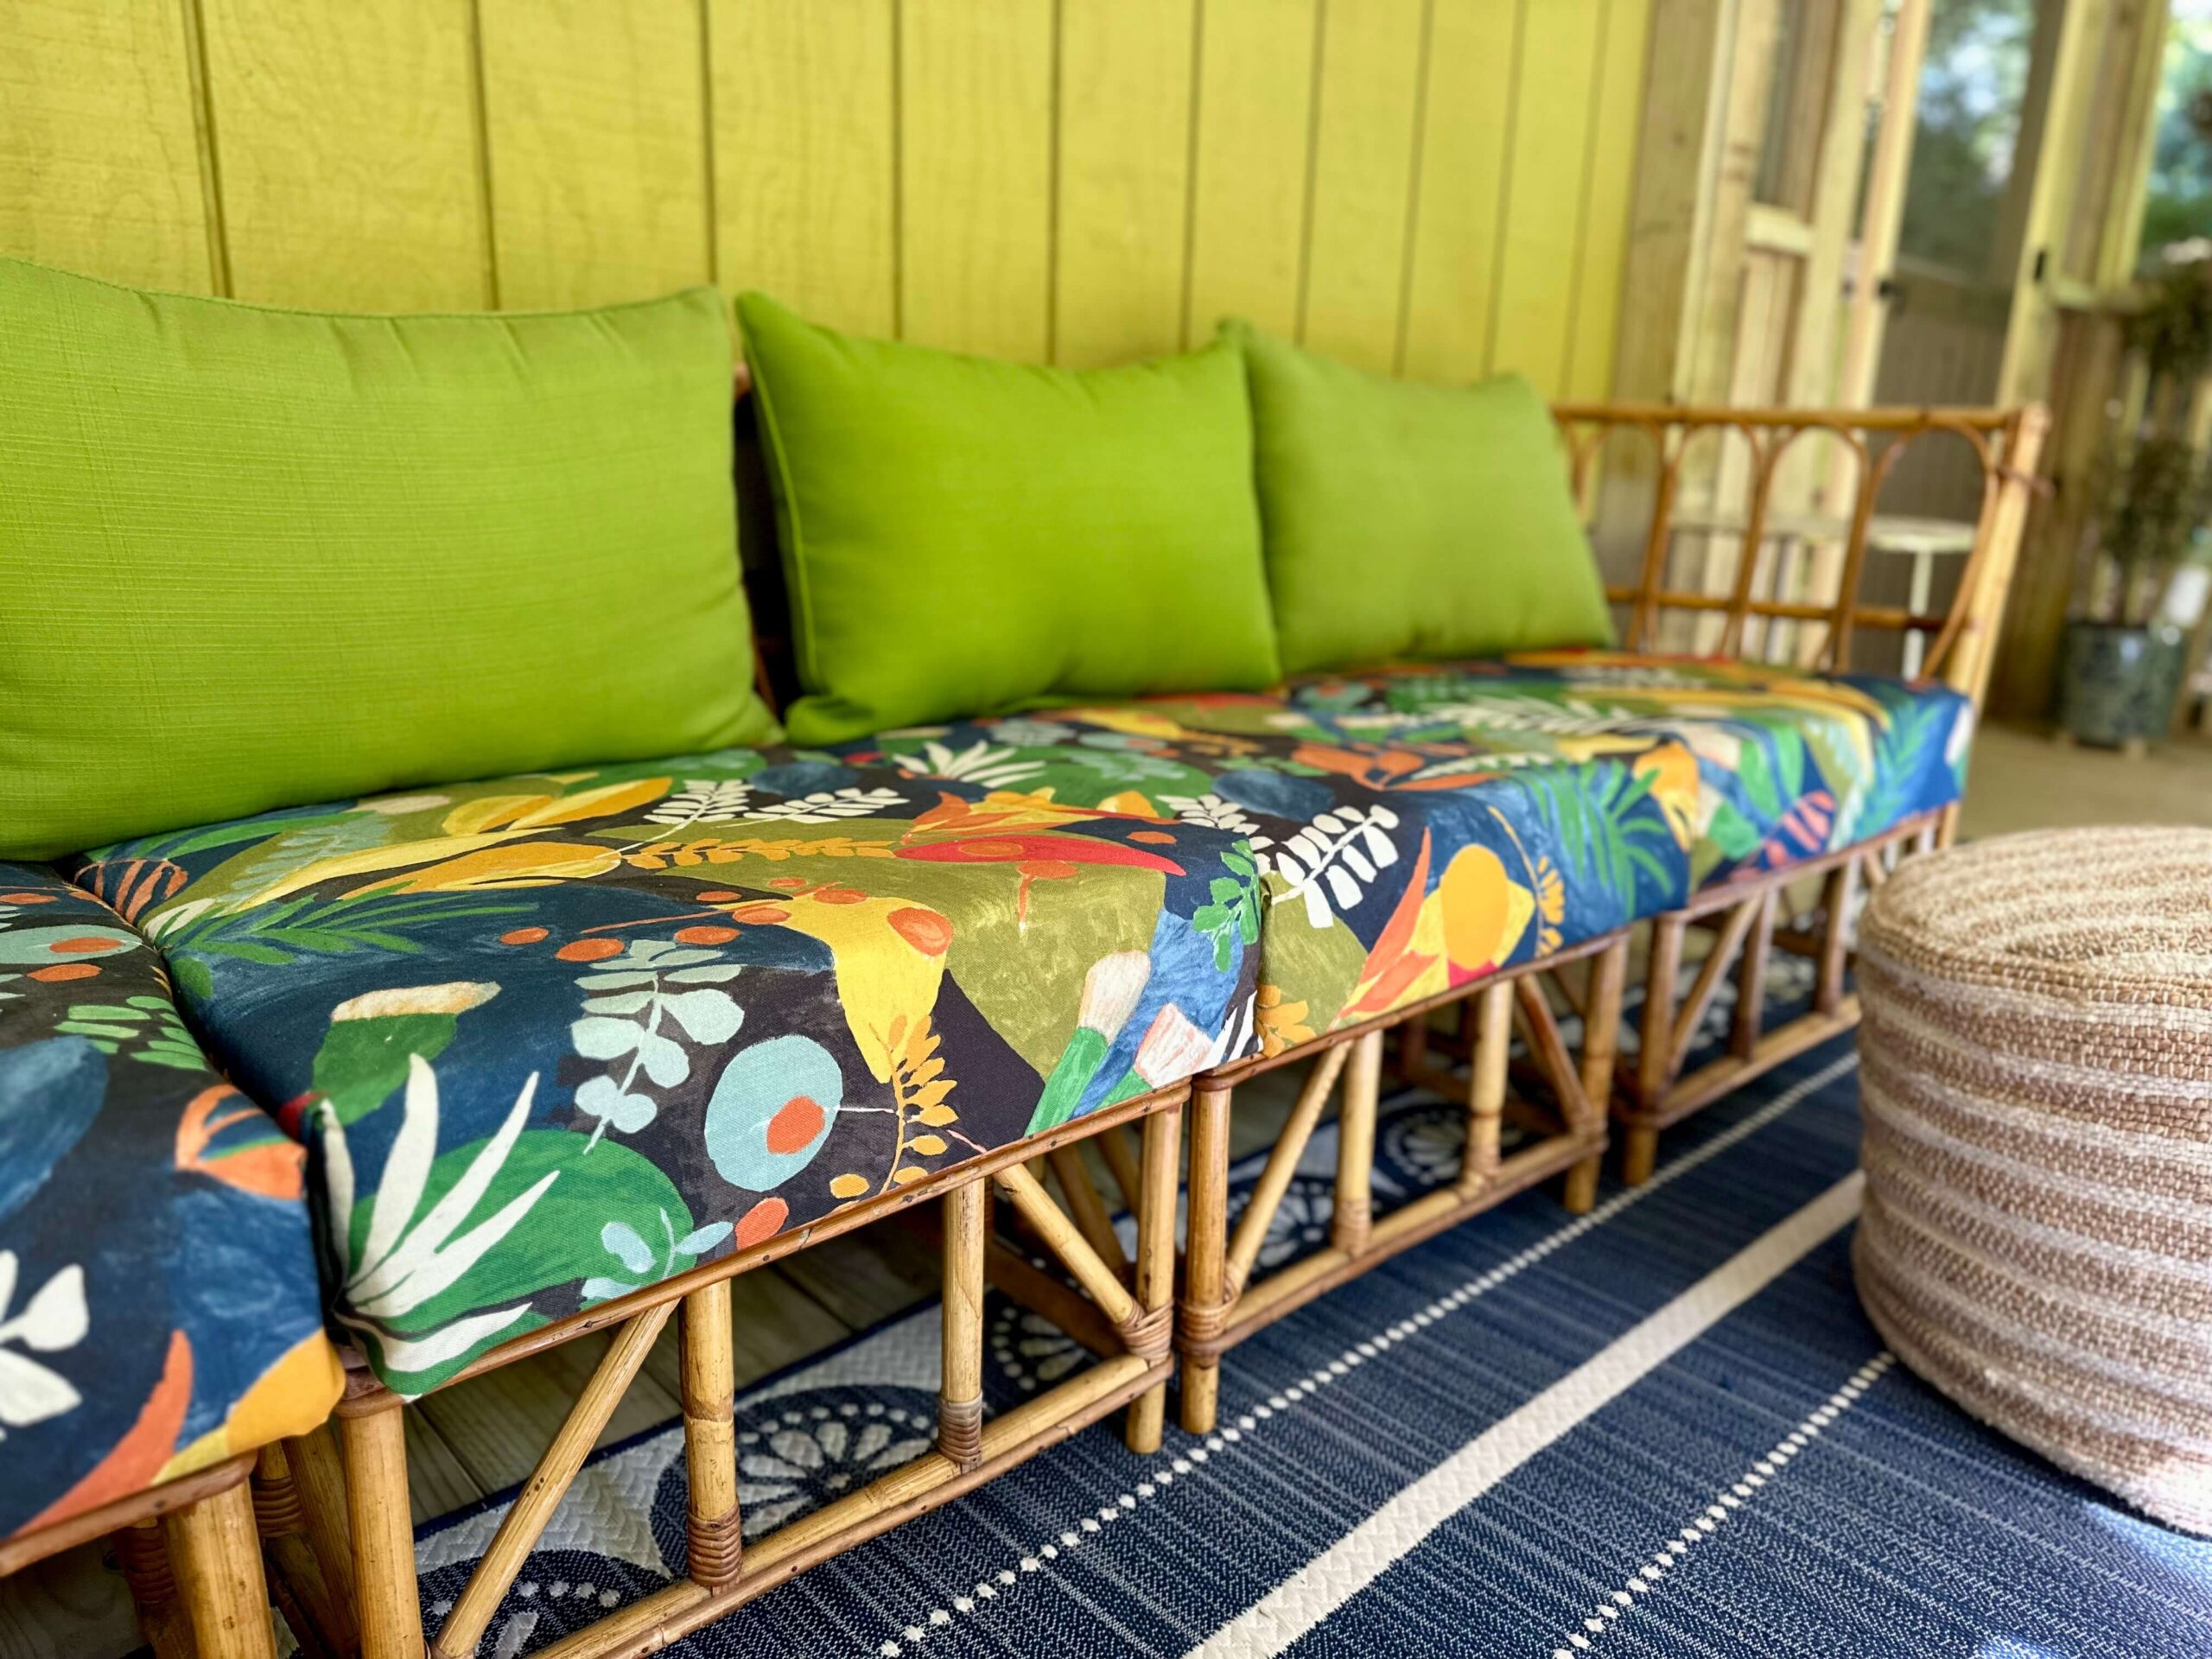
Selecting the perfect fabric match for a rattan outdoor sofa.
Source: alifeunfolding.com
How To Measure And Create Your Pattern
Accurate measurements are the foundation of a well-fitting cushion. Measure twice, cut once—this saying exists for a reason. A cushion that's off by even half an inch will look sloppy and fit poorly. For more on this, see our guide on how to make cushions for outdoor furniture.
Step-By-Step Measurement Guide
- Measure the seat width at both the front and back edges. Outdoor furniture often widens toward the front. Use the larger measurement to ensure your cushion fits the widest point.
- Measure the depth from the front edge to the backrest.
- Measure the thickness of your chosen foam plus batting. This determines how much fabric you need for the side panels.
- Add your seam allowance: ½ inch on all edges generally works well. For zipper openings, add 1 inch.
Creating Your Pattern
Once you have measurements, draw your pattern pieces on kraft paper:
- Top and bottom panels: Your width × depth measurement plus seam allowance
- Side panels: The thickness measurement plus seam allowance, cut to match the perimeter length
- Zipper panel: One side of the cushion where the zipper will be placed
Test your pattern with a muslin or scrap fabric before cutting your expensive outdoor fabric. This trial run catches measuring errors early and lets you refine the fit. Mark all pattern pieces with notches at the corners—these alignment marks save time when you're sewing multiple panels together.
Practical tip: I keep a notebook with measurements for each piece of furniture in my yard. When I need new cushions, I don't have to re-measure. It's also handy for creating replacement covers when the originals wear out.
Cutting Fabric: Precision Is Everything
Cutting mistakes are the most common cause of wasted fabric. Here's how to cut cleanly and efficiently:
- Pre-treat your fabric before cutting. Check the manufacturer's instructions; some outdoor fabrics shrink slightly.
- Lay fabric flat on a large cutting surface. For directional prints or patterns, ensure the repeat aligns correctly.
- Use weights, not pins, on coated and acrylic fabrics. Pins create permanent holes that allow water to seep through.
- Cut with a rotary cutter and metal ruler for perfectly straight edges. Scissors tend to wander on long cuts.
- Label every piece immediately with chalk or small fabric tags. It's easy to confuse similar-looking panels, especially when working with multiple cushions.
A frequent mistake: Shifting the fabric while cutting. Always use a non-slip cutting mat or a gripping spray to hold the fabric in place. Cut slowly and let the rotary blade do the work—don't force it.
Sewing Techniques For Durability
The seams are what keep your cushion intact through years of use. Even premium fabric will fail if the stitching is weak.
Setting Up Your Machine
- Install a size 100/16 needle designed for heavy fabrics
- Thread your machine with UV-resistant polyester thread (not cotton—it rots outdoors)
- Set stitch length to 3.0–3.5 mm for balanced strength and flexibility
- Always backstitch at the start and end of every seam to lock the threads
Seam Options For Outdoor Cushions
French seams are excellent for lighter fabrics where you want a clean finish with extra strength. Fold the fabric wrong sides together, stitch a ¼-inch seam, trim close to the stitching, then fold right sides together and stitch another ¼-inch seam. This encases the raw edges inside the seam, preventing fraying and water penetration.
Straight seams with zigzag finishing work well for heavier fabrics. After sewing your main seam, go over the raw edge with a wide zigzag stitch. Alternatively, apply seam binding or bias tape to cover the edge completely. This method is faster than French seams and equally durable.
Reinforcing Stress Points
Corners and high-wear areas deserve extra attention. Bartack (a dense zigzag stitch) or sew several passes over corners to prevent seam failure. For cushions that need to hold their shape well, consider adding piping.
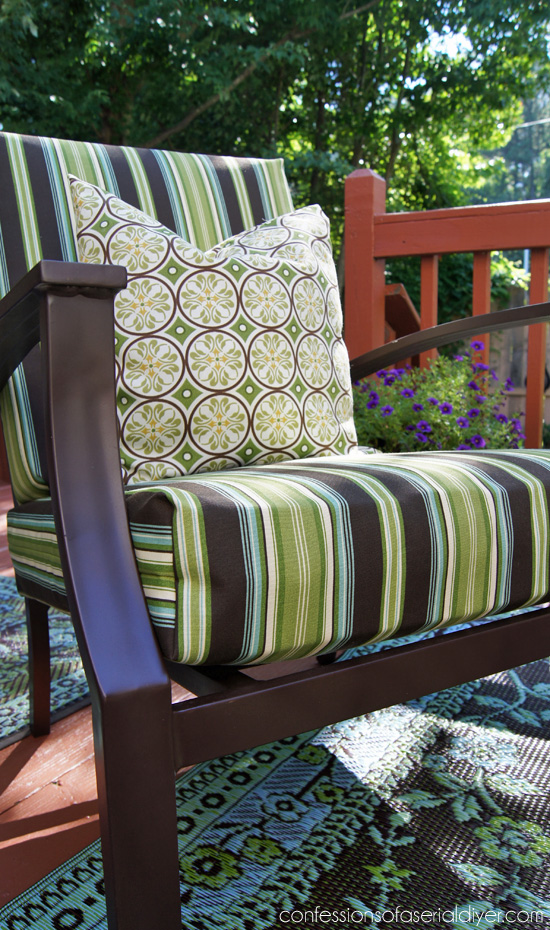
A close-up of reinforced piping sewn into the seam for a polished edge.
Source: confessionsofaserialdiyer.com
Adding Piping, Zippers, And Closures
Zippers might seem like an afterthought, but they're critical for removable, washable covers. A quality outdoor zipper prevents water ingress and makes maintenance straightforward.
Installing A Zipper That Lasts
- Choose the right zipper: Look for brass or plastic zippers specifically rated for outdoor exposure. Standard zippers rust and fail quickly.
- Position the zipper: It typically goes in the back seam or along one side panel. For bench cushions, the back seam is easiest.
- Sew with a zipper foot: Place the zipper face-down on the right side of the fabric, align the teeth with the seam line, and stitch close to the teeth.
- Add a storm flap: Sew a 2-inch-wide fabric strip behind the zipper. This creates a barrier that keeps water and dirt from reaching the foam through the zipper teeth.
The Art Of Piping
Piping adds a professional finish and reinforces seams. Wide piping (⅜-inch or so) suits outdoor cushions. To make your own, cut bias strips of fabric, fold them over cotton piping cord, and sew the strip closed with a zipper foot. Then stitch the piping into the seam when joining panels.
A tip from experience: When sewing piping around corners, clip the piping seam allowance slightly. This lets the piping curve without puckering. Take your time—this is where many DIY cushions lose their professional look. If you are working in a space with limited light, consider adjusting your environment; a well-lit area makes detail work far easier, which is similar to optimizing your house for better rest.
Alternatives To Zippers
For fixed cushions that never get removed, consider:
- Hook-and-loop tape sewn into the seam: Allows easy removal while staying hidden
- Button closures with reinforced backing: Decorative and functional
- Fabric ties: Simple and effective for securing cushions to chair frames
Te Making: Step-By-Step Assembly Guide
With all your pieces cut and edges prepared, it's time to assemble the cover. Follow this sequence for best results:
- Sew the zipper panel to one side of the fabric cover
- Attach piping to the top panel edges if using
- Join the front, back, and side panels to form a continuous loop
- Sew the loop to the top panel, easing the fabric around corners
- Repeat for the bottom panel, leaving an opening to insert the foam if no zipper is installed
- Turn the cover right side out and press seams flat
- Insert the foam, then close the zipper or hand-stitch the opening
Adding Tufting For Shape Retention
If you want a tufted look or need to keep foam from shifting, tufting is surprisingly manageable. Mark button positions on the fabric, use a long upholstery needle to pull thread through the foam, and anchor each button with a fabric-covered disc on the bottom. Without those anchoring discs, the buttons will pull through the foam over time—I learned this the hard way.
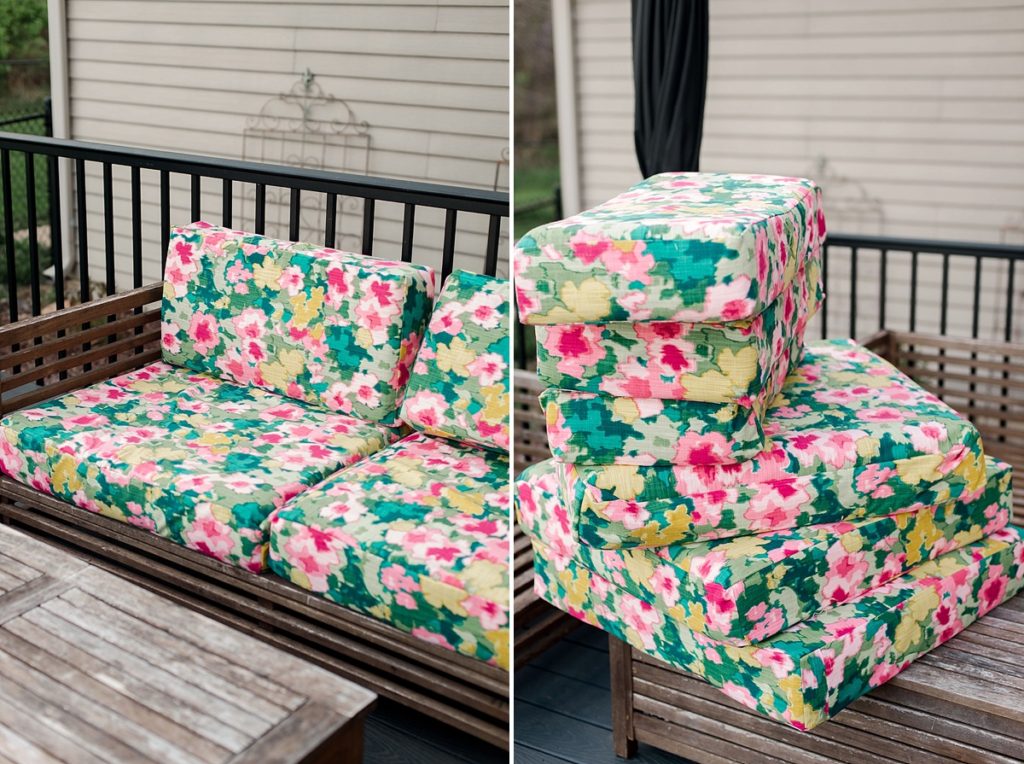
Professionally tufted cushion with decorative buttons for enhanced durability.
Source: ohyaystudio.com
Caring For Your Finished Cushions
Proper maintenance dramatically extends the life of your DIY cushions. Here's a simple care routine:
- Spot clean: Mix mild soap with warm water, use a soft brush, rinse thoroughly
- Machine wash: Removable covers are washable on gentle cycle—air dry only
- Store properly: In humid climates, store cushions indoors during the off-season
- Air regularly: Hang cushions in the shade occasionally to prevent moisture buildup
Protect against mildew: Quick-dry foam helps, but airflow matters too. Elevate cushions slightly when storing to allow circulation. If you live in a particularly humid region, consider how a dry, comfortable resting environment improves your own sleep—the same principle applies to your outdoor furniture. Choosing a breathable fabric keeps your cushions fresher. This concept is similar to how a well-chosen mattress can improve your rest; the materials and airflow make all the difference.
A high-quality washable cover makes this routine simple. Whether you are just starting out or are tackling a bigger seating project, planning your cushion colors and materials to complement your overall outdoor space creates a cohesive look.
Cost And Time Estimates For DIY Projects
Here's what you can expect to pay and how long your project might take:
Material costs:
- Outdoor fabric: $15–$50 per yard (seating typically needs 2–3 yards)
- Quick-dry foam: $30–$80 per cushion (depending on size)
- Zipper: $5–$15 each
- Thread, piping cord, and notions: $10–$20 total
Time requirements:
- Simple square cushion: 1–2 hours
- Boxed cushion with zipper and piping: 2–4 hours
- Tufted or custom-shaped cushion: 4–6 hours
Money-saving tip: Batch-sew a full set before setting up your machine. Switching between projects costs time and thread. Cut all pieces at once, then sew complete cushions without stopping.
Troubleshooting Common Sewing Problems
Even experienced sewists run into issues. Here are the most common mistakes and how to fix them:
| Problem | Cause | Solution |
|---|---|---|
| Crooked seams | Inconsistent feeding | Sew slowly, use clips, and guide fabric evenly |
| Foam shifting | Slippery cover interior | Add gripper fabric or tuft the cushion |
| Zipper failure | Low-quality zipper | Replace with outdoor-rated brass zipper |
| Fabric fading | Non-UV-resistant material | Switch to solution-dyed acrylic |
| Cover too tight | Insufficient seam allowance | Always test-fit with scrap fabric first |
One warning I pass along from experience: Changing seam allowance halfway through a project ruins the fit. Pick one allowance (½ inch is standard) and stick with it for every seam. Consistency is the hidden secret to professional-looking cushions.
If you're also thinking about the broader comfort of your outdoor space, consider the accessories that make it more livable. Just as the right cushioning transforms a bench, a good sleeping setup transforms your nights. Check your indoor comfort setup similarly—many of the same material principles apply. When we spend time on our decks reading or napping, the quality of our cushions matters for our recovery. Similarly, ensuring your inside environment is optimized for deep rest can make your outdoor relaxation even more restorative.
Frequently Asked Questions
Which fabric lasts longest outdoors?
Solution-dyed acrylic fabrics are the most durable for outdoor cushions. They resist fading from UV rays and stay mildew-free in humid conditions. Coated polyester is a budget option but may not last as long in direct sun.
Can I machine-wash my DIY covers?
If your zipper and thread are quality and your fabric allows, yes. Remove the foam first, wash on a gentle cycle with mild detergent, and air dry. Never machine-dry outdoor fabrics—heat damages the protective coating.
Do I need a special sewing machine?
A heavy-duty machine is ideal but not mandatory. A standard machine with a size 100/16 needle can handle most outdoor fabrics. Marine vinyl or multiple fabric layers might require a walking foot to prevent layers from shifting.
How do I prevent mildew on foam?
Choose quick-dry foam with drainage holes, cover it with breathable fabric, and store cushions where air circulates. Weekly airing helps prevent mold from developing in humid climates.
Conclusion
Sewing cushions for outdoor furniture is a satisfying project that transforms your patio while teaching you valuable skills. The process is straightforward when you break it down: choose durable materials, measure precisely, cut carefully, sew strong seams, and finish with a quality zipper.
Remember that outdoor fabrics are engineered for the elements—solution-dyed acrylic for sun resistance, quick-dry foam for drainage, and UV-resistant thread for seam strength. Invest in these components upfront, and your cushions will deliver years of comfortable service. Start with one cushion, master the techniques, then tackle the full furniture set. The sense of accomplishment when you step back and see your beautifully upholstered patio is genuinely rewarding.

Daniel Hart is a consumer product analyst who specializes in mattress technology, smart bedding, and home comfort innovation. Before joining Royal Comport, Daniel worked with several e-commerce research teams, testing and comparing sleep products for quality, value, and long-term performance. He brings data-driven insight and real-world testing to every review he writes.


