

Your patio cushions have seen better days. The fabric is faded, the seams are splitting, and the foam has lost its bounce. Before you spend hundreds of dollars on replacements, consider this: recovering your existing cushions is often cheaper, smarter, and more satisfying than you think.
With a few tools, some quality outdoor fabric, and a weekend afternoon, you can transform tired cushions into something that looks store-bought. This guide walks you through the entire process — from assessing damage to final fabric protection — so you can get it right the first time. You can also read our guide on how to replace foam in sofa cushions.
Let's dig in.
Why Recover Instead of Replace?
Recovering patio cushions makes sense for several practical reasons:
You save significant money. A full set of replacement cushions can cost anywhere from $200 to $600 or more, depending on size and quality. Recovering typically costs $30 to $80 per cushion in materials. If you have eight cushions, that's a savings of several hundred dollars.
You reduce waste. Quality outdoor furniture frames and foam cores often outlast their covers by years. Throwing them away sends unnecessary material to landfills. Recovering keeps the good parts in service longer. You can also read our guide on how much should you spend on a mattress expert budget guide.
You get complete creative control. Want a bold striped pattern? A neutral that matches your new outdoor rug? You choose the exact fabric, piping, and zipper style. No more settling for whatever the store stocks.
You know exactly what's inside. When you recover, you're also inspecting the foam, zippers, and seams. You'll know precisely what condition your cushions are in and can address issues before they worsen. You can also read our guide on how to deep clean couch cushions.
Before You Begin: Assess Your Cushions
Not every cushion is a good candidate for recovery. A quick inspection tells you whether to proceed or start shopping.
Check the Foam
Press your hand firmly into the foam. Does it spring back quickly? Or does it hold the indentation? High-quality foam should regain its shape almost immediately.
Replace the foam if it:
- Stays compressed after pressing
- Crumbs or flakes when touched
- Has a persistent bad odor even after airing out
- Shows visible mold or mildew throughout
Outdoor-specific, high-density foam resists moisture better than standard furniture foam. It costs a bit more but lasts substantially longer in outdoor conditions. For more on this, see our guide on how to store patio furniture cushions.
Inspect the Fabric and Seams
Look for thin spots, sun damage, and tears at stress points. Check zippers for broken teeth or stuck tracks. Rusted zippers are common on outdoor cushions and are worth replacing rather than fighting with.
Smell Test
Musty odors mean moisture has penetrated the foam. Air the cushion in direct sun for a few hours and see if the smell dissipates. If it lingers, replace the foam before recovering. For more on this, see our guide on how to clean patio cushions.
Measure Twice
Record the width, depth, and thickness of each cushion. Also note the shape — square, rounded corners, or tapered. This information helps you calculate fabric yardage and confirm replacement foam dimensions.
Tools and Materials You'll Need
Gather everything before you start. Nothing kills momentum like a mid-project trip to the store.
| Item | Purpose |
|---|---|
| Outdoor fabric (solution-dyed acrylic recommended) | New cover material |
| Marine-grade or heavy-duty polyester thread | Durable seams that resist UV and moisture |
| Sewing machine with zigzag capability | Constructing covers |
| New zippers or zipper tape | Easy removal for cleaning |
| Replacement foam (if needed) | Restoring cushion loft |
| Electric knife or foam cutter | Shaping new foam |
| Seam ripper | Removing old stitching |
| Measuring tape and fabric scissors | Accurate cutting |
| Pins or clips | Holding fabric while sewing |
| Upholstery spray adhesive | Securing foam in place |
| Fabric protector spray | Adding weather resistance |
Pro tip: Keep spare zippers and an extra spool of marine thread in your sewing kit. You'll inevitably need them for a future project.
Step-by-Step: How to Recover Patio Cushions
Follow these steps in order for the smoothest process.
Step 1: Remove the Old Cover
Turn the cushion over and locate the zipper or seam. If there's a zipper, open it and peel the cover off carefully.
No zipper? Use a seam ripper to open one seam, preferably along the back edge where it's least visible. Label each fabric piece as you remove it — particularly if the cover has multiple sections with different shapes.
Step 2: Clean and Dry the Foam
The foam has been sitting inside a cover for years. Give it proper attention before putting new fabric on it.
Vacuum both sides to remove dust and debris. If the foam is damp, air it outside in direct sunlight for several hours.
For light mildew spots, mix equal parts white vinegar and water in a spray bottle. Lightly mist the affected areas, wipe with a clean cloth, then rinse sparingly. Dry completely in the sun — this is critical. Even slightly damp foam will invite mold inside your new cover.
Step 3: Cut New Foam (If Needed)
If you're replacing the foam, place the old piece on top of the new foam as a template. Trace around it with a marker.
An electric knife or a serrated bread knife works well for cutting foam. Make slow, smooth strokes and keep the blade vertical. Even minor angles will affect how the cushion sits.
Step 4: Cut Your New Fabric
Lay the old cover pieces flat on your work surface. Place fabric over them, and cut with a generous ½-inch seam allowance. If the fabric has a directional pattern, ensure all pieces align correctly before cutting.
Pay attention to the fabric grain. Cutting against the grain can cause stretching and distorted seams.
Step 5: Install Zippers
A full-length zipper makes future cleaning much easier. Attach the zipper tape to the fabric pieces before sewing the main seams. Use quality polyester thread and sew slowly to avoid skipped stitches.
Test the zipper thoroughly before completing the cover assembly. There's nothing more frustrating than discovering a broken zipper after everything is sewn together.
Step 6: Sew the Cover
Use a heavy-duty needle and polyester thread for all seams. A straight stitch holds the fabric together; a reinforcing zigzag stitch adds strength at stress points.
For professional-looking results, consider adding piping along the seams. It strengthens the cover and gives it a crisp, finished appearance.
Step 7: Fit and Test
Turn the cover right side out and slide it over the foam. Place the cushion on your furniture and give it a real test — sit on it, lean against it, move around.
Check that the zipper operates smoothly and that the cushion doesn't look too tight or too loose. Adjust seams if needed.
Step 8: Protect and Finish
Trim any loose threads and inspect all seams for weak spots. Apply a fabric protector designed for outdoor use, following the manufacturer's instructions. This adds water resistance and UV protection, extending the life of your new covers.

Freshly recovered cushion showing clean seams and professional piping.
Source: heartfilledspaces.com
Cleaning and Maintaining Recovered Cushions
Your hard work deserves proper care. A simple maintenance routine keeps recovered cushions looking great for years.
Weekly Care
Brush off dust and loose debris with a soft broom or brush. This prevents dirt from grinding into the fabric fibers.
Spot Cleaning
Blot spills immediately with mild soap and water. Avoid rubbing — it pushes the stain deeper into the fabric.
Deep Cleaning
If your covers have zippers, remove them and machine-wash on a gentle cycle with mild detergent. If your fabric isn't machine-washable, hand-wash with a soft brush and gentle soap.
Always air dry covers completely before putting them back on the foam. Never use a clothes dryer unless the fabric care label explicitly allows it.
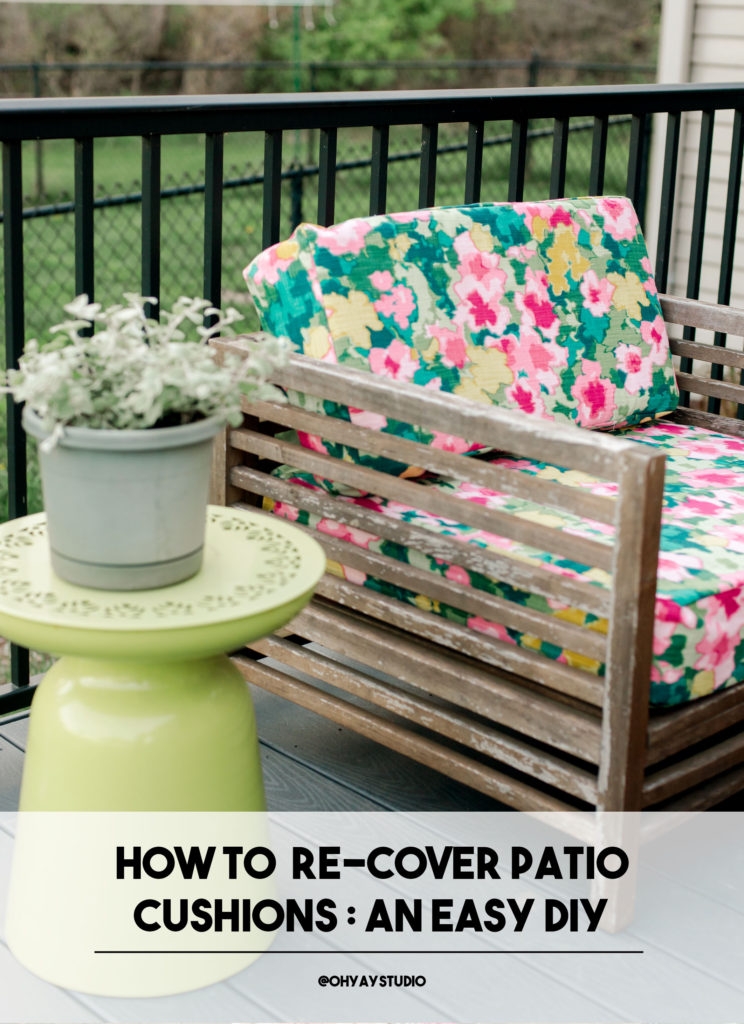
Hand-cleaning a removable cushion cover to keep fabric fresh.
Source: ohyaystudio.com
Choosing the Right Outdoor Fabric
Fabric selection makes or breaks your project. The right choice resists fading, repels moisture, and feels comfortable.
Solution-Dyed Acrylic
This is the gold standard for outdoor upholstery. The color is embedded in the fiber during manufacturing, so it resists fading dramatically better than printed fabrics. It's also mold-resistant and easy to clean.
Polyester Blends
More budget-friendly than acrylic, polyester blends offer decent UV resistance and water repellency. They work well for covers that see moderate sun and rain exposure.
Marine Vinyl
If your cushions face heavy use or constant weather, marine vinyl is virtually indestructible. It wipes clean easily and handles prolonged sun exposure. The downside is less breathability and comfort in hot weather.
Check the UV Rating
Look for fabrics with a UV rating of 1,500+ hours. This indicates they'll withstand several seasons of direct sunlight before noticeable fading occurs.
Weatherproofing Your Work
Even quality outdoor fabric benefits from additional protection. Here are steps that add real durability:
Seam Sealing
The needle holes from sewing create tiny entry points for moisture. Apply a clear seam sealer to the inside of critical seams after sewing. This blocks water wicking through the fabric.
Rust-Resistant Hardware
Standard zippers rust quickly outdoors. Choose plastic or coated zippers designed for marine applications. They cost slightly more but last much longer.
Waterproofing Spray
After sewing is complete, apply a fabric protector spray designed for outdoor fabrics. Reapply at the start of each season or after deep cleaning.
Smart Storage Tips
How you store cushions during off-season dramatically affects their lifespan.
Keep Them Dry
Never store damp or wet cushions. Moisture trapped in storage creates mildew in record time.
Use Breathable Bags
Plastic bags trap condensation. Instead, use breathable cotton or mesh storage bags that allow air circulation.
Elevate Off the Ground
If storing in a garage or shed, place cushions on a shelf or pallet — not directly on the concrete floor, which transfers moisture.
Rotate During Use
Turn cushions over and rotate their position regularly to ensure even sun exposure and wear.
Troubleshooting Common Problems
Even careful DIYers hit snags. Here's how to handle the most frequent issues.
Mold or Mildew
Clean with a 50/50 vinegar-water solution, then rinse and dry in full sun. Persistently moldy foam must be replaced — no amount of cleaning will fully remove the spores from inside the foam.
Fading
Sun damage is cumulative. If your fabric fades after a couple of seasons, consider higher-rated UV fabric next time. Reapply UV protectant spray periodically to extend the life of the fabric.
Zipper Failure
Broken zippers are fixable. Carefully remove the old zipper with a seam ripper, then sew in a new one. This takes about 30 minutes and saves you from replacing the entire cover.
Poor Fit
If your cover is too tight, the fabric will strain at the seams. If it's too loose, it will sag and wrinkle. Adjust the seam allowance on your next attempt, or add piping to fill small gaps.
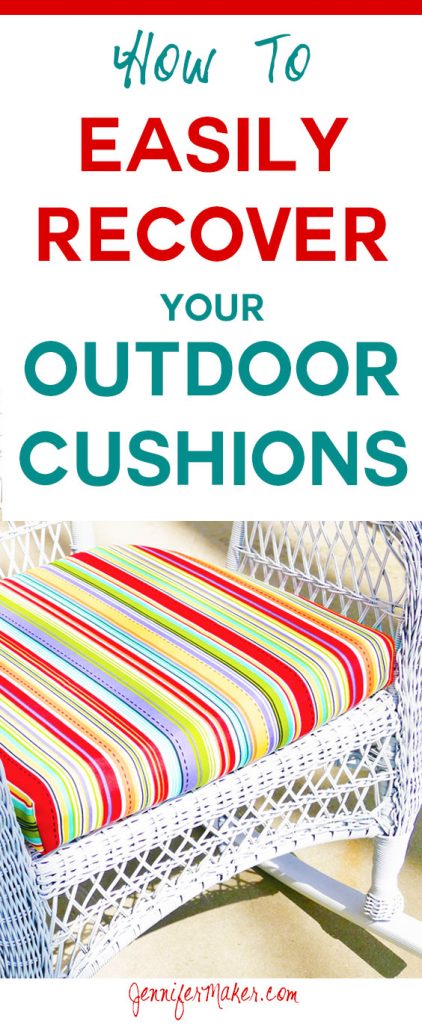
Visual guide for identifying and resolving common cushion issues.
Source: jennifermaker.com
Cost and Time Estimates
Understanding the investment helps you plan. Here's what to expect:
| Item | Cost Range |
|---|---|
| Outdoor fabric (per cushion) | $15 – $60 |
| Replacement foam (per cushion) | $10 – $40 |
| Zippers, thread, notions | $5 – $15 |
| Fabric protector | $10 – $20 (covers multiple cushions) |
Time Commitment
- Simple seam repair or small patch: 30 – 60 minutes
- Full re-cover (existing foam, no new repairs): 2 – 3 hours for a beginner
- Complete rebuild with new foam and zipper: 3 – 4 hours per cushion
- Experienced DIYer, one cushion: 60 – 90 minutes
Set aside a full weekend for a typical set of six to eight cushions.
Sustainable Options and Upcycling Ideas
Recovering is inherently eco-friendly, but you can go further:
Eco-Conscious Choices
- Use recycled or low-impact outdoor fabrics when possible
- Reuse foam cores and frames — don't replace them unless necessary
- Donate old fabric scraps to school art programs or community sewing groups
- Repurpose old covers into pet beds, garden kneeling pads, or reusable shopping bags
Creative Refresh Ideas
Leftover fabric from your project can become throw pillows, table runners, or seat pads for wooden benches. A few bright cushions can completely change the look of an outdoor space without buying anything new.
When DIY Isn't Worth It
Let's be honest — recovery isn't always the right call. Consider replacement if:
- The foam has collapsed completely and needs replacement
- The furniture frame itself is rusted or broken
- You're buying multiple cushions and replacement covers cost less than fabric and your time
- The cushion shape is complex (curved or heavily tapered) and requires advanced sewing skills
In those cases, the cost-benefit math favors buying new. But for straightforward rectangular or square cushions in good structural condition, recovery remains the smart, satisfying choice.
Frequently Asked Questions
How long does it take to recover a patio cushion?
Most cushions take between one and four hours, depending on your experience level and whether you're replacing foam or adding new zippers. Beginners should budget extra time for measuring and sewing.
Can I wash recovered cushion covers in a machine?
Many outdoor fabrics are machine-washable on a gentle cycle, but always check the care label. Air drying is essential — machine drying can shrink fabric and damage water-resistant coatings.
What foam should I use for outdoor cushions?
Use high-density foam specifically rated for outdoor or marine use. Standard furniture foam absorbs moisture and breaks down quickly when exposed to weather.
How do I prevent mold on outdoor cushions?
Keep cushions dry and store them in breathable bags when not in use. Choose mildew-resistant fabric, and treat any dampness promptly. Sun exposure is a natural mildew deterrent.
Do I need a sewing machine?
A sewing machine makes the job dramatically easier and produces stronger seams, especially for zipper installation. Hand-sewing is possible for small repairs but isn't practical for a full cover.
Final Thoughts
Recovering patio cushions is one of the most satisfying DIY projects you can take on. It saves money, reduces waste, and gives you complete control over your outdoor aesthetic.
Start with a single cushion. Build your confidence. Before long, you'll have a transformed patio set — and the skills to keep it looking great for years to come.
The next time you're relaxing in your refreshed outdoor space, you'll appreciate not just the savings, but the fact that you built it yourself.

Daniel Hart is a consumer product analyst who specializes in mattress technology, smart bedding, and home comfort innovation. Before joining Royal Comport, Daniel worked with several e-commerce research teams, testing and comparing sleep products for quality, value, and long-term performance. He brings data-driven insight and real-world testing to every review he writes.


