

Piping is one of the fastest ways to make a homemade cushion look professionally upholstered. It is simply a strip of fabric wrapped around cotton cord and sewn into the seam of your cushion cover. That neat ridge changes the whole silhouette of a cushion, making it look crisp, tailored, and finished.
I have made dozens of cushions and taught new sewists how to stitch piping by hand and machine. Once you understand how to cut and cover the cord, the rest is careful straight stitching. This guide covers fabric choice, strip width, how to wrap and sew the cord, how to attach piping to a cushion cover, and how to fix the most common mistakes. You can also read our guide on how to choose a mattress for back pain.
If the cushions are for a bed or a bedroom reading chair, a well-made piping edge adds to a calmer bedroom without buying anything new.
Why Make Your Own Piping?
Ready-made piping is available, but making your own gives you four clear advantages:
- You can match the cushion fabric exactly.
- You can choose the cord thickness for the look you want.
- You can create contrast piping from a small piece of accent fabric.
- You avoid the stiff, cheap trims that sometimes come pre-made.
The process is not difficult. In fact, a cushion with hand-made piping often looks better than a store-bought one because you can control every detail. These are the kind of bedroom refresh ideas you can finish in an afternoon. For more on this, see our guide on how to make couch cushions softer.
Materials and Tools You Need
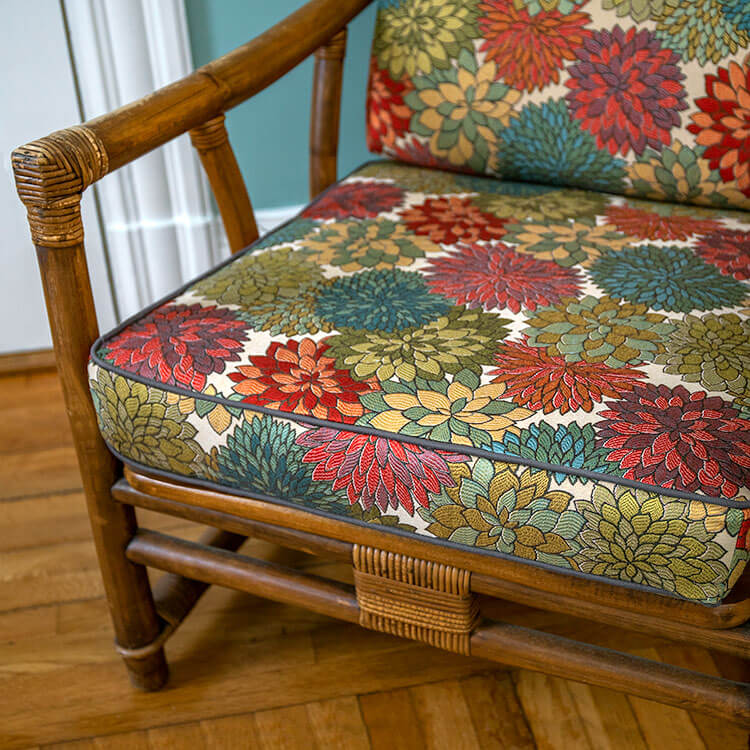
Everything you need before you start cutting and sewing.
Source: onlinefabricstore.com
Gather these items before you begin:
- Fabric: enough for the cushion cover plus about 1/2 yard for piping. Use the same fabric for a subtle look or a contrast fabric for a bold trim.
- Cording: cotton-wrapped cord, usually 2–4 mm, which is roughly 1/8–1/4 inch. Choose thicker cord for upholstery-style cushions.
- Piping foot or zipper foot: this holds the cord close to the needle while you stitch.
- Cutting tools: rotary cutter, cutting mat, and clear ruler. They make straight strips much easier.
- Pins or wonder clips: these hold the piping in place around the cushion panel.
- Thread: matching, contrasting, or both.
- Iron and pressing cloth: for pressing strips and seams.
- Seam ripper: for fixing mistakes.
- Blunt tool: a chopstick or knitting needle helps push out corners later.
From experience, a dedicated piping foot is worth buying if you plan to make more than one cushion. It has a groove on the underside that sits against the cord, so your stitch line stays snug without you having to fight the fabric.
When changing feet, unplug the machine and take a moment to follow basic machine safety, especially if you are learning on someone else’s machine. For more on this, see our guide on how to make outdoor cushions waterproof.
How to Choose Fabric and Cut Strips
The biggest mistake beginners make is cutting fabric strips on the wrong grain.
- Use bias strips for curves. A true bias strip is cut at a 45-degree angle to the selvedge. Bias fabric stretches, so it can ease around rounded corners without puckering.
- Use straight-grain strips for straight edges. For a rectangular or square cushion, straight-grain piping is stable and less stretchy, which makes it easier to control.
- For mixed shapes, use bias strips. If the cushion has rounded front corners, bias piping works better around the whole perimeter.
A good default strip width is 1.5 inches when using 1/4-inch cord and a 1/2-inch seam allowance. This gives enough fabric to wrap the cord and leaves a neat allowance to sew into the cushion. For larger cord, wrap the cord in a scrap piece of fabric first and add 1 inch for seam allowances.
If you need to join fabric strips, cut the ends at a 45-degree angle, place the strips right sides together, and stitch a diagonal seam. Trim the seam to 1/4 inch and press it open. Diagonal seams reduce bulk at the join. For more on this, see our guide on how to make sofa cushions firmer.
Fibre content also matters. Cotton presses crisply and shrinks more in the wash, while polyester-blend fabric holds its shape and resists wrinkles. Before cutting a large amount, check university extension guidance for pressing and care tips based on your fabric type.
Types of Piping and When to Use Them

A close look at piping made with contrasting fabric.
Source: thecraftygentleman.net
- Self-piping: uses the same fabric as the cushion cover. It gives a subtle, classic edge that blends into the design.
- Contrast piping: uses a different fabric or colour. It creates a crisp outline and draws the eye to the shape of the cushion.
- Welt piping: the most common style. It is fabric wrapped around cord, and it creates the rounded ridge that people usually picture when they hear “piping.”
- Flat piping: has no cord inside. It gives a low-profile finish and works well on lightweight fabrics or modern cushions.
- Knife-edge piping: a narrow, sharp trim. It suits tailored, contemporary cushions.
For most home cushions, welt piping with self or contrast fabric is the right starting point. Pick self-piping for a timeless look and contrast piping when you want a decorative accent. For more on this, see our guide on how to make couch cushions more comfortable.
How Much Piping Do You Need?
It is easy to under-estimate length. Piping must run around the whole cushion panel, turn every corner, and leave extra length for joining the ends.
Use this simple formula:
Measure the perimeter of the cushion panel, add 2 inches per corner, add 4 inches for the join, and add 10% more if the cushion is curved.
Example: for an 18-inch square cushion, the perimeter is 72 inches. Add 8 inches for four corners and 4 inches for the join, so you need roughly 84 inches of finished piping.
When in doubt, cut a little more. Leftover piping can be stored, and a short join mid-way through a cushion is much harder to fix than having too much length.
Step-By-Step: How to Make Piping for Cushions
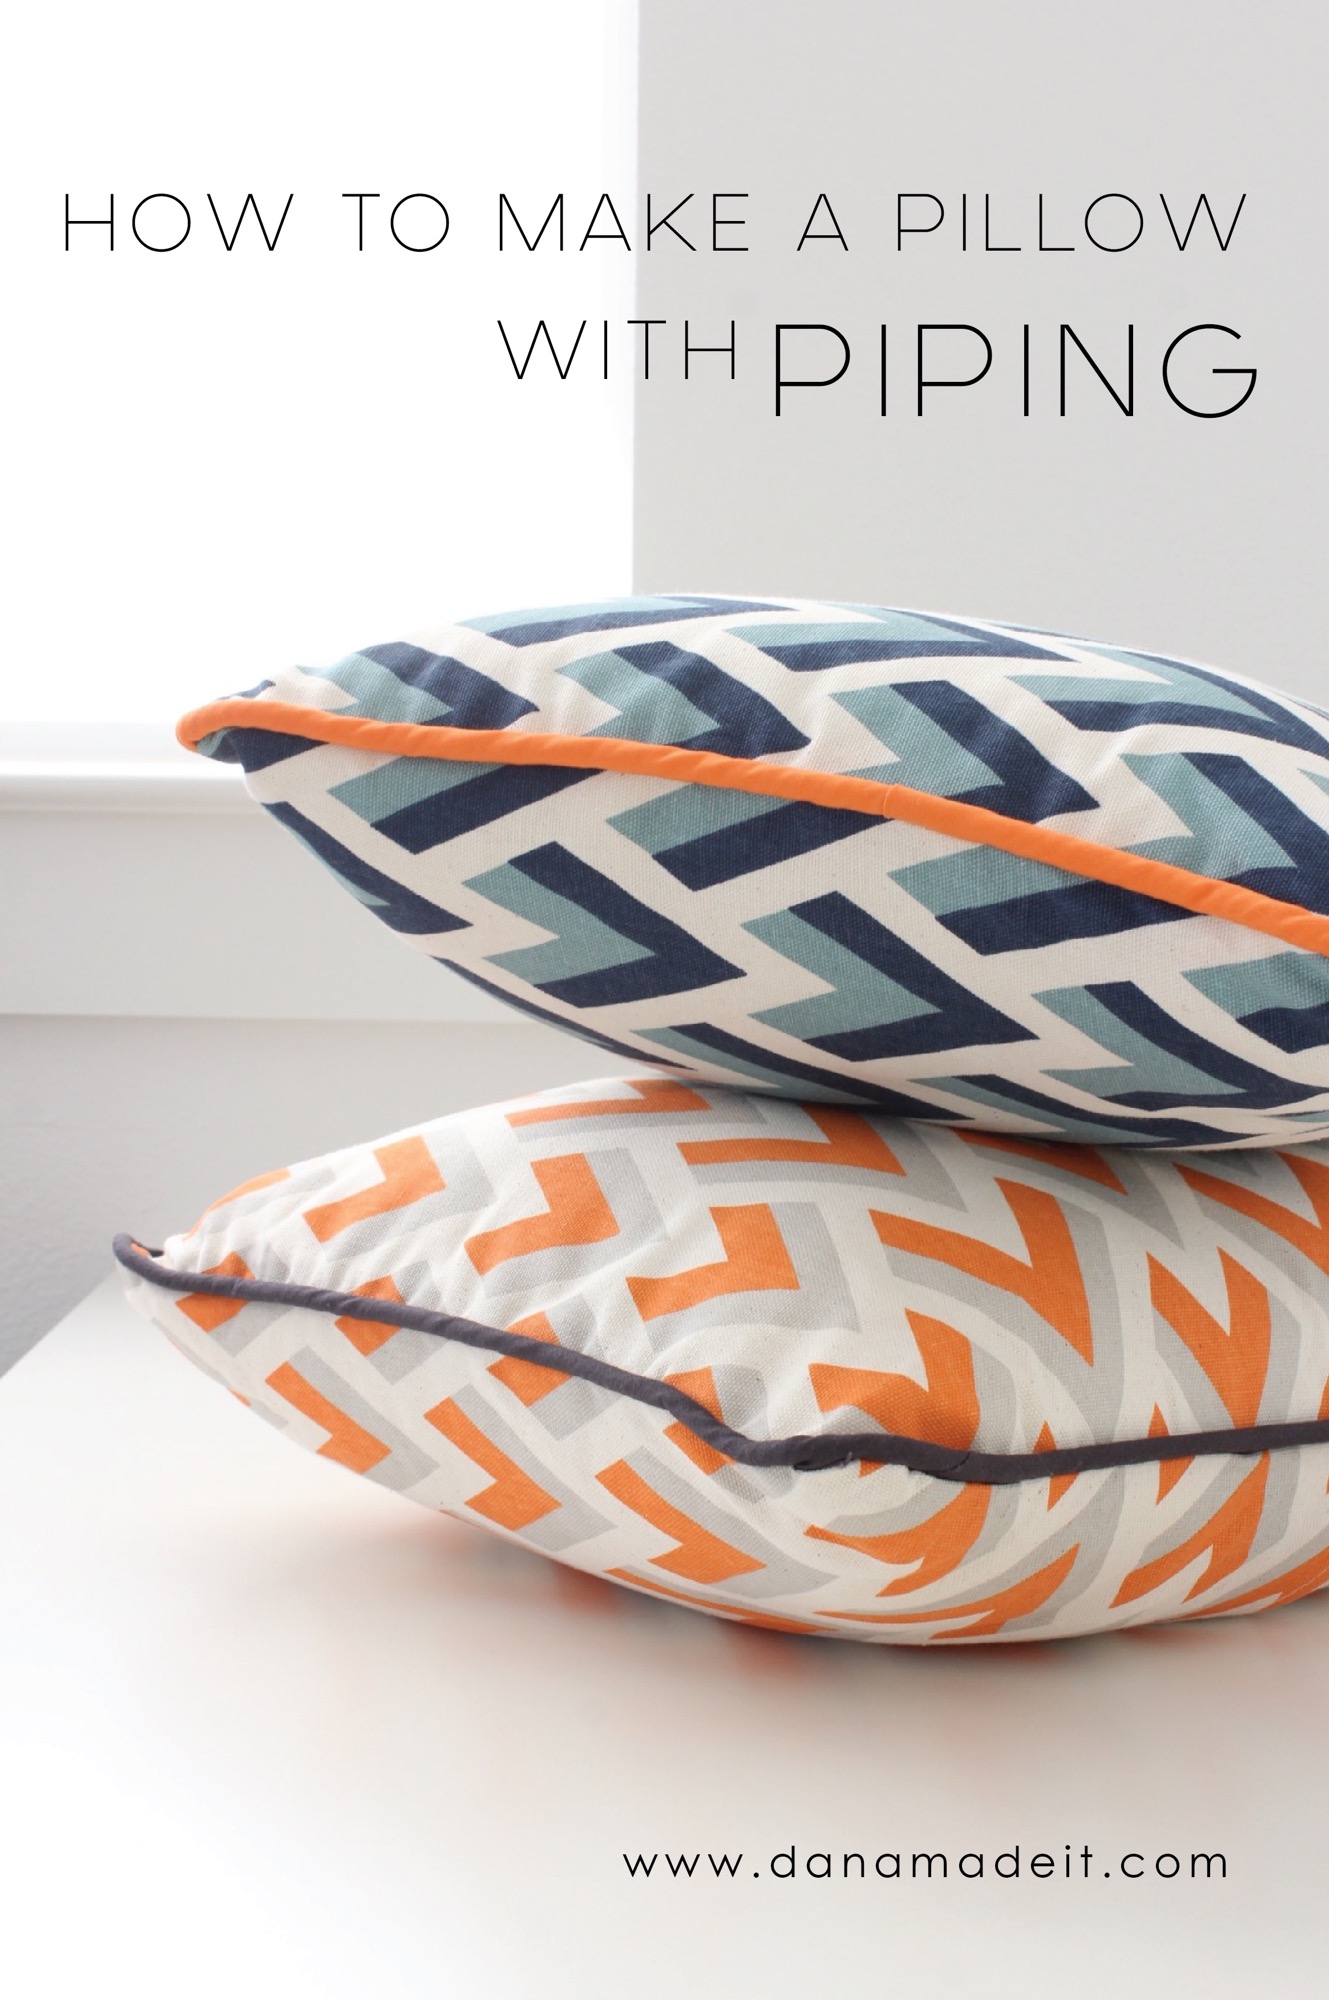
The piping foot keeps the stitch line tight against the cord.
Source: madeeveryday.com
Step 1: Cut the Fabric Strips
Cut strips 1.5 inches wide using a rotary cutter and ruler. Join the strips diagonally to make one long length, then press the seams open.
Step 2: Fold and Wrap the Fabric Around the Cord
Fold the strip in half lengthwise, wrong sides together, and press a light crease. Lay the cord inside the fold, then wrap the fabric around it so the raw edges line up.
Keep the cord snug inside the fabric, but do not stretch it. If the cord bunches or twists, your final piping will ripple.
Step 3: Machine-Stitch Close to the Cord
Fit a piping foot or zipper foot on your sewing machine. Stitch as close to the cord as you can without catching it. The groove in a piping foot makes this much easier.
Sew slowly and guide the fabric with both hands. Keep the raw edges aligned and let the cord sit naturally inside the fold.
Step 4: Press and Store the Piping
Press the stitched piping lightly, avoiding the cord itself. If you press directly on the cord, you may flatten it. Roll long lengths of piping around a cardboard tube so they stay neat until you are ready to attach them.
How to Sew Piping Into a Cushion Cover
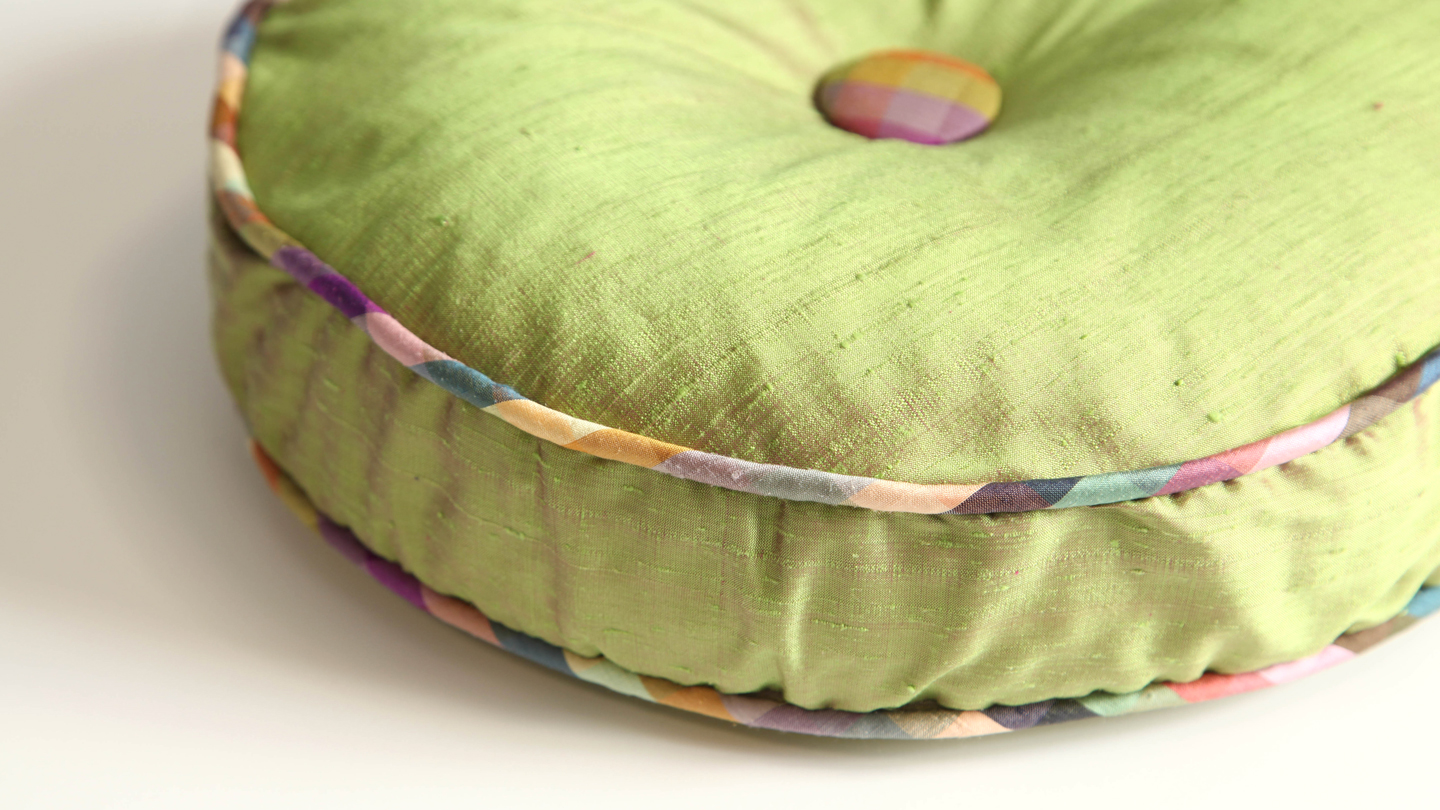
The piping sits inside the seam, with the cord facing toward the centre of the cushion.
Source: craftsy.com
Attaching piping is straightforward once the piping itself is made.
Position the Piping
Lay one cushion panel right side up. Place the piping along the edge with the raw edges aligned and the cord facing inward. Pin or clip it every 2–3 inches.
Stitch the Piping to the First Panel
Use the piping foot or zipper foot and stitch through the piping seam allowance. Keep the raw edges flush as you sew. On long straight sides, guide the fabric gently and avoid pulling the piping.
Pivot Around Corners
As you approach a corner, stop with the needle down in the fabric. Lift the presser foot, pivot the panel, and continue sewing. If the corner feels tight, clip small snips into the seam allowance of the piping so it can spread around the turn.
Join the Ends Neatly
The join is the part most people worry about, but it is simple if you leave a few extra inches.
- Leave a 2-inch tail where you started sewing.
- When you reach the end, overlap the tails.
- Cut the cord so the two ends butt together, not overlap.
- Fold the fabric end of one tail under, wrap it over the join, and stitch across.
Press the join flat. It should sit inside the seam and be nearly invisible.
Sew the Final Seam
Place the second cushion panel over the first, right sides together. Stitch around the cover using the piping foot. Keep your new seam line just inside the previous piping stitch line so the cord stays tucked into the seam with no gap.
Working Around Corners and Curves
This is where most beginners notice a difference between “home made” and “hand made.”
- At square corners, stop with the needle down, lift the presser foot, and pivot the fabric. Clip the piping seam allowance once or twice at the corner so the fabric can spread.
- At rounded corners, bias-cut piping helps the most. It stretches just enough to follow the curve.
- Never clip into the stitching line or the cord itself. Clip only the seam allowance outside the stitches.
- On very thick fabrics, grade the seam allowance after stitching so the corner is not bulky.
Test these techniques on a scrap piece first. A five-minute practice corner saves you from unpicking a full cushion later.
Troubleshooting Common Piping Problems

Clip only as far as the stitch line to help piping lie flat at a corner.
Source: meditaenvalladolid.org
| Problem | Likely Cause | Fix |
|---|---|---|
| Piping looks loose in the seam | Stitched too far from the cord | Use a piping foot and stitch directly against the cord |
| Puckers along curves | Fabric strip was not cut on the bias | Re-cut the piping from a bias strip |
| Bumpy join at the ends | Cord overlapped instead of butted | Trim the cord ends so they touch, then wrap the fabric over the join |
| Bulky corners | Seam allowance was not clipped | Clip notches up to, but not through, the stitch line |
| Fabric twists around the cord | Strip too narrow or too much tension | Cut a wider strip and press it before stitching |
A common mistake is rushing the join. Take your time to fit the ends and press the seam flat. That small effort makes the finished cushion look deliberate and well made.
Finishing and Care for Piped Cushions
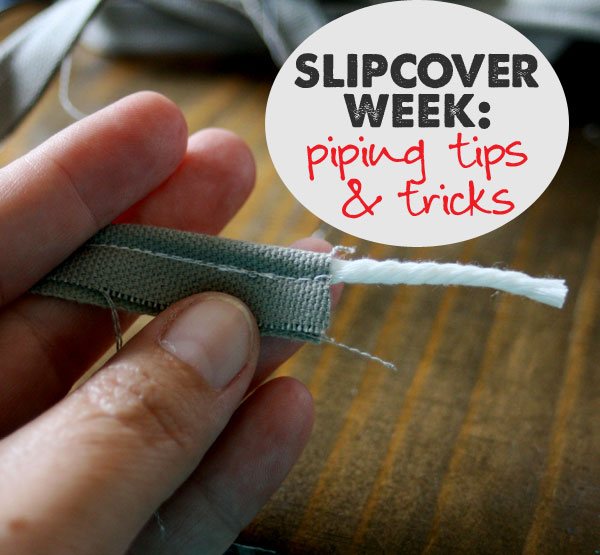
A completed cushion cover with clean piping detail.
Source: theshabbycreekcottage.com
Once the cushion cover is sewn, finish it properly so the piping stays neat for years.
- Trim the seam allowance to 1/4 inch wherever possible. This reduces bulk and makes corners crisper.
- Turn the cover right side out and use a blunt tool to push out the corners. Work gently so you do not pierce the fabric or flatten the piping.
- Press from the wrong side first, then from the right side with a pressing cloth. Avoid pressing directly on the cord with a heavy iron.
- Topstitch close to the piping if the cushion will get heavy use. This locks the piping in place and prevents the seam from rolling.
- Wash carefully. Turn the cushion cover inside out, use a gentle cycle, and air dry. Cotton cording can shrink, so test-wash a sample before laundering a finished cover.
- Store piped cushions flat when they are not in use. Folding or stacking heavy items on top can crush the cord.
A piped cushion should feel as considered as the rest of your bed, from the cover fabric to the support layers beneath you.
Frequently Asked Questions

If you prefer hand stitching, keep your stitches small and close to the cord.
Source: wikihow.com
What size fabric strip should I cut for piping?
For 1/4-inch cord and a 1/2-inch seam allowance, cut strips 1.5 inches wide. For larger cord, wrap the fabric around the cord, then add 1 inch for seam allowances.
Can I make piping without a piping foot?
Yes. A zipper foot works well, and many new sewists start that way. A piping foot is easier because its groove holds the cord in place while you stitch.
How do I join piping ends neatly?
Leave a 2-inch tail at the start. When you finish, overlap the ends, trim the cord so the ends butt together, fold one fabric end under, and stitch across the join. Press it flat.
Should I use the same fabric for piping as my cushion?
It depends on the look. Self-piping gives a quiet, seamless edge. Contrast piping adds a clear outline and makes the cushion feel more designed.
How do I make piping around tight corners?
Clip small notches into the seam allowance of the piping, stop with the needle down, and pivot at each corner. Using bias-cut piping also helps because it stretches around tight turns.
Can I wash a piped cushion?
Yes, with care. Turn the cover inside out, use a gentle machine cycle, and air dry. Cotton cording may shrink, so wash on low heat and avoid tumble drying on high.
Conclusion
Making piping for cushions is a small skill that makes a huge difference in how professional the finished piece looks. Start with the right tools, cut your strips on the correct grain, stitch close to the cord, and take your time on corners and joins.
Try it this weekend: make one 18-inch self-piped cushion using fabric you already have. Once you master the basics, contrast piping, flat piping, and curved cushions will all feel much easier. Small details like this make a room more comfortable, and a more comfortable bedroom tends to support overall sleep quality, too.
Leave a comment below if you get stuck on a step. The first cushion is the hardest, and the second one will already look noticeably better.

Daniel Hart is a consumer product analyst who specializes in mattress technology, smart bedding, and home comfort innovation. Before joining Royal Comport, Daniel worked with several e-commerce research teams, testing and comparing sleep products for quality, value, and long-term performance. He brings data-driven insight and real-world testing to every review he writes.


