

Floor cushions are one of the most satisfying DIY projects you can tackle. They are practical, comfortable, and instantly make a room feel more inviting. Whether you want extra seating for guests, a cozy reading corner, or a soft play area for kids, sewing your own floor cushions gives you complete control over size, shape, fabric, and firmness.
In this guide, you'll learn exactly how to make floor cushions from start to finish. I have sewn dozens of home textiles and guided friends through this exact project, so the steps below reflect the methods that actually work — including the mistakes to avoid. You'll discover how to choose materials, cut and sew your cover, pick the right fill, and keep your cushions looking great for years. You can also read our guide on how to dry outdoor cushions.
Let's get started.
Why Make Your Own Floor Cushions?
Making floor cushions yourself saves money, but the real payoff is customization. A handmade cushion fits your space precisely, matches your decor perfectly, and is built to last. Store-bought versions often come in limited sizes and fabrics that wear out quickly.
There are three practical benefits to DIY:
- Cost control: Quality floor cushions retail for $40–$100 each. Sewing your own typically costs $15–$40 in materials, depending on fabric and fill choices.
- Perfect sizing: You can create cushions that fit awkward corners, window nooks, or specific seating arrangements.
- Repairability: When you make it yourself, you know exactly how it's constructed. Fixing a seam or replacing a zipper is straightforward.
A common misconception is that you need advanced sewing skills. In reality, a basic straight stitch on a sewing machine is all you need to complete most floor cushion projects.

A row of handmade floor cushions arranged against a wall, showing the custom-fit, decorative potential of a DIY project.
Source: reddit.com
Materials and Tools: What You Need
Gathering everything before you start makes the process smoother. Here is the complete shopping list for how to make floor cushions that hold their shape and withstand daily use.
Fabric Choices
The outer fabric is your first and most important decision. It determines durability, look, and how easy the cushion is to clean.
| Fabric | Best For | Durability | Ease of Cleaning |
|---|---|---|---|
| Upholstery cotton | Most rooms | High | Good (spot clean) |
| Canvas | Kid's rooms, high traffic | Very high | Excellent (machine washable) |
| Denim | Casual, rugged spaces | Very high | Excellent |
| Linen | Living rooms, adult spaces | Medium | Moderate (wrinkles) |
| Corduroy | Cozy, soft feel | Medium-high | Good |
A practical tip: if you're unsure, canvas is the safest choice for a first project. It's forgiving to sew, hides minor imperfections, and handles real life well.
Filling Options
Your fill decides comfort and longevity. Here's how the main options compare:
- Upholstery foam: Buy a foam block and cut it to size. This gives the firmest, most structured cushion. Prices range from moderately to quite expensive depending on density.
- Shredded foam: Excellent for a softer, more malleable cushion that molds around you. Often sold as beanbag refill.
- Polyester batting: The cheapest option, but it compresses quickly under regular sitting weight. Best used as a wrap around a foam core, not as the sole fill.
- Buckwheat hulls: Extremely firm and supportive, but heavy and prone to making a rustling sound.
Essential Tools
- Sewing machine (a basic mechanical model is enough)
- Measuring tape and fabric scissors
- Straight pins or fabric clips
- Chalk or fabric marker
- Heavy-duty polyester thread
- Zipper (for removable covers) or needle and thread for hand-finishing
- Rotary cutter and mat (optional but speeds up cutting)
Set up a clean, organized workspace before beginning. Covering a table with a cutting mat or old sheet protects surfaces keeps your fabric clean.

All the tools and materials for making floor cushions: fabric, zippers, thread, scissors, and measuring tape arranged neatly on a worktable. Source: blogspot.com
Planning Your Cushion
Before you cut anything, make a plan. Three key decisions shape your project.
Choose the Shape
Square cushions are the easiest to sew and the most versatile. Round cushions look wonderful but require more careful seam handling to avoid puckering around the curve. Rectangular cushions work well for lounging or as a backup bed.
Select the Size
| Cushion Type | Dimensions | Thickness |
|---|---|---|
| Small seat (low stools) | 16–18 inches square | 3–4 inches |
| Standard floor cushion | 24 inches square | 4–6 inches |
| Large lounge cushion | 30–36 inches square | 6–8 inches |
| Round floor cushion | 24–30 inches diameter | 4–6 inches |
Decide on a Removable Cover
This is the single most impactful decision for long-term maintenance. A removable cover with a zipper means you can wash it whenever it gets dirty or stained. Cushions without removable covers are harder to clean and often need to be replaced sooner.
If you're new to inserting zippers, don't worry. A simple lapped zipper along one edge is a skill you can master in one afternoon.
Step-by-Step: How to Make Floor Cushions
Follow this process for a clean, professional-looking result.
Step 1: Cut Your Fabric
Add 1/2 inch seam allowance to your final cushion dimensions. For a 24-inch square cushion, cut a 25-inch square.
For a removable cover, cut two identical pieces of your outer fabric and two identical pieces of lining fabric. For a permanent cover, just two outer pieces are needed.
Use a rotary cutter and a straight edge for the sharpest, most accurate cuts. Fabric scissors work fine, but take your time to cut in a straight line.
Step 2: Prepare the Inner Fill Bag
If you're using loose fill like shredded foam or batting scraps, sew a simple inner bag. This is essentially a pillowcase made from muslin or lightweight cotton. It contains the messy fill and keeps it from shifting inside your good cover.
To make it:
- Cut two pieces of muslin, slightly larger than your finished cushion dimensions.
- Place them right sides together and sew three sides closed.
- Leave the fourth side open, then insert your fill.
For foam block cores, an inner bag is optional. You can wrap the foam in batting for a softer outer feel if desired.
Step 3: Sew the Outer Cover
Place your outer fabric pieces right sides together. Pin all edges securely.
Sew three and a half sides with a 1/2 inch seam allowance, leaving enough of an opening to insert your fill. For a zippered cover, install the zipper in the fourth side before sewing the other three.
Pro tip: Use a 3/8 to 1/2 inch seam allowance for strength. Smaller seams can pop under the tension of heavy sitting.
Step 4: Insert the Fill
Now the exciting part.
- For foam blocks: place the foam inside the cover and adjust it so it sits flat in the corners.
- For loose fill: stuff in small batches, pushing the fill into the corners before adding more to the center. This prevents lumpy areas.
If you used batting as a wrap around foam, secure it with fabric twine or a few strategic stitches before inserting into the cover.
Step 5: Close and Finish
For a permanent cover, pin the opening closed and sew it shut by machine or with a ladder stitch by hand for an invisible seam.
For a zippered cover, close the zipper and you're done.

Sewing the outer fabric together on a machine, showing the straight seam required for a sturdy cushion cover. Source: youtube.com
Measurements and Sizing: Getting It Right
Accurate measurements separate a professional-looking result from a lopsided one. The old adage "measure twice, cut once" applies directly here.
Here's a simple method for calculating your fabric needs:
- Decide finished size: for example, 24 × 24 inches.
- Add seam allowances: 24 + 1 = 25 inches per side.
- Account for thickness: if your cover needs to wrap around a 4-inch thick foam block, you'll need additional fabric for the sides. Many simple cushions skip this by using flat two-panel designs, but adding a side strip gives a more tailored look.
For a rectangular cushion with a side panel, the math is simple:
- Top and bottom panels: finished length + 1 inch, finished width + 1 inch
- Side panel: (finished length + width) × 2, plus 1 inch for the seam, and the height of your foam plus 1 inch
Write your final dimensions on the fabric with chalk before cutting. It's a small step that prevents costly mistakes.
Fabric Choices and Design Ideas
Your fabric choice is where personal style really comes through. Beyond basic durability, think about how the cushion functions in your room.
Pattern and Color
- Bold geometric prints energize a playroom or casual living area.
- Neutral solids create calm, sophisticated spaces that are easy to redecorate around.
- Textured weaves like linen or boucle add warmth and depth without being loud.
Design Features That Help
- Piping: adds a tailored, finished edge. You can buy pre-made piping or make your own with cord covered in bias-cut fabric.
- Tufting: creates a classic, buttoned look. It requires pulling thread through the cushion and securing buttons on both sides. This adds time but produces a high-end feel.
- Zipper placement: a hidden zipper looks cleanest. Place it along the back edge of the cushion, out of sight during normal sitting.
In practice, a common mistake is choosing fabric that looks great but is too delicate for floor use. Plain cotton quilting fabric, for example, wears thin within months in a high-traffic room. Always err toward upholstery-grade materials.
Care and Maintenance
Want your cushicions to last for years? A few simple habits make a huge difference.
- Wash covers regularly: remove zippered covers and machine wash on a gentle cycle with mild detergent. Air dry to prevent fabric shrinkage.
- Spot clean promptly: blot spills immediately with a clean cloth. Rubbing pushes the stain deeper into the fibers.
- Fluff and rotate: flip cushions weekly to distribute wear evenly. This keeps them looking plump and prevents flat spots.
- Store properly: keep cushions in a dry, cool place when not in use. Direct sun fades fabric, and damp conditions encourage mildew.
I learned the value of a washable lining the hard way after a coffee spill ruined a cushion with a non-removable cover. That project didn't survive the wash. A simple inner zipper would have saved it entirely.
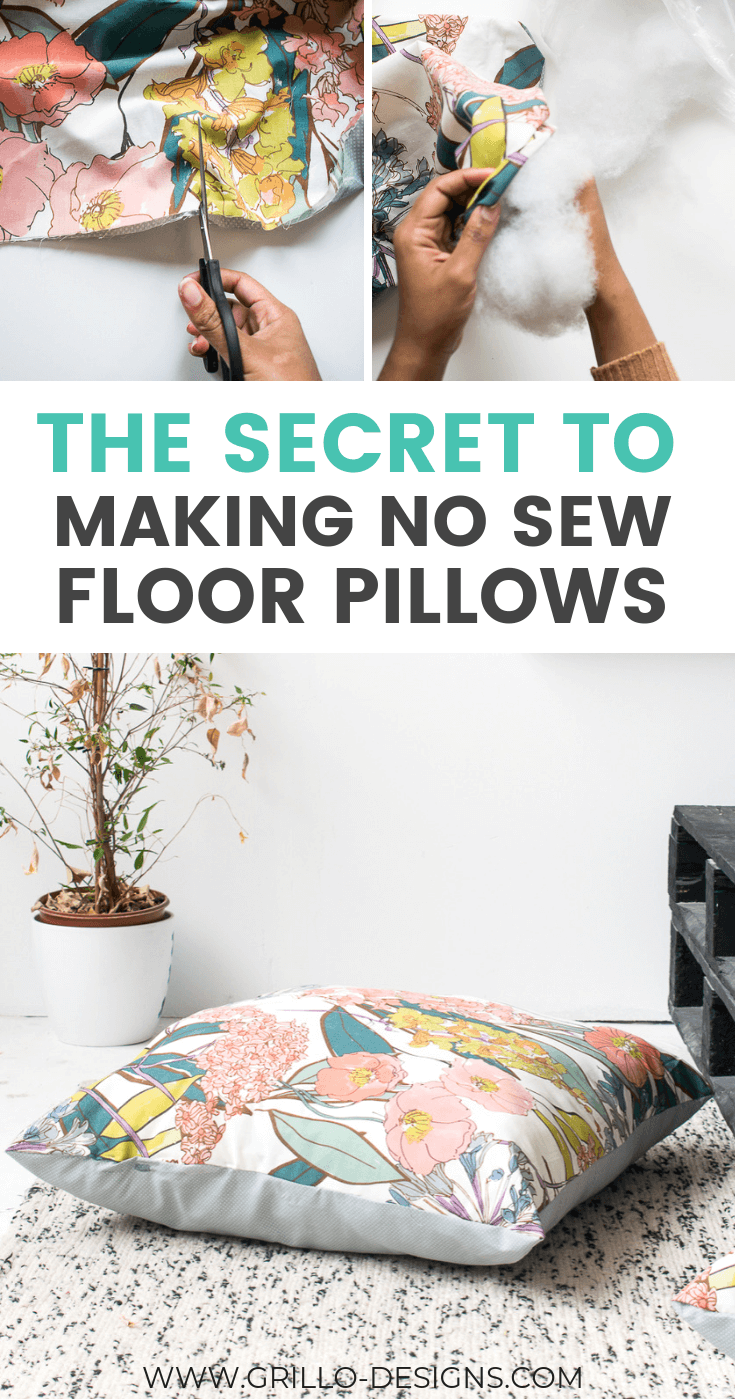
A person fluffing a large DIY floor cushion to restore its loft and maintain even shape. Source: grillo-designs.com
Troubleshooting Common Problems
Even experienced sewers hit snags. Here's how to diagnose and fix the most frequent issues.
Lumpy or Uneven Fill
This usually happens when shredded fill is added all at once. Instead, stuff in small handfuls, working them into the corners first. If you've already finished the cushion, break up clumps by kneading it gently with your hands.
Sagging After a Few Weeks
If your batting-filled cushion flattens under regular use, it's not dense enough. Remove the fill and add a foam core wrapped in the existing batting. You'll restore shape without starting from scratch.
Seams That Pop
Use at least a 1/2 inch seam allowance and consider reinforcing stress points with a second row of stitching. Heavy-duty thread reduces breakage.
Cover That Doesn't Fit
It's always better to sew a slightly larger cover rather than a smaller one. A tight cover is hard to insert fill into and puts excess stress on your zipper. When in doubt, add a little extra seam allowance.
Pinning fabric layers together before sewing to ensure a precise, even seam line. Source: weallsew.com
Upcycling: Making Floor Cushions Without Sewing
If you don't own a sewing machine, you still have options.
- Fabric glue and iron-on hem tape can create a permanent cover hold. Iron-on tape is strong enough for light-use cushions.
- Repurpose an old duvet or blanket: fold it into a cushion shape inside an outer fabric cover and secure with ties or safety pins.
- Use a pre-made cushion cover: many stores sell Zippered covers specifically for floor cushions. You just insert a foam block or pillow form and close it.
This no-sew approach sacrifices some durability, but it's a fast way to test whether floor cushions work for your space before committing time to a sewing project.
Frequently Asked Questions
What is the best fill for floor cushions?
For long-term shape and firmness, upholstery foam is the best choice. For a softer, more casual cushion, shredded foam works well. The hybrid approach — a foam core wrapped in batting — delivers both support and plushness, and is the method I recommend most often.
Can I make removable covers?
Yes, and you should. Removable covers with a hidden zipper on the back edge make washing straightforward and significantly extend the life of your cushion.
How thick should my floor cushions be?
For sitting on the floor, 4–6 inches is comfortable for most adults. If you plan to lounge or use the cushion as a floor bed, aim for 6–8 inches. Young children often prefer slightly thinner cushions.
How long does it take to make floor cushions?
A simple, permanent-cover cushion takes 1–2 hours for someone with basic sewing experience. Adding a zipper adds 30–45 minutes. Tufting or piping adds another hour or more. Plan accordingly for your first project.
Can I wash the filling?
Most foam fills should not be machine washed. This is another reason removable covers are worth the extra effort — you can keep the cover clean while protecting the fill.
Conclusion
Learning how to make floor cushions is a practical, creative, and rewarding project. You save money, get exactly the size and style you want, and build a durable piece of home comfort with your own hands.
The process is straightforward: choose durable fabric, pick the right fill, sew a simple cover with a zipper, and maintain it with regular fluffing and washing. Start with one simple cushion to build your confidence. From there, you can experiment with new patterns, fabrics, and designs.
Your next step: pick up fabric and foam this weekend and make your first cushion. Once you make one, you'll find a dozen uses for a second. And if you're also focused on improving your sleep environment, explore the related articles in our home comfort blog — including guidance on creating a restful bedroom atmosphere and selecting the right mattress support for your back. A little DIY effort goes a long way toward making your home both beautiful and comfortable.

Daniel Hart is a consumer product analyst who specializes in mattress technology, smart bedding, and home comfort innovation. Before joining Royal Comport, Daniel worked with several e-commerce research teams, testing and comparing sleep products for quality, value, and long-term performance. He brings data-driven insight and real-world testing to every review he writes.


