

A faded, sagging cushion can make the whole patio feel neglected. The good news is that you don’t have to replace the furniture or hire an upholsterer. With a few supplies, a sewing machine, and a free afternoon, you can make custom patio cushion covers that protect the foam, survive the weather, and look exactly how you want.
This guide walks through fabric selection, measuring, cutting, sewing, zipper installation, weatherproofing, and maintenance. It’s built from hands-on experience making and repairing outdoor cushions—so expect practical details, not just theory. You can also read our guide on how to clean sunbrella cushions.
Why Make Your Own Patio Cushion Covers?
Ready-made covers rarely fit well. Most are designed for generic sizes, but patio cushions come in deep seats, T-shapes, rounded corners, and odd thicknesses. A custom cover solves that problem completely.
Sewing your own covers also gives you control over fabric color, texture, and durability. You can match a new cushion cover to your umbrella, outdoor rug, or planters. And when a cover gets sun-bleached or stained, you can make a replacement without buying a whole new cushion. For more on this, see our guide on how to make patio furniture cushions.
A comfortable outdoor space makes a real difference. Well-supported seating is part of what makes a patio inviting, just like a good mattress makes a bedroom easier to unwind in. If you enjoy relaxing evenings outdoors, custom cushion covers are worth the effort.
What You Need Before You Start
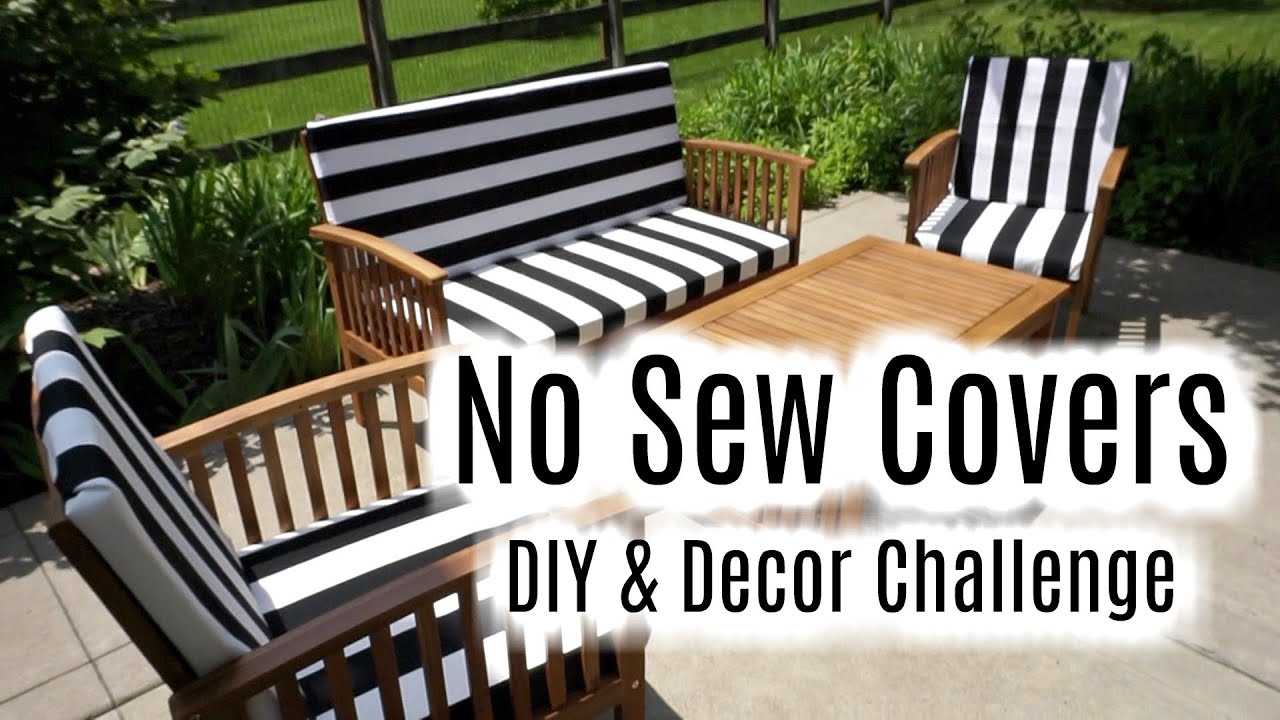
Lay out all supplies before cutting so the sewing process stays organized.
Source: esseg.eu
Gather everything before you begin. There’s nothing worse than cutting all your fabric and realizing the zipper is too short or the thread is the wrong type.
Here is the complete supply list:
- Outdoor fabric: solution-dyed acrylic or outdoor polyester labeled for UV and mildew resistance.
- Thread: heavy polyester or bonded nylon thread. Cotton thread rots outdoors.
- Closure: an outdoor-rated zipper or marine-grade hook-and-loop tape.
- Measuring tools: tape measure, clear ruler, fabric chalk or marker.
- Cutting tools: sharp fabric scissors or a rotary cutter with a cutting mat.
- Sewing machine: one that can handle medium-to-heavy fabric.
- Needles: size 90/14 for most outdoor fabrics, or 100/16 for very heavy canvas.
- Clips or pins: binder clips work better than pins on thick fabric layers.
- Optional extras: piping cord, zipper foot, seam sealant, fabric protector spray.
In practice, I always buy 10–20% more fabric than my measurements require. Outdoor fabric frays, patterns need matching, and small mistakes happen. That extra margin saves a second trip to the store.
Choose the Right Outdoor Fabric
The fabric is the most important decision. Use a material made for outdoor use, not leftover decorator cotton.
| Fabric | Why use it | Watch out for |
|---|---|---|
| Solution-dyed acrylic | Color runs through the fiber, so it resists UV fading. Breathable and comfortable. | More expensive than polyester. |
| Outdoor polyester | Budget-friendly, water-repellent, lots of colors. | Can fade sooner and feel less breathable. |
| Olefin | Strong, mildew-resistant, low moisture absorption. | Can feel stiffer and less soft to sit on. |
| Vinyl-coated polyester | Very water-resistant and easy to wipe down. | Traps heat, so it’s not ideal in hot climates. |
For most DIY projects, solution-dyed acrylic is the best balance of comfort and longevity. The same fabric is used in many premium outdoor furniture lines because it handles sun and rain well. If your budget is tighter, choose outdoor polyester with a UV treatment and accept that it may need replacing sooner.
What Tools Make Sewing Easier?
A basic sewing machine is enough for most cushion covers. A walking foot helps feed thick layers evenly, but it’s not required. A zipper foot is nearly essential for installing zippers cleanly.
Consider the fabric and fill choices before you cut. Heavy fabric needs a longer stitch, a sharp needle, and a sturdy thread. If your machine struggles with thick layers, try a size 100/16 needle and slow down.
How to Measure Patio Cushions Accurately

Use the largest measurement on every side—old foam is rarely perfectly even.
Source: youtube.com
Accurate measuring is the foundation of a good cover. A cover that is too tight stresses the seams and zipper. A cover that is too loose wrinkles and shifts. The goal is a snug but comfortable fit.
Follow these steps:
- Measure the width from side to side at the front, middle, and back. Use the largest number.
- Measure the depth from front to back at three points. Use the largest number.
- Measure the thickness at the corners and the center. Foam settles with age, so give it a little room.
- Add seam allowance. For a simple two-panel cover with a 1/2-inch seam, add 1 inch to both the length and width of each panel.
- For a boxed cushion, plan for a side gusset. The gusset strip should be the cushion thickness plus 1 inch wide, and the length should equal the perimeter of the top panel plus 1 inch for joining the ends.
- Trace unusual shapes. If the cushion is curved or T-shaped, trace it onto paper or make a cheap muslin mock-up before cutting expensive outdoor fabric.
A common mistake is measuring only the old cover instead of the foam inside. Covers stretch and shrink, so always measure the actual cushion. When in doubt, use the larger measurement. It’s easier to take a seam in than to add fabric you don’t have.
How to Cut and Sew a Basic Cushion Cover
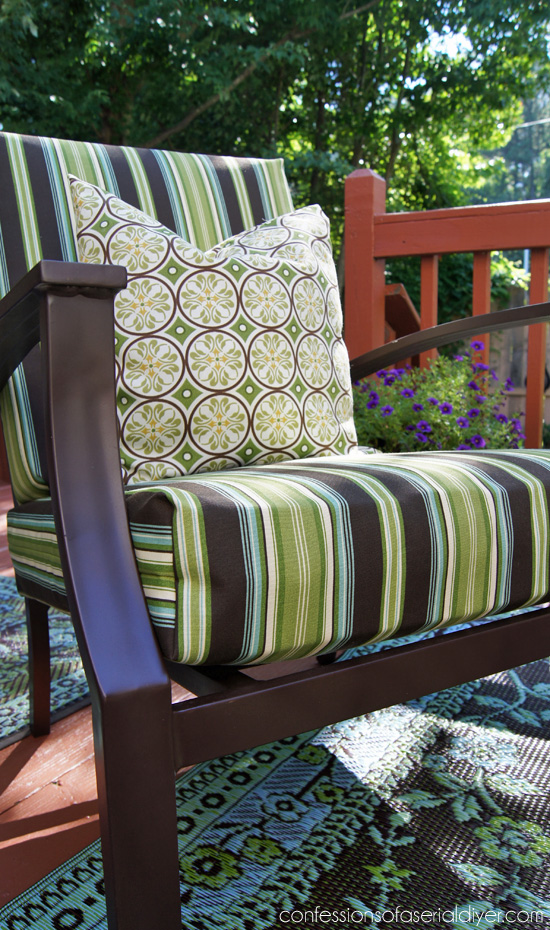
A partially sewn cover with the zipper seam already in place.
Source: confessionsofaserialdiyer.com
Two construction methods cover most patio cushions: the envelope style and the zippered style. The envelope is better for beginners. The zipper is better if you plan to wash the covers regularly.
Envelope Cover Without a Zipper
An envelope cover has overlapping fabric on the back, so the cushion slides in through a slit. No zipper hardware is needed.
- Cut the front panel to the cushion length plus 1 inch and width plus 1 inch.
- Cut two back panels. Each should be about two-thirds the height of the front panel, and the same width. The overlap should be 4–6 inches when the two pieces are placed together.
- Hem the inner edges of both back panels. Fold the inner cut edge over 1/4 inch, press, fold again, and stitch.
- Place the front panel right side up. Lay the back panels right side down on top, matching the outer edges. The hemmed edges should overlap in the middle.
- Pin and sew all the way around with a 1/2-inch seam allowance.
- Clip the corners, turn the cover right side out, and insert the cushion.
Zippered Cover
A zipper makes the cover easy to remove for cleaning. It also creates a smoother, more polished look.
- Cut the top panel to the cushion length plus 1 inch and width plus 1 inch.
- Cut the bottom panel in two pieces. If the finished bottom panel should be 21 inches square, cut two rectangles 21 inches by 11 inches. The extra half-inch on each inner edge becomes the zipper seam.
- Install the zipper between the two bottom-panel pieces using a zipper foot. The finished panel should match the top panel in size.
- Open the zipper halfway so you can turn the cover right side out later.
- Place the top and bottom panels right sides together. Pin around all four sides and sew with a 1/2-inch seam allowance.
- Backstitch at the start and end, clip the corners, and turn the cover through the open zipper.
Use a zipper that is at least as long as the opening. If it is longer, let the excess extend past the fabric and stitch across the zipper tape to lock it. If it isshorter, position the zipper along a full edge of the panel instead, or shorten the opening to match the zipper. Open the zipper halfway before turning the cover right side out so you can reach inside and pull the fabric through.
Box Cushions with a Side Gusset
Many patio cushions are thicker than they are wide. A flat two-panel cover can end up straining at the seams once the foam is inside. A boxed cover with a side strip wraps the full thickness of the foam and keeps the top and bottom panels smooth.
- Cut the top and bottom panels using the length and width measurements plus 1 inch for seam allowance.
- Cut the gusset strip. The finished width should equal the cushion thickness. For a 4-inch-thick cushion, cut the strip 5 inches wide. The length is the perimeter of the top panel plus 1 inch for joining the ends.
- Join the gusset ends with a seam to make a loop, then press the seam open.
- Clip the gusset seam allowance at the corners. Small snips into the seam allowance let the strip turn smoothly around square corners without puckering.
- Pin the gusset to the top panel with right sides together, easing the fabric around each corner.
- Sew around the entire perimeter, then repeat with the bottom panel. Turn it right side out through the zippered opening and insert the cushion.
Box covers are a bit more work, but they look like professional upholstery. If you sit on the cushion heavily, the gusset also takes pressure off the top seam, so the cover lasts longer.
Sewing Techniques and Finishing Touches

Piping in the seam gives the finished cushion a crisp, tailored edge.
Source: theruffledpurse.com
Small techniques make the difference between a cover that lasts one season and one that lasts many.
Use a longer stitch. Outdoor fabric is bulky, so a standard 2.5 mm stitch creates dense perforations that can tear. Set your machine to 3–3.5 mm for stronger seams without puckering.
Double-stitch stress points. Corners, zipper ends, and the opening edges take the most strain. Run a second line of stitching just inside the first seam to reinforce these areas.
Finish raw edges. Raw seams inside a cover fray after washing. Use a zigzag stitch, pinking shears, or binding to seal the edges. An overlock stitch works well if your machine has one.
Clip curves and corners. This lets the seam lie flat. On corners, trim the seam allowance diagonally, taking care not to cut the stitching.
Topstitch for structure. After sewing a seam, open the layers flat and stitch close to the seam line. This flattens bulky fabric and keeps the cover from shifting on the cushion.
Reinforce the closure. For hook-and-loop tape, stitch around the full perimeter of the tape. For zippers, add a bar tack at the end to stop the slider from pulling the teeth apart.
If you want to add piping, plan it before you sew. The cord goes between the fabric layers inside the seam, so there is no clean way to add it afterward. A simple single-cord piping made with a zipper foot gives a professional finish that hides the seam line.
Weatherproofing, Maintenance, and Care After Sewing
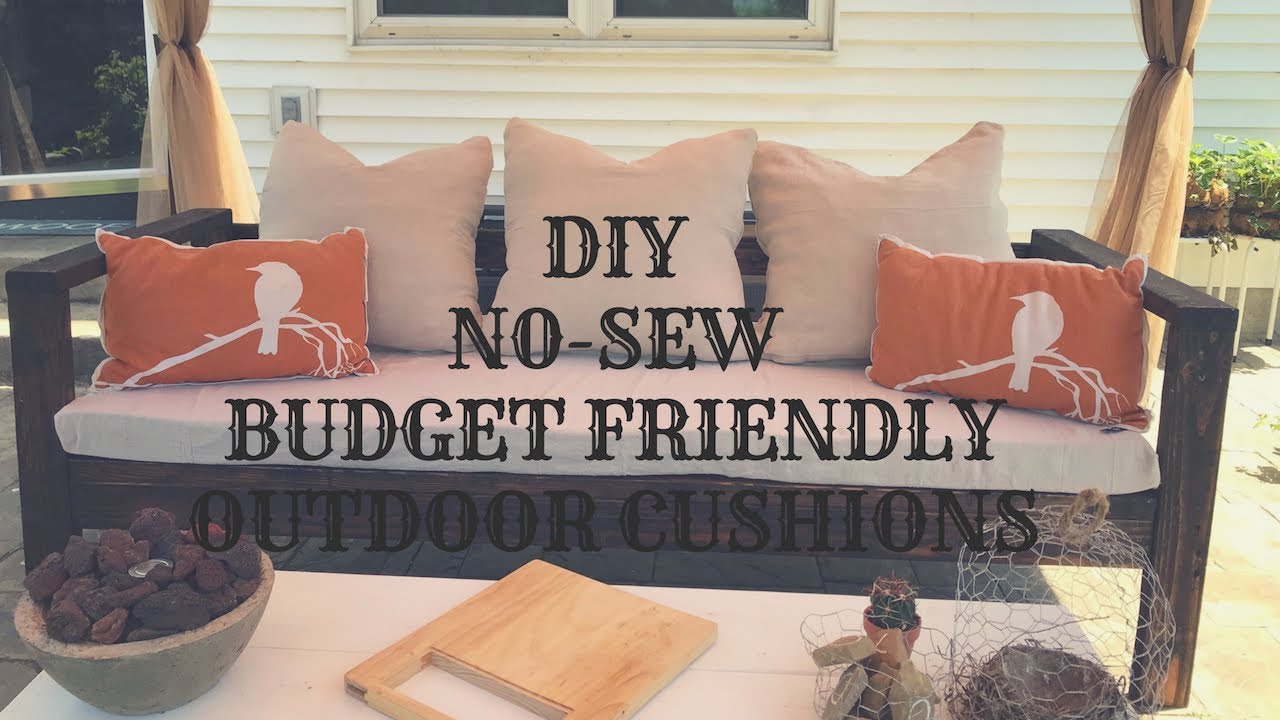
Always let covers dry completely before storing them to prevent mildew growth.
Source: hotelmurchunga.com
Your sewing work will only survive the weather if the covers are maintained. Outdoor fabric is durable, but it benefits from small habits.
- Shake off debris weekly and wipe spills as soon as they happen. A stain that sits for days is much harder to remove.
- Spot clean with mild soap and water. Use a soft brush for stubborn marks. Avoid bleach unless the fabric label says it is safe.
- Machine wash on gentle when needed. Most outdoor fabrics tolerate cold water and mild detergent, but always check the manufacturer’s care label first.
- Air dry completely. Never use high heat on outdoor fabric—it can shrink the fibers and damage the repellent coating. Hang the cover or lay it flat in the shade.
- Reapply water repellent occasionally. A fabric spray designed for outdoor upholstery restores water beading after several washes.
- Store or cover cushions during the off-season. Bring them indoors or into a dry shed when the patio will go unused for weeks or months.
- Rotate cushions periodically. Even sun exposure keeps one side from fading much faster than the other.
Mold and mildew are the biggest threats to a homemade cover. Keeping the fabric clean and fully dry is the core of prevention. The EPA’s mold prevention guidance makes the same point simply: eliminate moisture, and mold cannot take hold. If mildew does appear indoors and affects your breathing at night, it is worth reading about how allergies interfere with rest before it becomes a bigger problem.
Common Mistakes and How to Fix Them
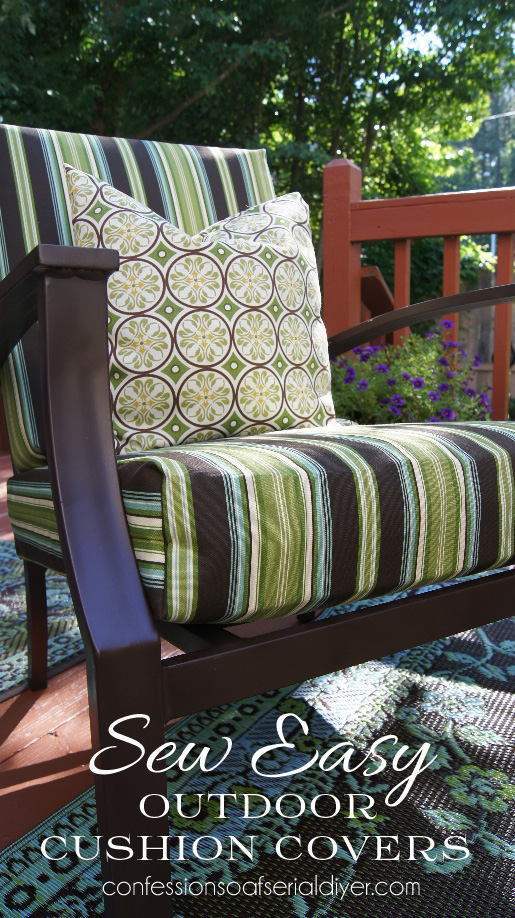
The visual payoff of a fresh cover is obvious next to a sun-worn cushion.
Source: confessionsofaserialdiyer.com
Every first-time cushion cover has a hiccup. Here are the most common problems and how to avoid them.
Cutting too small. This is the number one mistake. Foam cushions always measure larger than they look because the fabric stretches around the fill. Measure the thickest point and include the full seam allowance.
Using indoor fabric. Cotton duck and quilting cotton look nice but absorb rain, hold moisture, and fade within a season. Use solution-dyed acrylic or outdoor polyester.
Choosing the wrong zipper. Metal zippers corrode outdoors; nylon coil zippers are a better choice. A zipper that is too short makes insertion frustrating, so buy one longer than the opening and trim the excess tape.
Skipping seam reinforcement. Unreinforced corners pop open under stress. Backstitch at both ends of every seam and add a second line of stitching at corners.
Forgetting pattern direction. If your fabric has a nap or a one-directional print, every panel should face the same way. A cushion with the pattern reversed on one side looks amateurish no matter how neat the stitching is.
Sewing through a zipper pull. Check that the zipper pull is out of the needle’s path before you reach the zipper area. Slowing down in that section prevents a long, painful seam-ripping session.
Using the wrong needle. A standard 80/12 needle skips stitches on heavy outdoor fabric. Use a 90/14 or 100/16 needle and replace it after every project or two.
A simple way to build confidence is to sew a test piece with scrap fabric first. Run the stitch, install an old zipper, and practice turning a corner. This catches fit issues before you cut into good fabric. A well-made cover also means you sit with the same kind of proper support for your body that you rely on indoors, which matters even more if you already deal with back pain while sleeping.
Frequently Asked Questions
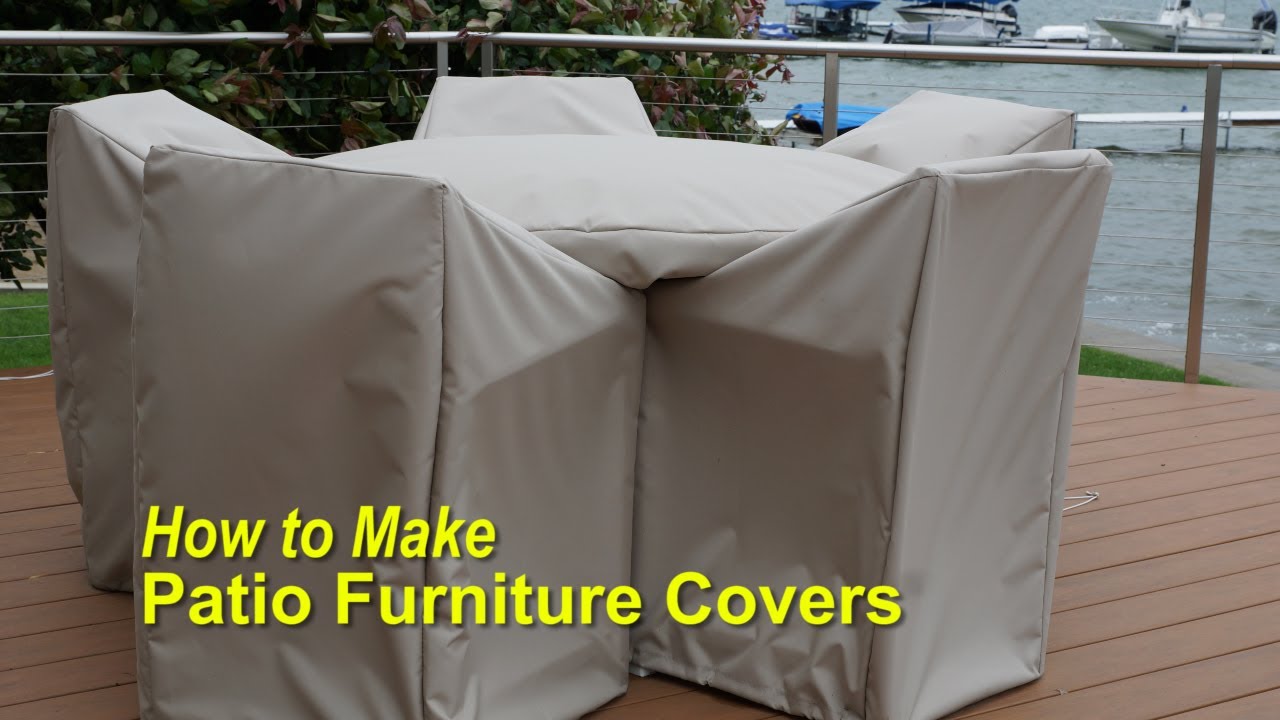
The zippered opening should be large enough to insert the foam without stretching the seam.
Source: youtube.com
What fabric is best for patio cushion covers?
Solution-dyed acrylic is the best choice for most climates because the color runs through the entire fiber, which resists fading. Outdoor polyester is a reasonable budget alternative but fades faster. Look for labels that mention UV resistance, mildew resistance, and a water-repellent finish.
Can I make cushion covers without a sewing machine?
Yes. Hand sewing works but takes several hours per cushion, and the seams are harder to keep uniform. Use a sharp hand needle, strong polyester thread, and a small backstitch. Reinforce corners and zipper openings with extra stitches.
How much fabric do I need?
Measure the cushion length and width, add the seam allowance, then add 10–20% extra for mistakes and pattern matching. A typical 18×18-inch seat cushion with a 2-inch thickness uses roughly 1 yard of 54-inch-wide fabric.
Are zippers necessary?
No. Envelope-style covers with an overlapping back panel work perfectly and are easier to sew. Zippers are worth the effort if you plan to wash the covers regularly or want a smoother look on a box cushion.
How do I prevent mildew on the cushions?
Dry the cushions completely before covering or storing them, and keep them off the ground so air can circulate underneath. Choose fabric with mildew protection, and reapply a water-repellent spray when water stops beading on the surface.
Does outdoor fabric fade anyway?
All fabric fades eventually, but solution-dyed acrylic fades much more slowly than printed fabric. Rotating cushions weekly and covering them during the harshest midday sun helps preserve color longer.
Can I add piping after the cover is finished?
Piping must be sewn into the seam during construction. If you want decorative trim on a finished cover, you can topstitch it on the outside, but this is harder to do neatly.
Conclusion
Making covers for patio cushions is an achievable weekend project, even if you have only sewn a few pillowcases before. The payoff is real: cushions that fit properly, fabric that survives the sun, and a patio that looks pulled together again.
Start with a simple envelope cover for your first cushion. Once you are comfortable with measuring and sewing, try a zippered box cover on the next one. Each cover gets easier and looks better than the last. And when the covers finally wear out in a few years, you will know exactly how to refresh them.
A comfortable, dry place to sit also makes it easier to enjoy the outdoors in the evening, so winding down for the night feels natural. If you want to keep improving the spaces where you rest, you’ll find more home comfort ideas on our blog. Measuring fabric, choosing the right material, and strengthening every seam will give you years of use from a single afternoon of sewing. Your patio will look better, and so will the weekends you spend on it.

Daniel Hart is a consumer product analyst who specializes in mattress technology, smart bedding, and home comfort innovation. Before joining Royal Comport, Daniel worked with several e-commerce research teams, testing and comparing sleep products for quality, value, and long-term performance. He brings data-driven insight and real-world testing to every review he writes.


