

Making your own chair cushions is one of the most practical sewing projects you can take on. New dining chairs are expensive, but a 2-inch slab of good foam and a yard of upholstery fabric can transform tired seats for a fraction of the cost. The process is simple enough for a confident beginner, yet it rewards careful measuring and honest material choices.
Comfort is the whole point. A well-shaped cushion spreads your weight, supports your sit bones, and keeps you comfortable through long meals or work sessions — much the way healthy sleep habits support you through the night. In this complete guide to how to make chair cushions, you’ll learn what to buy, how to measure correctly, how to build a boxed cushion cover, and how to finish cushions that actually stay in place. You can also read our guide on how to keep seat cushions in place.
What You’ll Need Before You Start
Gather everything before you cut. Running out of zipper tape or foam halfway through a project is frustrating and usually leads to sloppy improvisation.
Materials
| Material | What to choose |
|---|---|
| Fabric | ½–1 yard of 54" upholstery fabric for one dining chair cushion |
| Foam | High-resilience foam, 2–3" thick, cut to your seat size |
| Batting | Polyester batting or Dacron wrap, enough to wrap the foam completely |
| Thread | Heavy-duty polyester thread, matching or contrasting |
| Closure | 18–22" invisible zipper, or Velcro, ties, or buttons |
| Optional extras | Piping cord, spray adhesive, non-slip fabric for the base |
Tools
- Tape measure and pencil
- Large paper or cardboard for a template
- Scissors and a rotary cutter with cutting mat
- Serrated knife or electric carving knife for foam
- Sewing machine with a walking foot
- Pins or sewing clips, seam ripper, and iron
- Hot glue gun or spray adhesive for batting
If this is your first time sewing upholstery-weight fabric, scan our DIY library for other beginner-friendly projects. Upholstery fabric behaves differently from quilting cotton, so it helps to warm up on a small sample first. For more on this, see our guide on how to make couch cushions softer.

Gather fabric, foam, batting, and a sewing machine before you begin.
Image source: bebraveandbloom.com
Choosing the Right Fabric and Foam
This step decides how the cushion looks, feels, and lasts. Save money on the frame if you need to, but do not cut corners on foam or fabric.
Fabric Options
| Fabric type | Best for | Notes |
|---|---|---|
| Tight-weave upholstery fabric | Indoor dining chairs | Resists pilling, dust, and everyday wear |
| Outdoor / performance fabric | Patio, sunrooms, kitchens | Resists water, UV, and mildew |
| Cotton canvas or denim | Casual indoor chairs | Inexpensive and easy to sew |
| Performance velvet | Living-room chairs | Soft texture, but trickier to sew neatly |
Look for fabric in the 8–12 oz per square yard range. Anything lighter tends to pucker at the seams, and anything much heavier may be difficult for a home sewing machine to feed evenly. For more on this, see our guide on how to make outdoor cushions waterproof.
Foam Options
The two numbers on foam labels matter more than the colour: density and ILD. Density tells you how long the foam will hold its shape. ILD, which stands for Indent Load Deflection, tells you how firm it feels. A higher ILD means firmer foam.
| Foam type | Best for | What to know |
|---|---|---|
| High-resilience (HR) foam | Everyday dining and work chairs | Durable, supportive, worth the extra cost |
| Medium-density polyurethane | Guest seating and occasional chairs | Comfortable, but softens faster with daily use |
| Memory foam | Lounge chairs | Contours well but can feel warm and heavy |
| Reticulated / quick-dry foam | Outdoor cushions | Drains water and resists mold |
For most dining chairs, a medium-firm foam in the 30–40 ILD range works well. A 2.5–3" thickness gives enough support without raising you too far from the table. In many ways, foam selection is a miniature version of the layer combinations you find in a good mattress: you want both pressure relief and structure. For more on this, see our guide on how to make sofa cushions firmer.

Test how the fabric feels and how quickly the foam springs back before you buy.
Image source: youtube.com
Step 1: Measure the Chair and Make a Template
Most chair seats are slightly wider at the front than the back, and many are curved. A tape measure alone will not capture that shape, so make a paper template.
- Place a large sheet of paper or cardboard over the seat.
- Trace around the seat with a pencil held straight up and down.
- Cut out the template and test-fit it on the chair.
- Mark the front of the template with a piece of tape so you do not flip panels by mistake.
- Decide on cushion thickness. Dining chairs usually work best at 2–3". Desk chairs often feel better at 1.5–2.5". Low lounge seating can go up to 4–5".
Use the foam template as the exact seat size. When you cut fabric, add a ½–⅝" seam allowance around the same shape. This is one of the most common places to go wrong: the foam template and the fabric pattern should never be the same size.
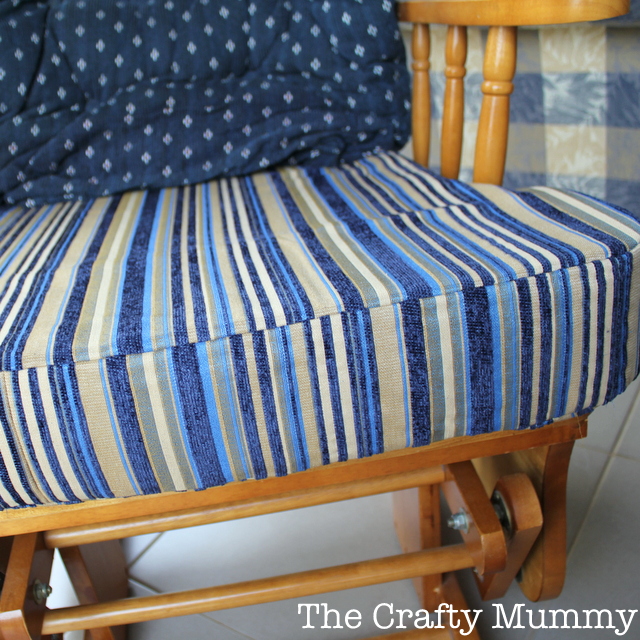
Make a template that matches the chair seat exactly before cutting fabric or foam.
Image source: liftingitalia.com
Step 2: Cut the Foam and Batting
Use a serrated kitchen knife or an electric carving knife to cut foam. Mark the shape with a marker, then cut with a gentle sawing motion. Do not press down hard — that crushes the foam and creates a jagged edge. Work in a ventilated area, because foam dust is irritating to breathe.
Once the foam is cut, wrap it in batting. Cut the batting about 2" larger than the foam on every side, pull it over the top, and secure the edges to the bottom of the foam with spray adhesive or a few loose hand stitches.
Batting is the single cheapest upgrade you can make. A cushion without batting looks like a hard box; a cushion with batting has soft, rounded edges and feels far more polished.
Step 3: Sew the Cushion Cover
This project uses a basic boxed cushion construction: a top panel, a bottom panel, and a side strip. It is the same method used for most commercial replacement cushions.
Cut the Cover Pieces
- Top and bottom panels: use the seat template plus ½–⅝" seam allowance.
- Side strip: cut a strip equal to the perimeter of the seat plus 2" for seaming. The width should be the cushion thickness plus 1¼" for seam allowances.
If your seat has a strong curve or a rounded front, make small snips into the seam allowance of the side strip at the curves. That lets the strip bend around the shape without puckering.
Assemble the Cover
- Sew the short ends of the side strip together to form a loop.
- Pin the side strip to the top panel, right sides together.
- Clip the curved seam allowances every ½" so the fabric lies flat.
- Sew all the way around the top panel.
- Attach the bottom panel the same way, but leave one long side open so you can insert the foam later.
If you prefer a removable cover, install an invisible zipper in the side strip before attaching it to the top panel. That gives you a washable cover later without hand-sewing an opening shut.
Use a walking foot on thick upholstery fabric. A walking foot feeds both layers through the machine evenly, which prevents the top fabric from stretching over the bottom fabric. Sew seams twice where they will take stress, especially at the corners.

A walking foot keeps multiple layers of upholstery fabric from shifting while you sew.
Image source: youtube.com
Optional Piping
To add piping, sew piping cord covered in matching bias fabric to the top panel before attaching the side strip. Use a zipper foot and keep the cord tight against the needle. Piping gives cushions a professional, tailored finish, but it does add time.
Step 4: Insert the Foam and Finish
Roll or fold the foam slightly and ease it through the opening in the cover. Do not force it through a tiny gap — open the seam enough for the foam to go in without crushing. Once the foam is inside, smooth the batting and push it into the corners.
Close the opening with a hidden zipper, an overlapping envelope flap, or a hand-sewn ladder stitch. A ladder stitch is invisible from the outside and takes only a few minutes.
If you want to add ties, sew them into the side seams before you close the cover. That anchors them far more securely than gluing them on afterward.
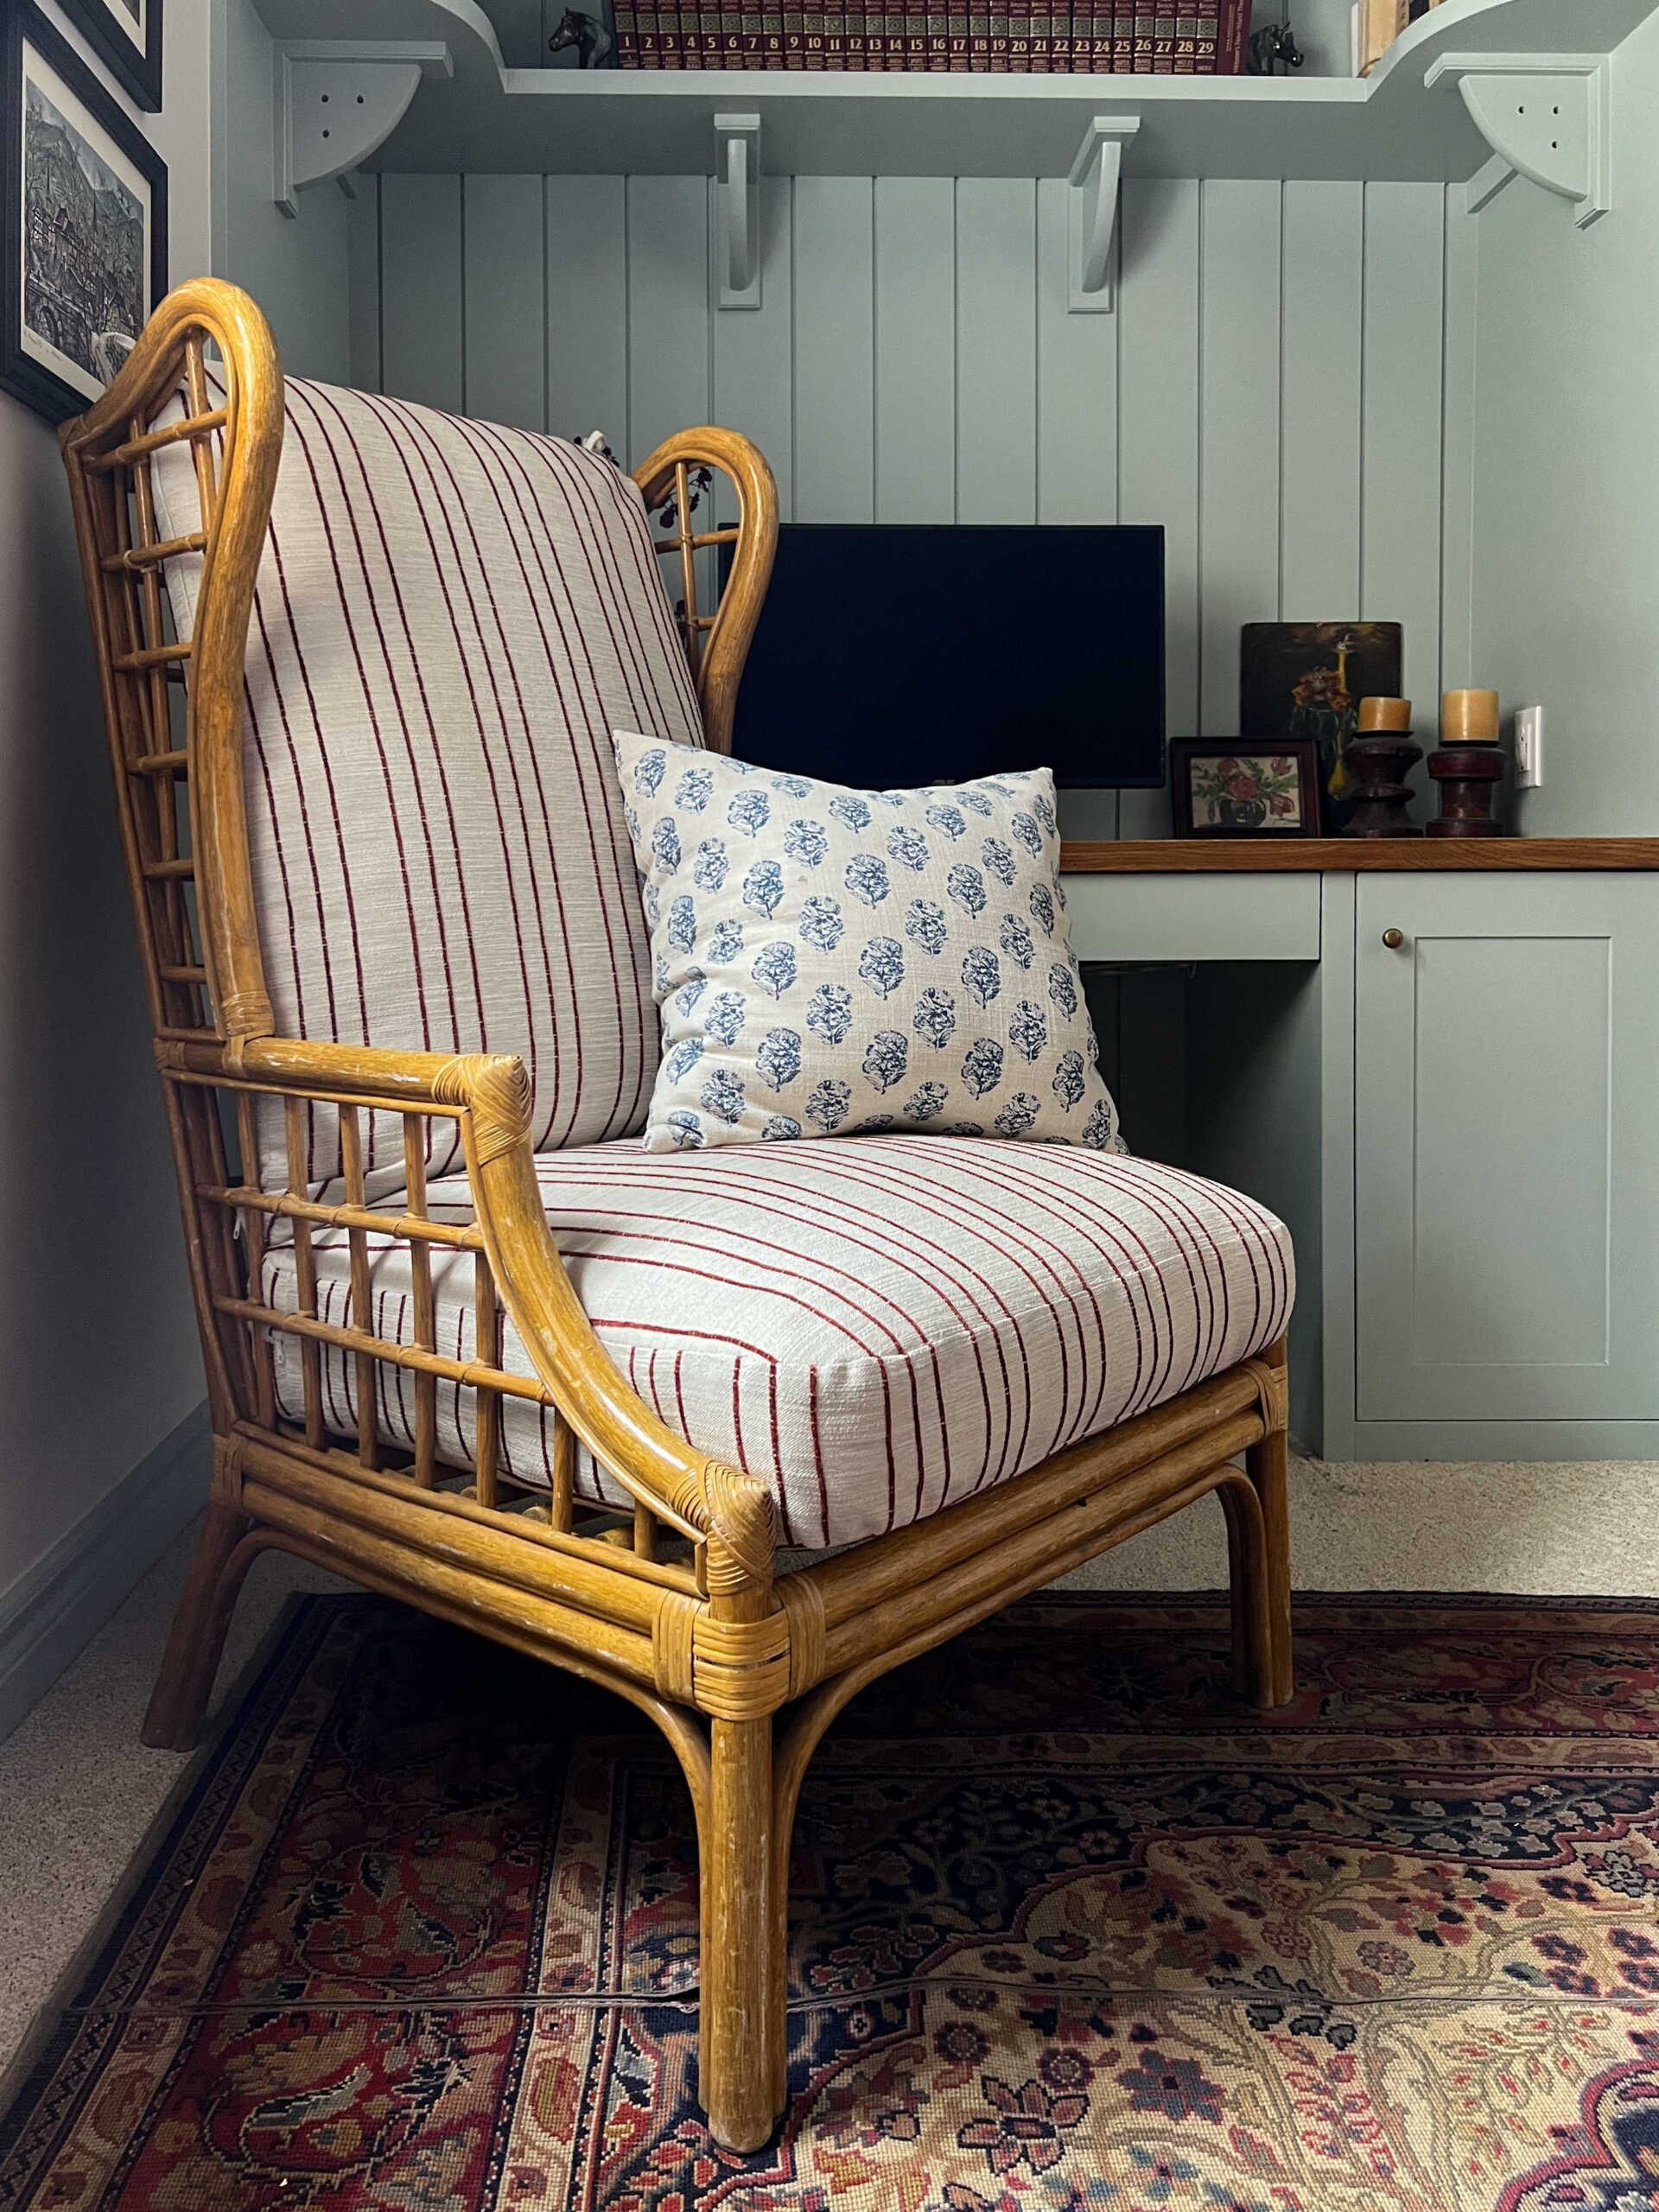
A well-fitted cushion should hold its shape and stay smooth when you sit down.
Image source: erinzubotdesign.com
No-Sew Cushion Cover Option
Do not have a sewing machine? You can still make a simple cushion cover with two rectangles of fabric and an envelope fold.
Cut the fabric a few inches longer than the seat so one side overlaps the other at the back. Fold over the raw edges, seal them with iron-on hem tape, and glue the side seams with strong fabric glue. Slip the foam inside, and you are done.
This no-sew approach works fine for lightweight cushions and guest chairs, but it is not the best choice for daily-use dining chairs. Glued and taped seams will not hold up to the same abuse as sewn seams.
How to Attach Cushions to Chairs
A cushion that slides around is worse than no cushion at all. Choose an attachment method based on the chair style and how often you need to remove the cover.
- Fabric ties: Sew 1"-wide ties at the back corners and knot them securely around the chair posts.
- Velcro strips: Attach the loop side to the cushion and the hook side to the chair. Works well on wood, plastic, and metal.
- Non-slip fabric: Place a piece of grippy shelf liner between the cushion and the seat. It is quick, removable, and requires no sewing.
- Elastic straps: Stretch elastic straps across the underside of the cushion and hook them under the chair seat.
This is exactly why I recommend thinking about a chair cushion the same way you think about your bedroom setup: if the base shifts, the comfort disappears. The same principle applies to a mattress. A stable, level foundation helps you stay comfortable longer.
Common Mistakes and How to Fix Them
Even people who sew regularly make these errors. The good news is that most are easy to fix.
| Problem | Why it happens | Fix |
|---|---|---|
| Cushion is too small or too large | Skipped the template step | Make a cardboard template and test-fit it first |
| Fabric puckers at the seams | Wrong needle or uneven fabric feeding | Use a walking foot and a 90/14 or 100/16 needle |
| Cover is too tight over foam | Seam allowance was too small | Use a full ⅝" seam allowance on the cover |
| Corners look sharp and boxy | No batting or over-clipped curves | Wrap the foam in batting and clip less aggressively |
| Foam shifts inside the cover | Cover is too loose | Add a Dacron wrap or internal fabric straps |
| Cushion slides on the chair | Smooth seat surface | Add ties, Velcro, or non-slip pad |
A common beginner mistake is using an all-purpose fine needle on upholstery fabric. It bends, skips stitches, and can even break. Switch to a heavier needle before you blame your sewing machine.

Velcro closures let you remove and wash the cover without unstuffing the whole cushion.
Image source: bebraveandbloom.com
Cleaning and Care Tips
Well-made cushions last longer when you clean them properly.
- Vacuum cushions weekly with an upholstery attachment to remove dust and crumbs.
- Check the fabric care label before washing. Most removable covers can be machine-washed cold on a gentle cycle and line-dried.
- Do not put foam in the washing machine. It soaks up water, takes forever to dry, and can break apart.
- Rotate cushions occasionally so they wear evenly.
- For outdoor cushions, keep them dry and well ventilated whenever possible. Moisture is the main cause of mold and mildew, and the EPA’s practical guidance on moisture control is a helpful reference for deciding whether a cushion can be safely stored outdoors.
Frequently Asked Questions
How thick should chair cushions be?
For dining chairs, 2–3" of medium-firm foam is a reliable starting point. Desk chairs feel better at 1.5–2.5", while lounge chairs and window seats can use 4–5" of softer foam.
Can I make a chair cushion without a sewing machine?
Yes. Use an envelope-style cover with iron-on hem tape and fabric glue. It is quick and works well for lightweight cushions, but it will not last as long as a sewn cover.
How much fabric do I need?
One dining chair cushion typically needs ½–1 yard of 54" fabric. Buy the larger amount if your fabric has a directional print, needs matching, or includes piping. When in doubt, buy extra — upholstery fabric runs out at the worst moments.
What is the best fabric for cushions?
Use a tight-weave upholstery fabric for indoor chairs and outdoor or performance fabric for patio furniture. Cotton canvas and denim are good budget choices for casual settings.
How do I keep a cushion from sliding?
Use fabric ties, Velcro strips, or a non-slip pad underneath. Ties look classic, Velcro is more secure, and non-slip pads are the fastest no-sew option.
What foam should I use for outdoor cushions?
Reticulated or quick-dry foam. It drains water instead of holding it, so it resists mold and extends the life of the cushion.
Can a chair cushion help with back pain?
Yes, a supportive cushion can relieve pressure on your lower back during the day. But if you also wake up with stiffness, your mattress may be the real problem. Persistent discomfort while sleeping is worth investigating, and a mattress better suited to sciatica can make a bigger difference than any cushion.
Conclusion
Making your own chair cushions gives you complete control over size, colour, firmness, and style. Measure carefully, choose dense foam and durable fabric, and sew with a walking foot and a strong needle. Those small choices are what separate cushions that look homemade from cushions that look professionally made.
Start with a single chair cushion this weekend. Once you see how well it fits and how much better it feels, building a full set of matching cushions will feel surprisingly simple. If you are also chasing better rest, the same attention to support and comfort can be applied to nagging lower-back pain at night — because good support matters whether you are sitting or sleeping.

Daniel Hart is a consumer product analyst who specializes in mattress technology, smart bedding, and home comfort innovation. Before joining Royal Comport, Daniel worked with several e-commerce research teams, testing and comparing sleep products for quality, value, and long-term performance. He brings data-driven insight and real-world testing to every review he writes.


