
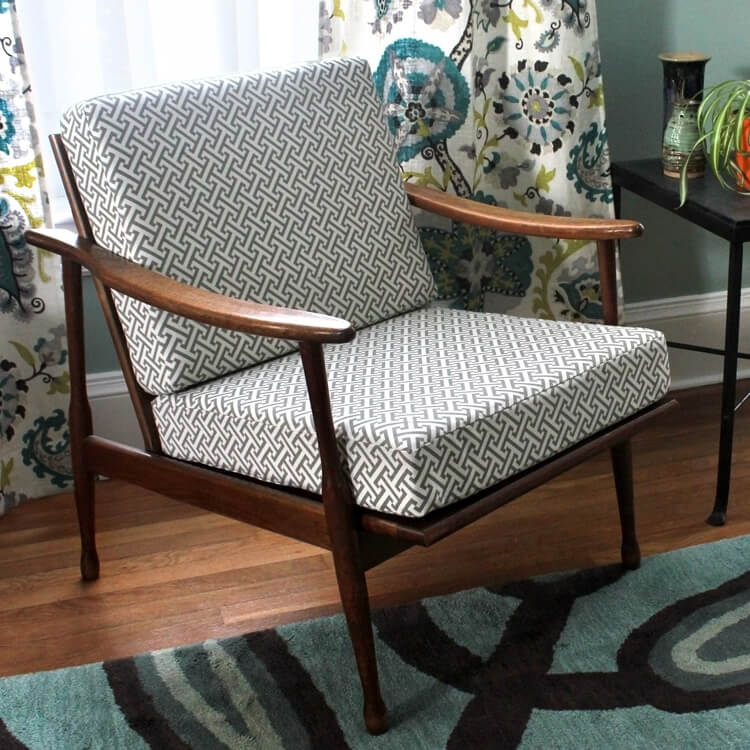
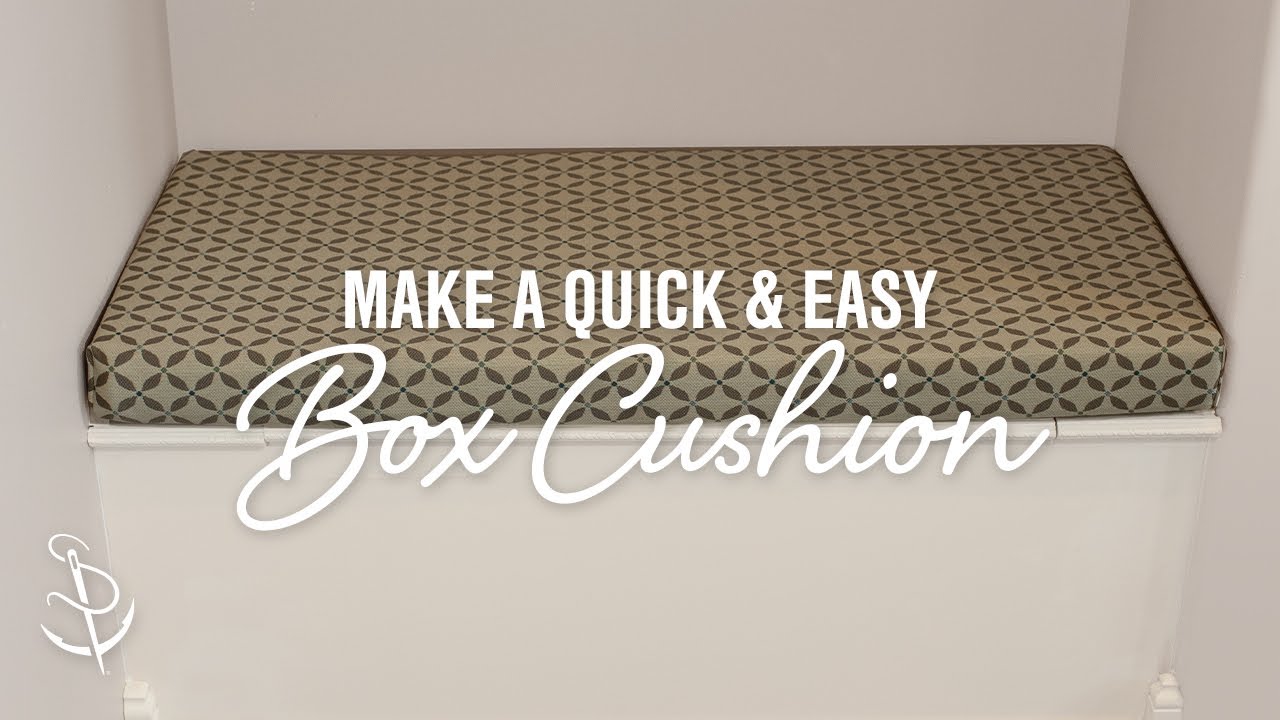
You can make box cushions at home with basic tools, foam, fabric, and simple sewing steps.
I’ve spent years making and repairing cushions for my own home and for friends. In this guide I explain how to make box cushions from start to finish, with clear steps, common mistakes to avoid, and simple tips that save time. You will learn precise measuring, cutting, sewing, stuffing, and finishing so your box cushions look and feel professional.
Materials and tools you need
To make box cushions well, gather the right supplies first. Below is a clear list of materials and tools that I use every time I make box cushions. Having good materials makes the sewing fast and the result durable.
- Fabric for the top and bottom panels — choose durable upholstery fabric or canvas.
- Fabric for the box sides — same fabric or coordinating fabric for contrast.
- Foam insert or batting — high-density foam for seat cushions, softer foam or fiber for decorative cushions.
- Zipper or Velcro — a hidden zipper makes cleaning easy.
- Sewing machine with heavy-duty needle — a walking foot helps with thick seams.
- Thread, pins, chalk, measuring tape, scissors, rotary cutter, ruler.
- Optional tools: upholstery tufting buttons, piping cord, corner clips.
How to make box cushions starts with picking the right foam and fabric. I recommend testing a small fabric scrap on your sewing machine to check needle and stitch settings. This saves frustration later.

Planning and measuring your box cushion
Accurate planning makes the sewing easy. Measure well and draw a simple pattern. I always sketch the cushion and check dimensions twice before cutting.
- Measure the cushion area exactly. Record length, width, and desired height.
- Decide panel layout. A box cushion has a top, bottom, and a long side strip that wraps the height and perimeter.
- Calculate side strip length. Add the perimeter plus seam allowances: Side length = 2 × (length + width) + seam allowance.
- Add seam allowance. Use 1/2 inch seam allowance on each seam unless you want smaller seams.
- Consider foam shrinkage. Foam can compress; add 1/4 to 1/2 inch extra to the fabric size if you want a snug fit.
From experience, double-checking your math prevents wasted fabric. I measure twice, cut once, and always add a small test piece to match foam to fabric.
Cutting and sewing the box cushion
This section shows hands-on steps for how to make box cushions by cutting and sewing panels. Work slowly and use the right stitch settings. Keep seams straight and press them flat.
Cutting the fabric
- Lay fabric flat and smooth out wrinkles.
- Place pattern pieces with grain aligned to fabric grain.
- Cut the top and bottom panels to match measured length and width, including seam allowance.
- Cut the side strip to the calculated length and the required height plus seam allowances.
Sewing the panels
- Start by sewing the end of the side strip to form a long loop. Use a 1/2 inch seam and press the seam open.
- Pin the side strip to the top panel, right sides together, matching edges and corners.
- Sew slowly around the panel. Repeat for the bottom panel if you want an enclosed cushion.
- For a removable cover, leave one seam open for a zipper or sew in a zipper panel.
Making neat box corners
- Mark corner points and fold to create sharp box corners.
- Use clips or pins to hold corners tight.
- Sew across the corner a small distance to lock in the shape. Trim excess fabric and turn right side out.
When I first made box cushions, my corners looked bulky. The trick I learned was trimming seam allowance and using a point turner gently. That small step improved the look a lot.

Stuffing and finishing your box cushion
Stuffing and finishing give the cushion its final comfort and look. This is where the cushion becomes usable and comfortable.
- Insert foam carefully. Make sure the foam fits the box without bunching.
- Add a layer of batting around foam if you want softer edges.
- If using a removable cover, zip it closed and check fit. For sewn covers, hand-stitch the opening with small, neat stitches.
- Add decorative touches such as piping, tufting, or topstitching to reinforce edges.
- Test the cushion on the furniture. If it is too loose, add batting or a thin foam sheet. If too tight, let out a small seam if possible.
I often add a thin batting layer around the foam. This softens edges and makes the cushion appear fuller. It also hides small cutting or sewing irregularities.

Care, maintenance, and durability tips
Good care keeps your box cushions looking fresh for years. Follow simple maintenance to protect fabrics and foam.
- Use removable covers whenever possible for easy washing.
- Spot clean stains quickly with mild detergent and cold water.
- Air out foam occasionally to prevent odor and moisture buildup.
- Replace foam every few years or when it compresses too much.
- Keep cushions out of direct sun to avoid fabric fading.
I once tried to wash a non-removable cushion cover and it warped. Since then, I always include a zipper or use Velcro for easy cleaning.
Troubleshooting and common mistakes
Here are common problems when you learn how to make box cushions and how to fix them. These tips come from real projects and a few mistakes I made.
- Seams puckering — use proper tension and a walking foot. Test stitches on a scrap.
- Corners bulky — trim seam allowance and press seams flat before turning.
- Foam too big or small — remeasure foam and adjust seam allowances next time.
- Fabric slipping — use clips or lots of pins instead of only needle pins.
- Zipper misaligned — baste the zipper by hand first, then machine sew for accuracy.
These fixes helped me on tight timelines. A little patience and testing saved fabric and time.

Frequently Asked Questions of How to make box cushions
What fabric works best for box cushions?
Upholstery fabric, canvas, denim, or tightly woven cotton work well. Choose durable fabric for seat cushions and softer fabric for decorative pieces.
How thick should the foam be for seat box cushions?
Use high-density foam that matches the seat depth, commonly 4 to 6 inches for chairs and sofas. Thicker foam gives more support.
Can I add a zipper to a box cushion?
Yes. A hidden zipper along one seam makes covers removable and easier to clean. Baste the zipper in place first for neat results.
How do I make sharp corners on box cushions?
Trim seam allowances and press seams open before turning. Use a point turner or blunt tool to push corners out gently.
Is it possible to make box cushions without a sewing machine?
Yes. You can hand-sew covers using strong thread and small stitches, but it takes longer and may not be as durable for heavy-duty fabrics.
Conclusion
Making box cushions is a simple, satisfying project that gives you custom comfort and style. Start with the right materials, measure carefully, and follow clear cutting and sewing steps to get professional results. Try one small cushion first to build confidence, and then scale up to a full set. Share your results, ask questions, or subscribe for more DIY cushion guides and patterns.

Daniel Hart is a consumer product analyst who specializes in mattress technology, smart bedding, and home comfort innovation. Before joining Royal Comport, Daniel worked with several e-commerce research teams, testing and comparing sleep products for quality, value, and long-term performance. He brings data-driven insight and real-world testing to every review he writes.


